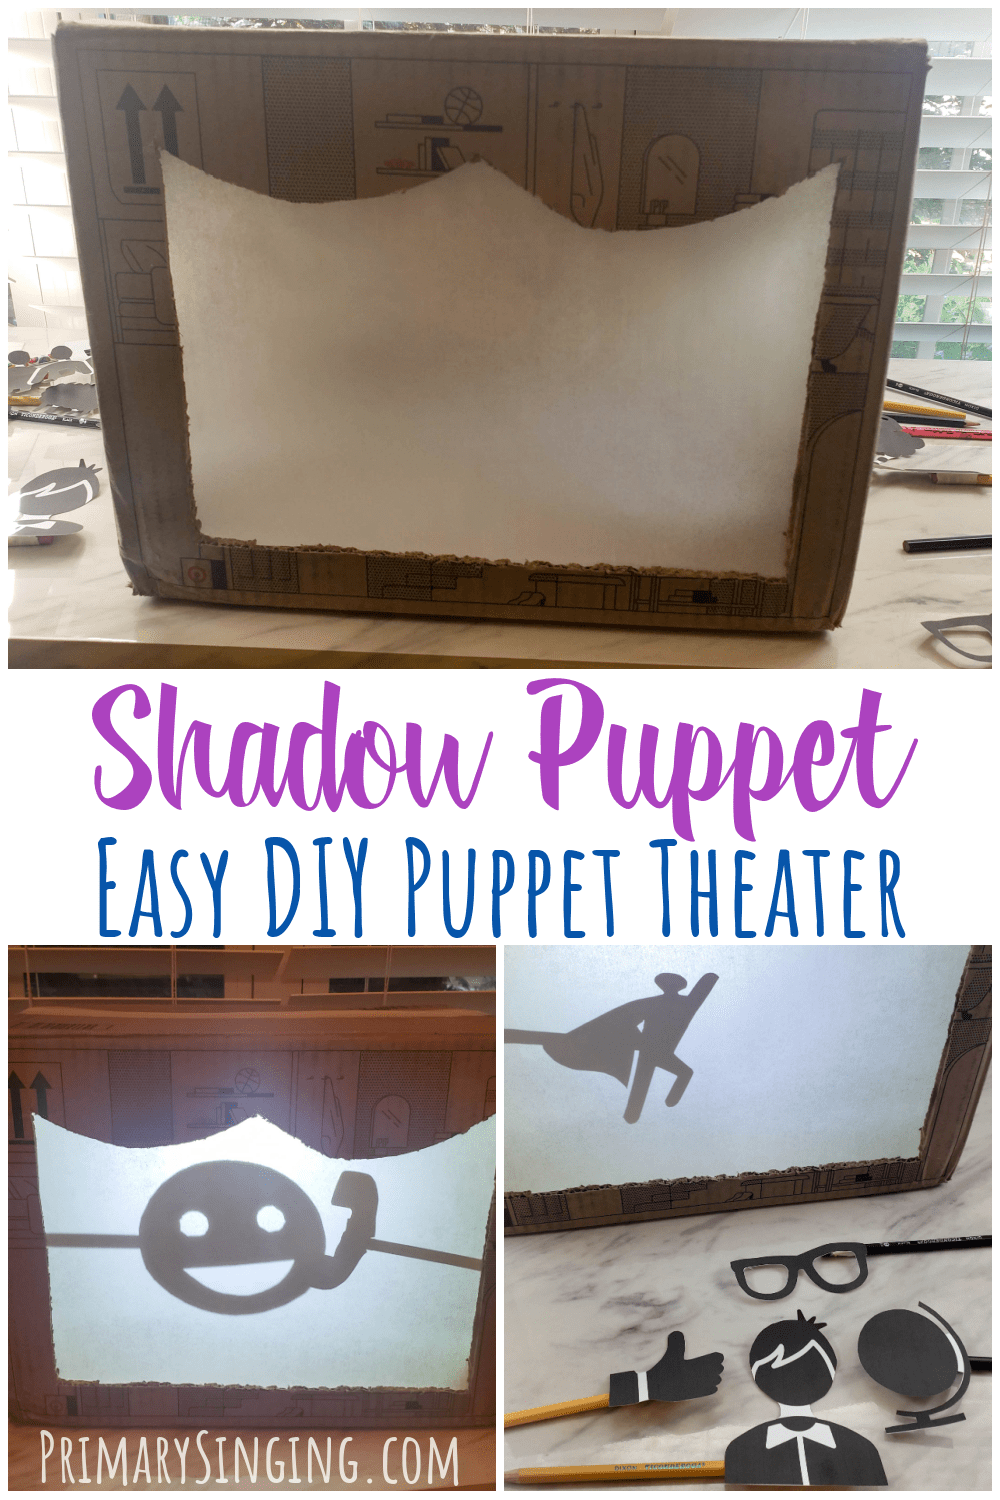
I’ve had this fun idea on my mind for using Shadow Puppets to teach Redeemer of Israel for a couple months now, and I’m finally getting around to finishing up that fun singing time idea with this Shadow Puppet Theater DIY tutorial!
Making a Shadow Puppet Theater was really easy, and gave a BIG payoff! My boys were completely enthralled in trying it out and I know it’s going to be a huge hit in Singing Time.
Affiliate links are used in this post.
EASY Steps: How to Make a Shadow Puppet Theater
Supplies:
- Cardboard box or Shoe box
- Tissue paper or parchment paper
- Scissors or craft knife
- Tape
- Cardstock
- Skewers, pencils, or straws
- Bedside lamp or large flashlight
First, You’ll need to gather these supplies, or similar objects will often work. See what you have around you at home and gather up all your supplies.
Cutting Out a Shadow Puppet Theater:
Start with a sturdy cardboard box. You’ll want something that has a strong structure, as you’ll be cutting out holes in the front, both sides, and even on the back to assemble the theater. I used a Target box that was about 2′ wide.
Tape the box securely closed on any open seams. Then, choose a nice clean side without tape for the front of the theater.
Use a pen or pencil and draw a rough line of where you’d like to cut. You can make a plain straight cut for a modern look or use a swooping scallop on the top similar to a theater curtain style. Either works!
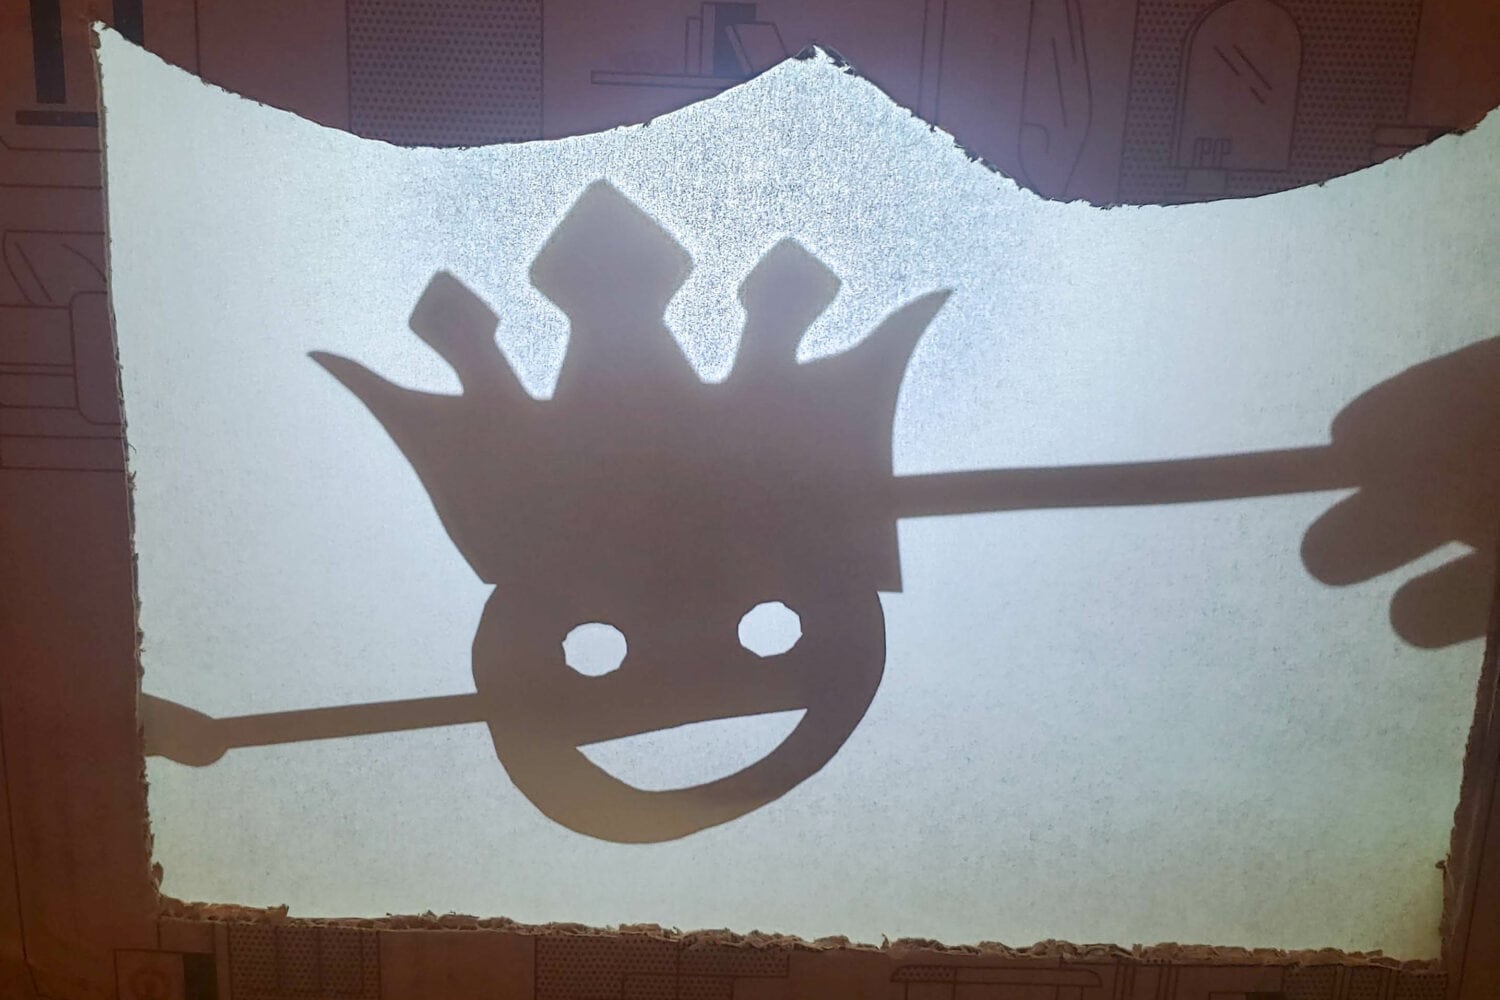
You’ll want to leave at least 1″ all the way around as a margin on the edges for securing your screen and giving room for the kids to insert the puppets, mostly disguising their hands. Though, of course, you will still sometimes see their fingers or hands slip into view. Here’s picture proof! 🙂
When you’ve planned out your design, you can score your box by cutting through the first layer of cardboard. The box is made of a few layers of thick cardboard pressed together and the easiest way to cut it out is to simply run your box knife or scissor (open faced using just one of the blades) over the same cut line 2-4 times until you’ve cut all the way through the box.
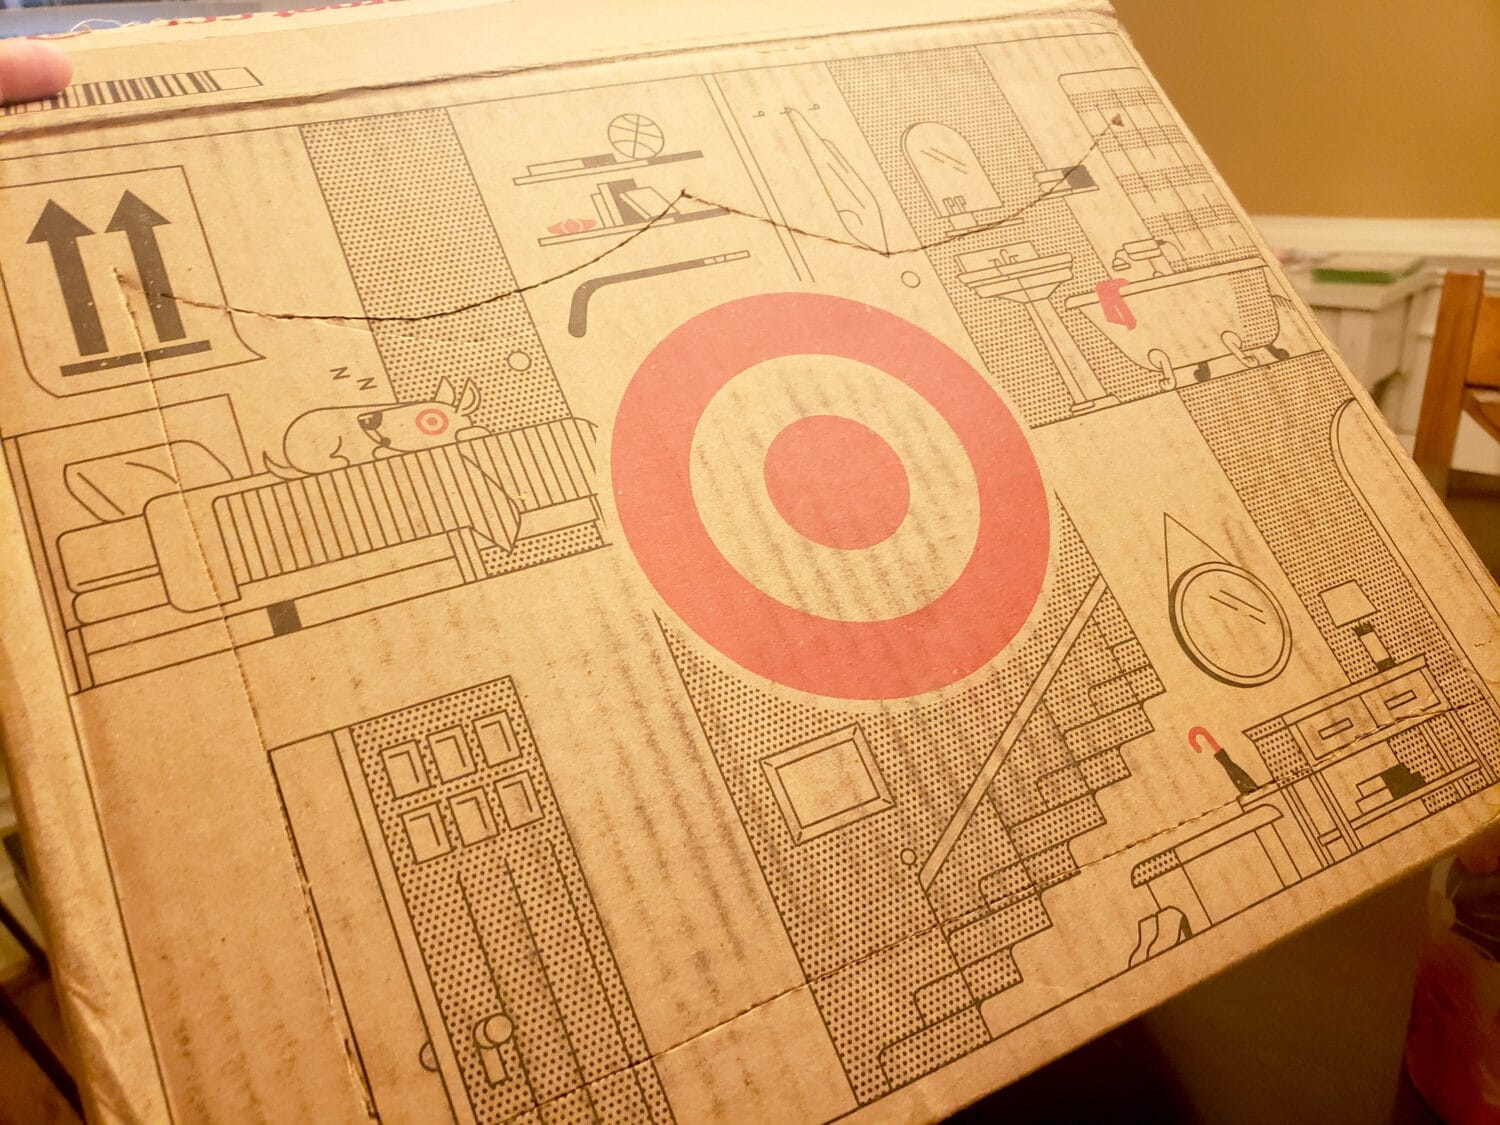
Go slow and careful with your first line of cutting, but after that your blade will stay on the easiest path and will generally follow your first cut line perfectly! Run the blade over the cutout a couple of times until the box separates and you can easily remove the cardboard panel.
Repeat this process cutting 2 large holes on the right side and left side of the box. You want these holes to be rather large as you may have 2 kids adding puppets. Keep in mind, you’ll also want the hole closer to the front of the box rather than the back of the box. The puppets will be used up close to the screen for a more precise shadow.
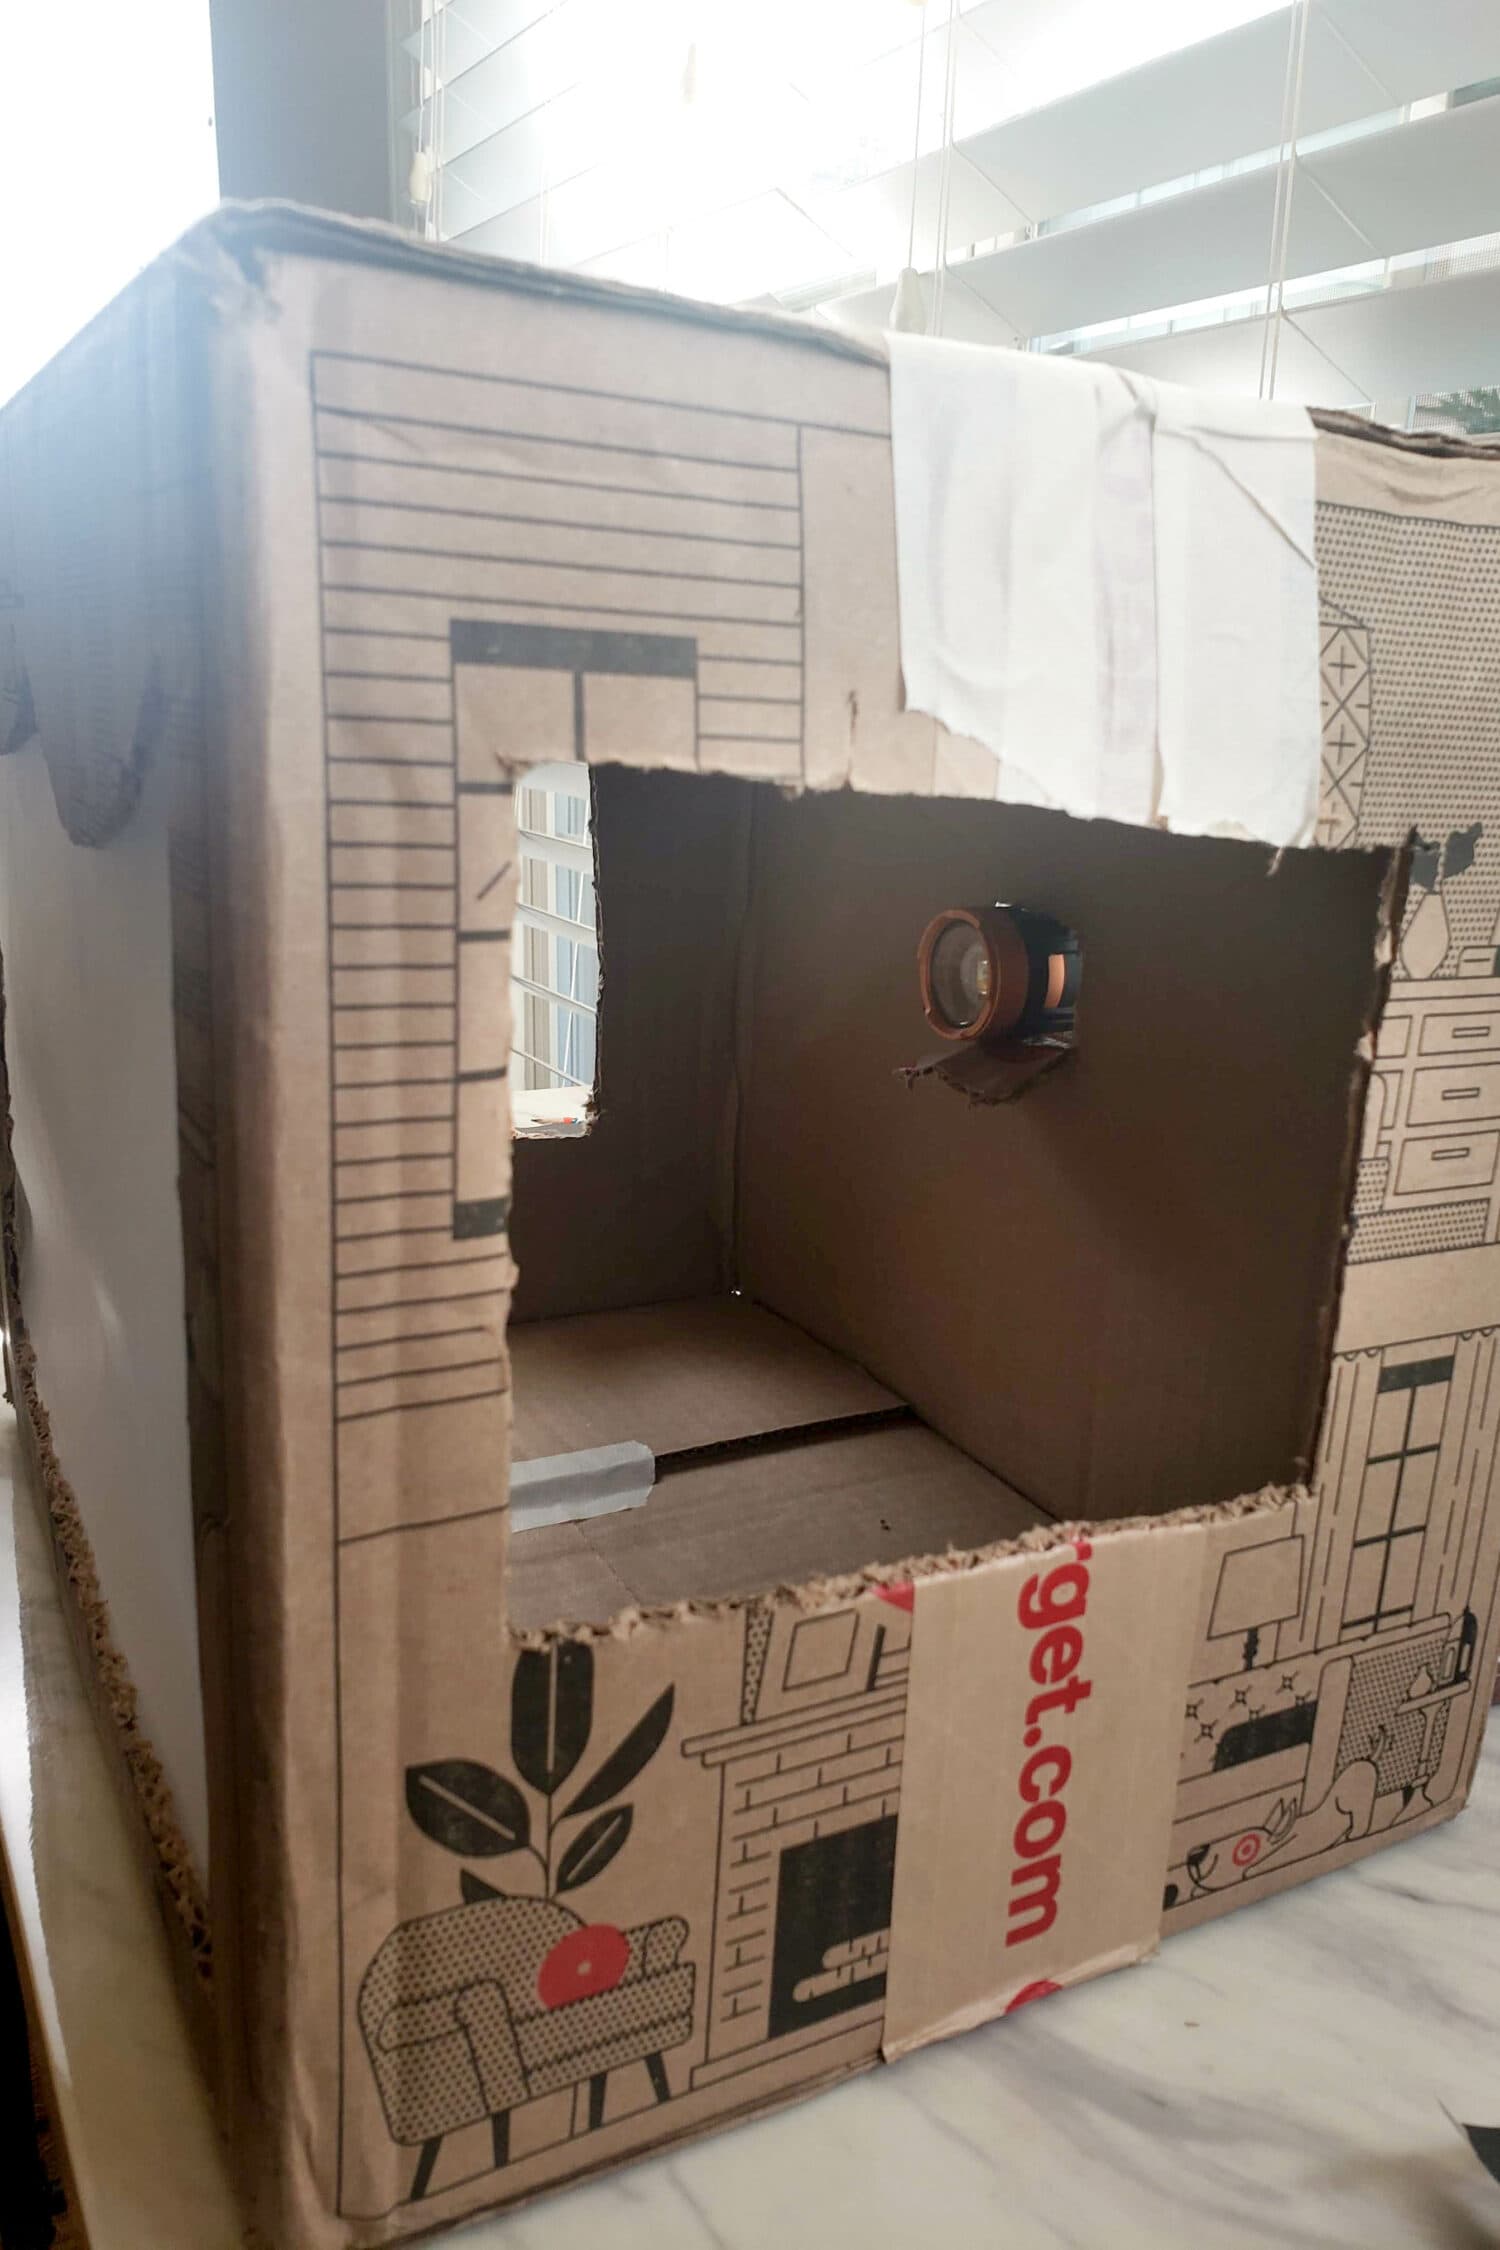
Finally, we’ll cut out one more smaller hole on the back of the cardboard box.
The purpose of this final hole is to accommodate your flashlight on lamp. If you have a beside lamp, the style with a base, a lightbulb, and a arm that’s easy to move around to just the right position that will work wonderfully for this!
But, you can also just use a flashlight! I cut a small hole just smaller the then head of my flashlight. I cut on only 3 sides and then folded this flap inward to add a little bit of support for my flashlight.
You’ll need a helper to hold the flashlight up or get creative, like I did, and just find some random items to prop up your flashlight! 🙂
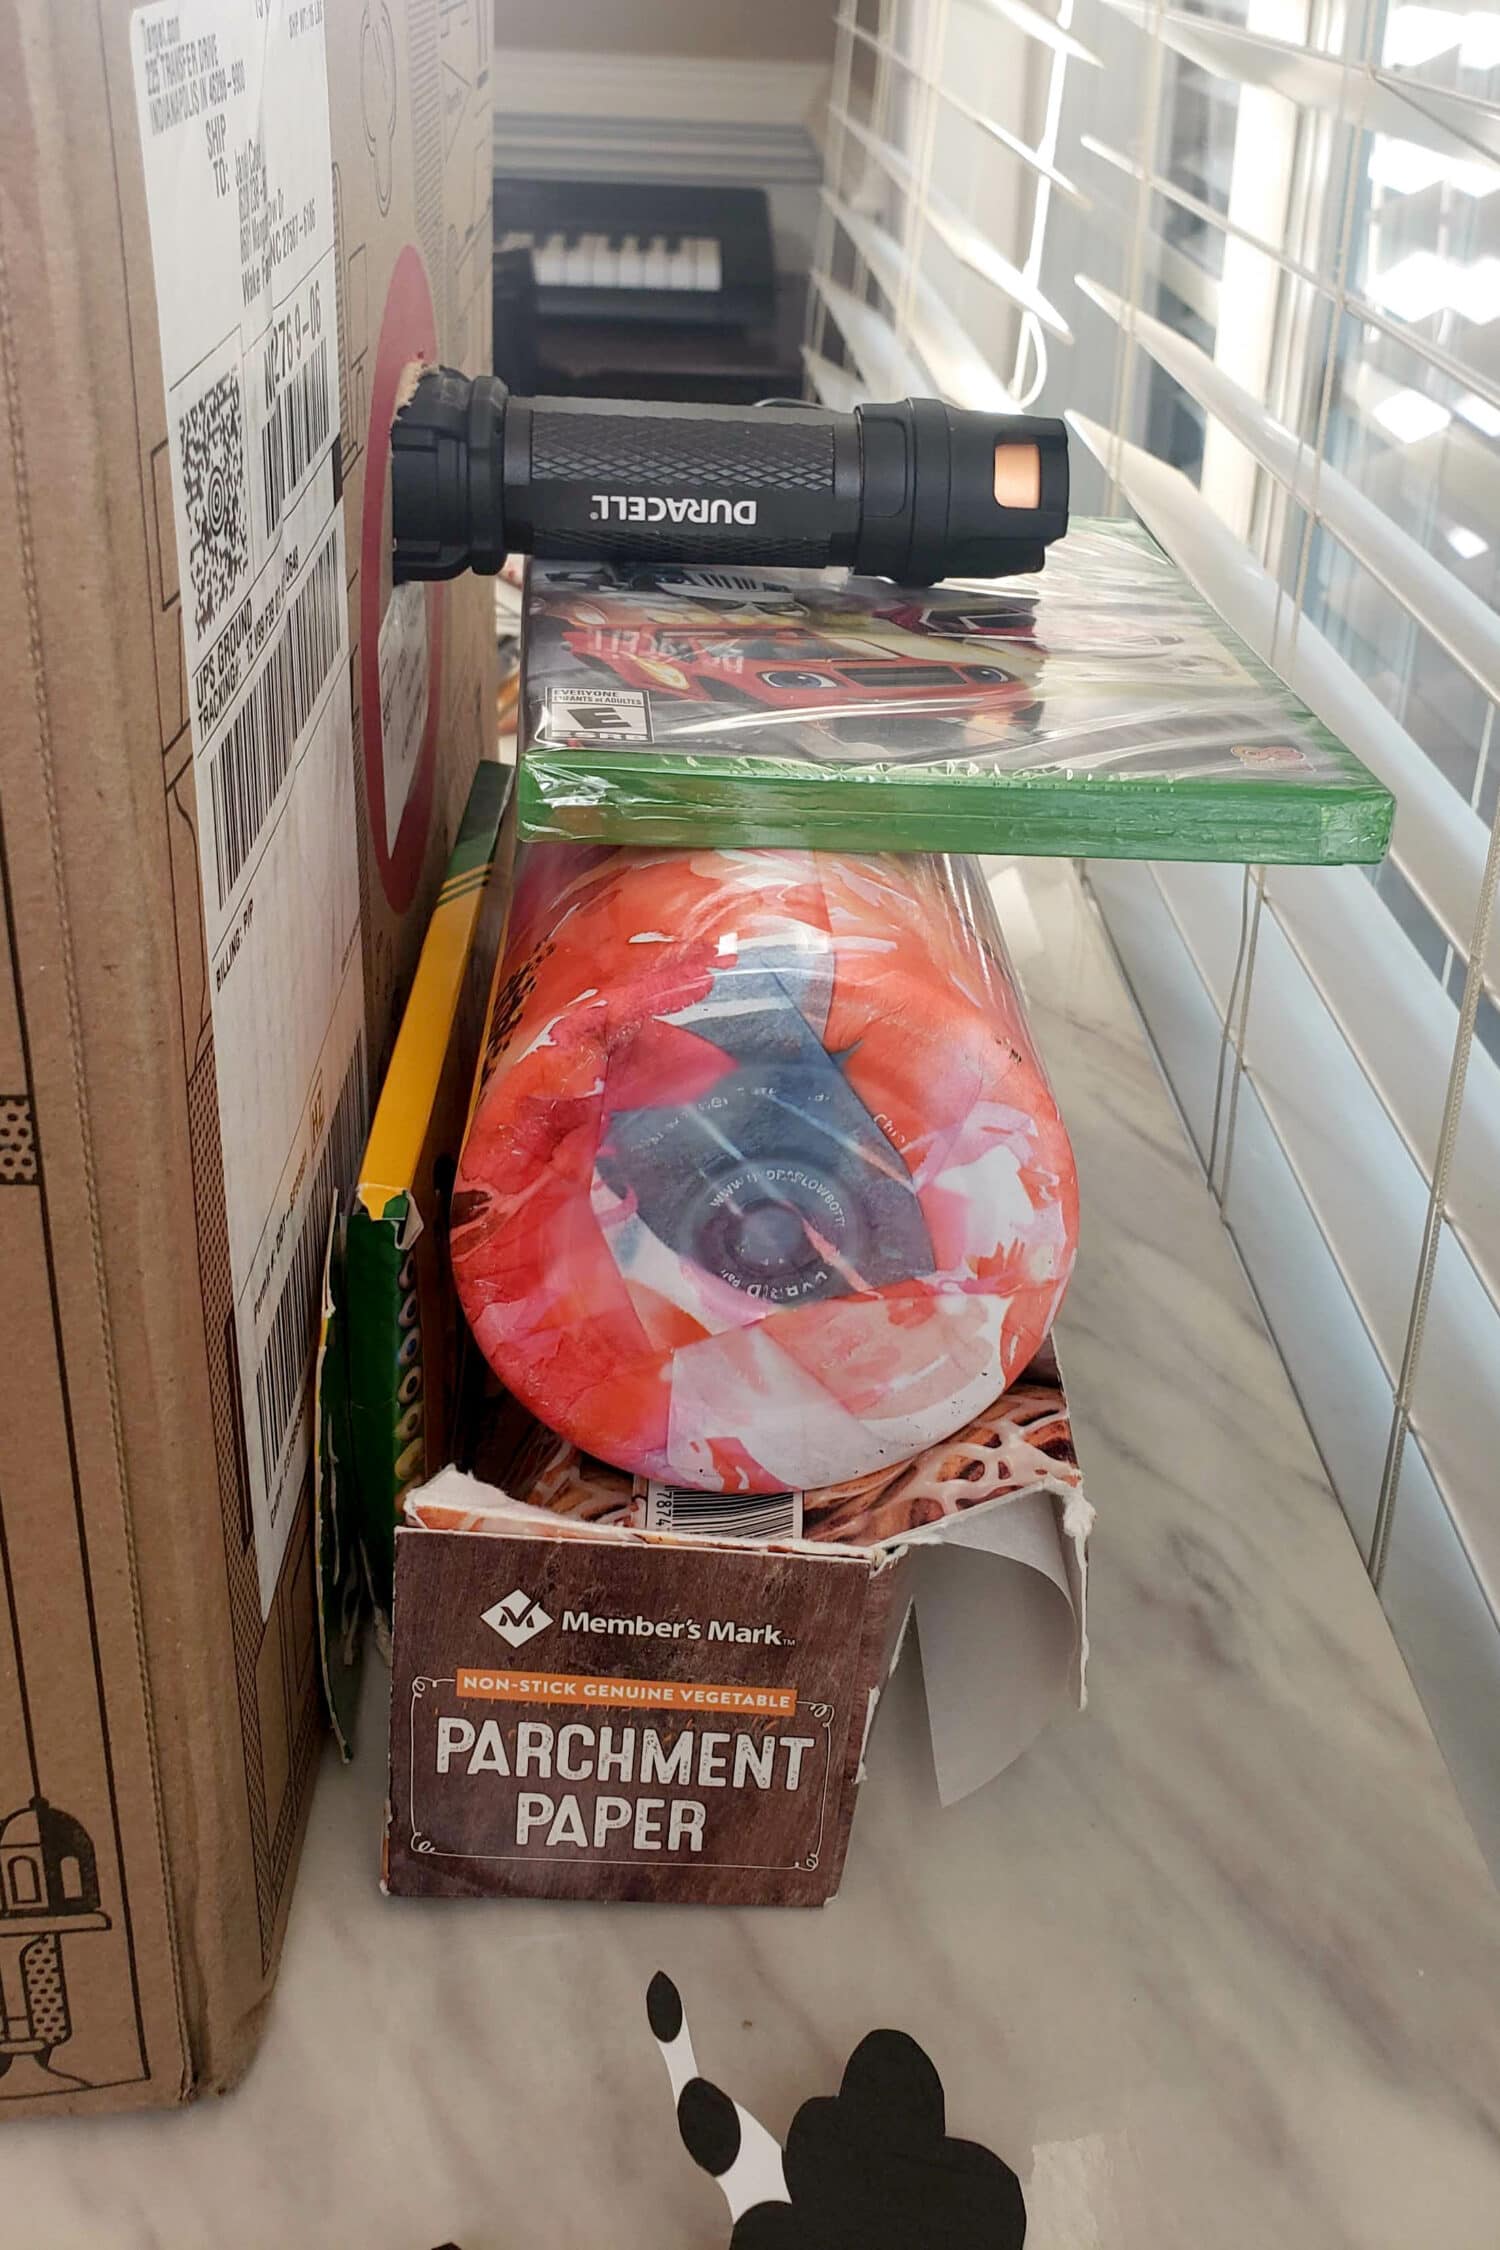
This setup was temporary, and then I just used a hymn book standing upright and propped slightly open for lots of support and the height was just right!
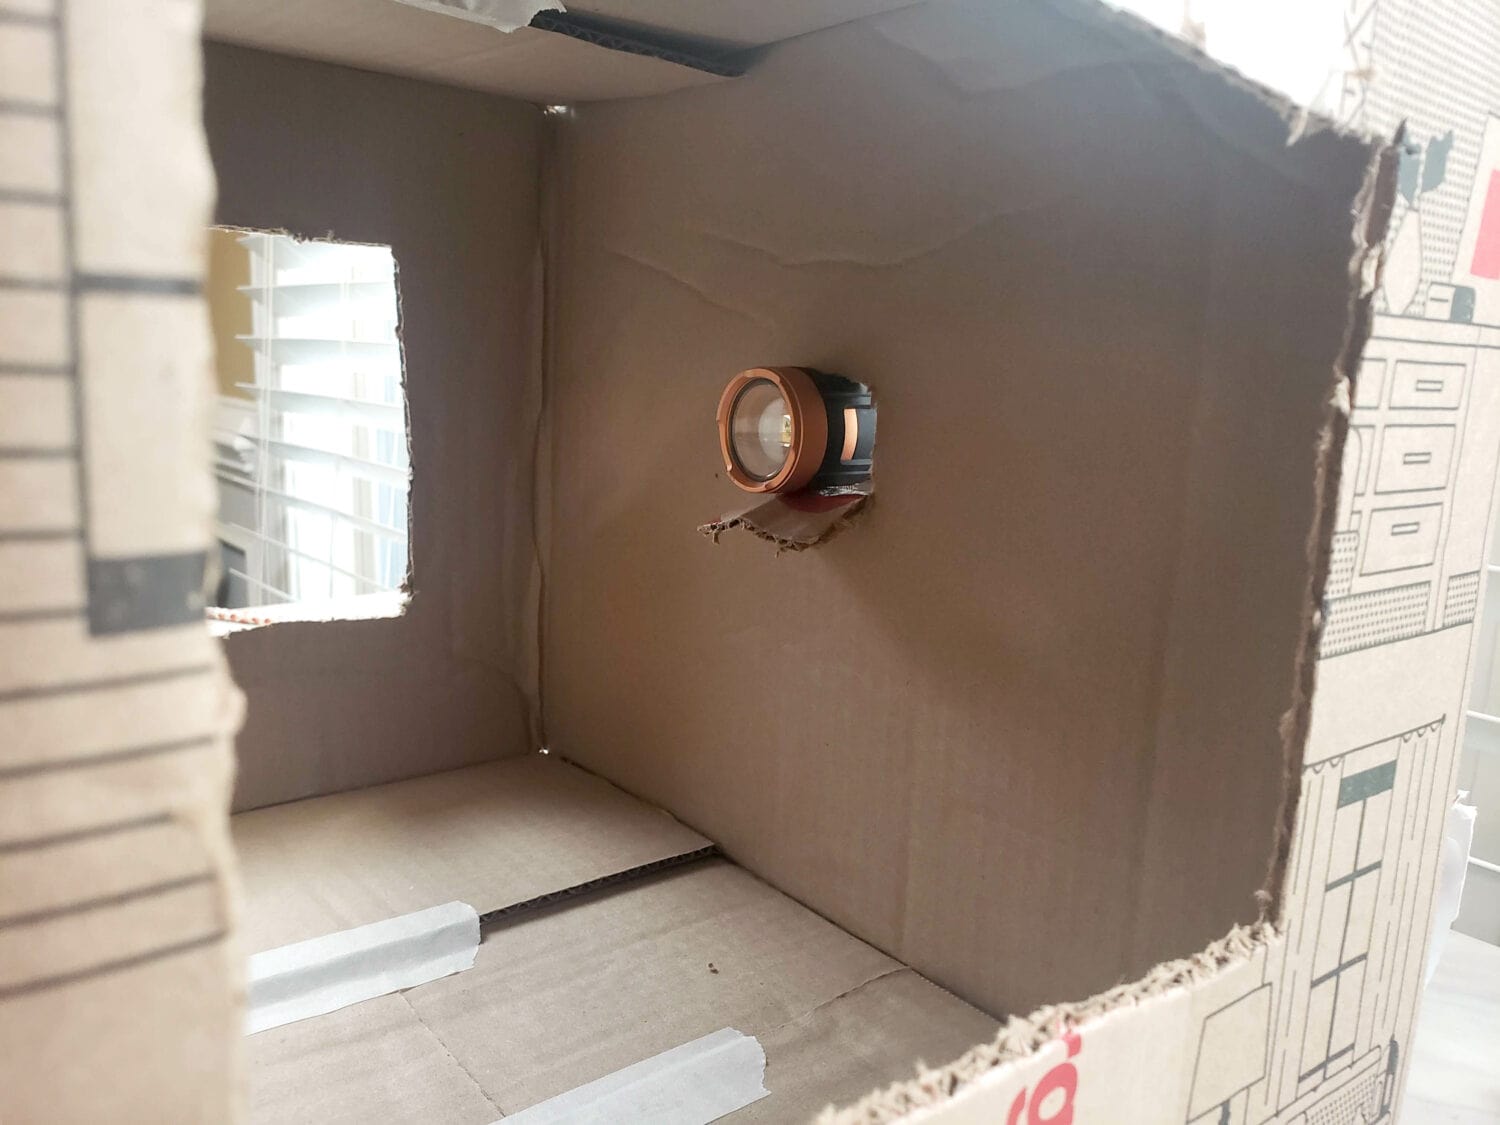
Test out your flashlight or lamp size, then cut the hole appropriately so the light will shine in from behind the box to the center of the theater screen and light up the entire screen.
Then, set aside your flashlight or lamp, we’ll come back to those when it’s time to play!
Adding a Shadow Puppet Theater Screen:
For this step, again just look around to see what you have on hand! You want to use something semi-transparent that will let the light through, but filter out some of the light at the same time to give you the filtered screen look (and not blind you with the direct light behind!)
I used parchment paper, as it’s what I had on hand. It worked beautifully, but it did make me scramble to find a tape that would actually stick to the parchment paper! Thanks to my husband for a stocked workbench – I grabbed his electrical tape and we were back in business!
You can also create a screen using tissue paper or white butcher paper. In a pinch, you can use printer paper, but you may end up with seams where your paper meets which will create a shadow if they don’t line up perfectly or let out a crack of light. It would work just fine with a smaller project though, like a shoebox!
Lay your parchment paper, tissue paper, etc – choice of screen material across the front of the theater. Trim and cut to size, it should be slightly smaller than the outer edge of the box all the way around the front.
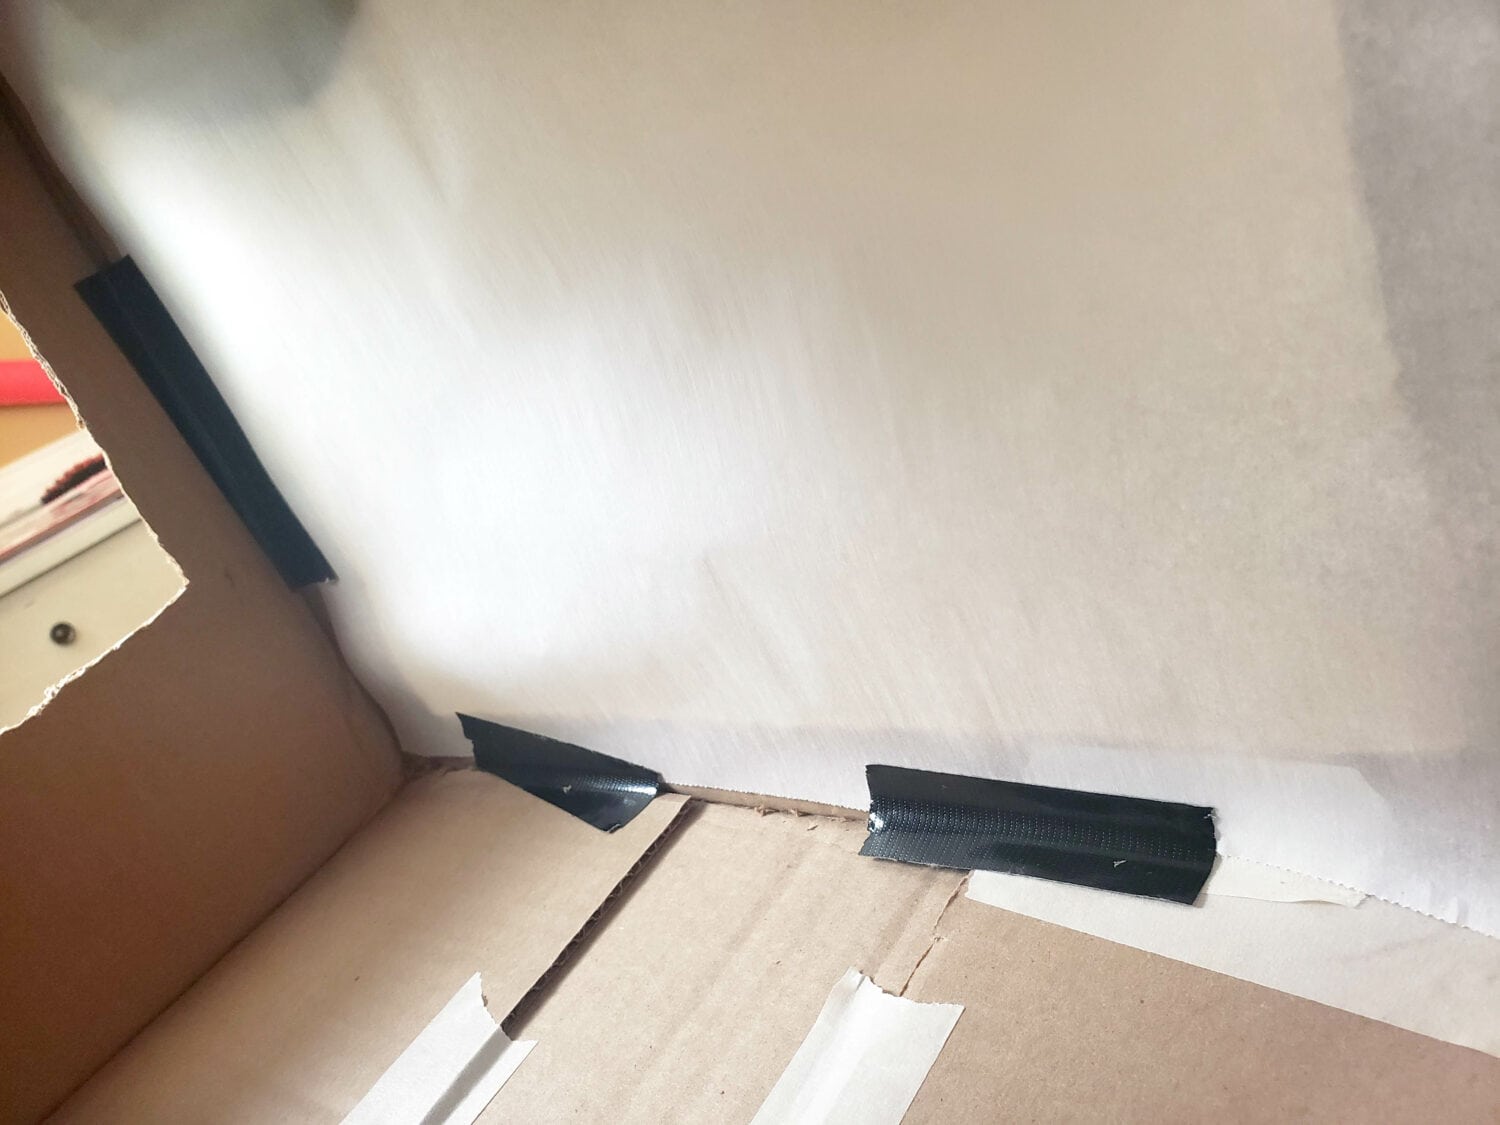
Now, lay your box down with the theater screen facing downward. Add the screen material to the inside of the box covering your cut out screen area. Tape or glue to secure in place. Make sure you’re pulling the paper securely so the screen lays straight and firm (not loose or baggy).
Now, tilt your box back upright. Add the flashlight or lamp and test it out. Does the light cover from edge to edge? You might need to slide your light source in or further out to cover the entire screen.
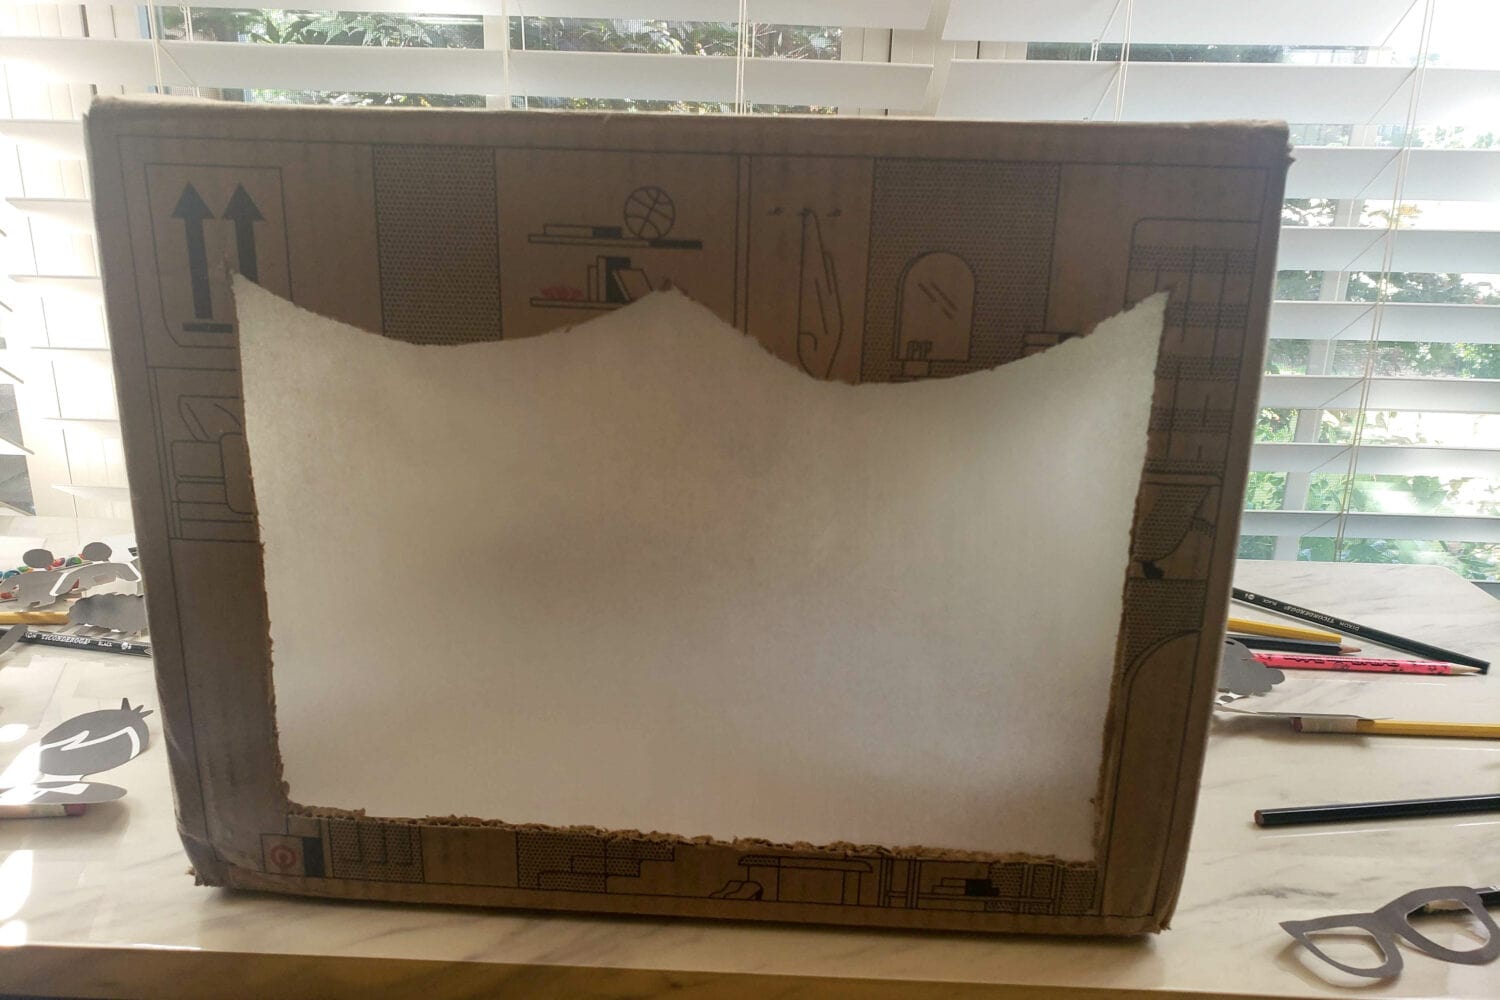
My flashlight slides in and out at the top where you can create a wide angle of light or a pointed spotlight, so I simply played with that until it was a wider spread of light and I was all set.
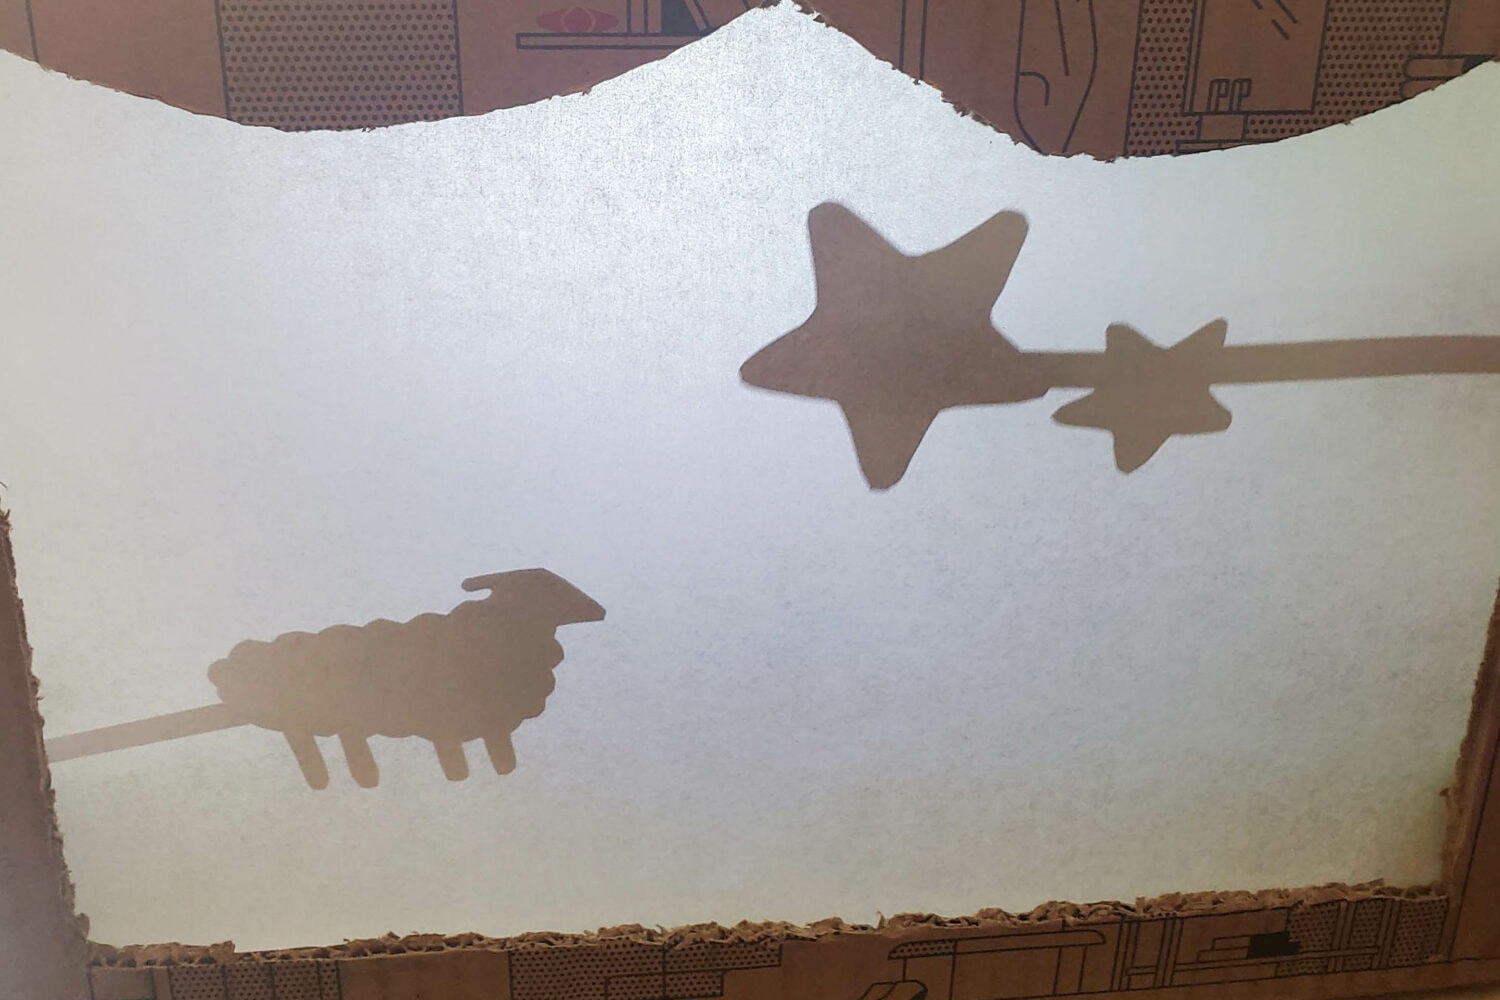
How to Make Shadow Puppets:
You can easily print out a variety of fun shadow puppets. You can find fun templates online. Or, I have created some fun themed Shadow Puppets for a couple of Primary songs! You can head over to these posts (coming soon!) to grab our free printable Shadow Puppets:
- Redeemer of Israel Shadow Puppets
- I See a Hero Shadow Puppets (Father’s Day)
- Stars Were Gleaming Shadow Puppets (Christmas!)
I highly recommend printing shadow puppets on cardstock as it will help give your puppets structure so they won’t bend.
You can make your own shadow puppets by drawing your own shapes and symbols. Simply draw on white cardstock using a thick black sharpie. Make sure you fill in any parts you want to keep, then cut out all the white remaining space.
You can also cut out shapes from a piece of black cardstock or black construction paper (not as sturdy). You can sketch a design with a pencil and then cut out your shapes and puppets!
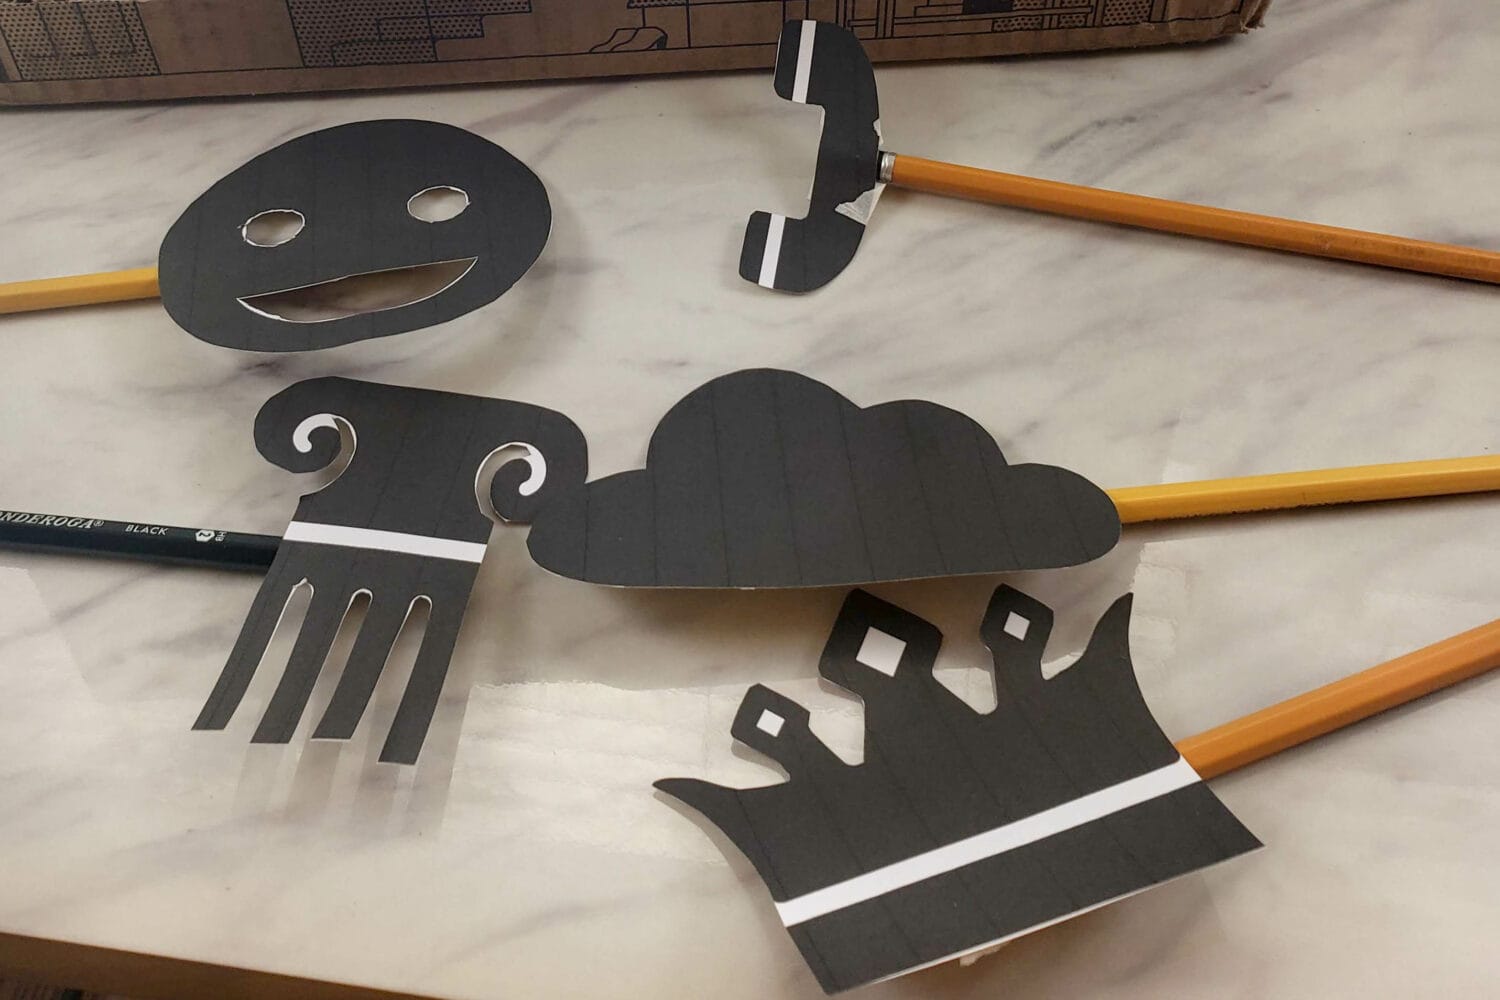
Another good tip is to laminate your shadow puppets! It will let you cut out finer details, then assemble the individual pieces inside a clear laminating sheet.
This will allow the light to pass through the small details you cut out, while still giving you strength and support and you just need to have one spot to attach a handle to! It really will give you a lot of flexibility with your puppets.
Cut out each of your shadow puppet designs. Leave any of the black spaces in place and remove and discard all the white pieces. You may have to leave a little bit of the white space, as necessary, to keep your puppets in one piece, but cut out as much of the excess white cardstock as you can!
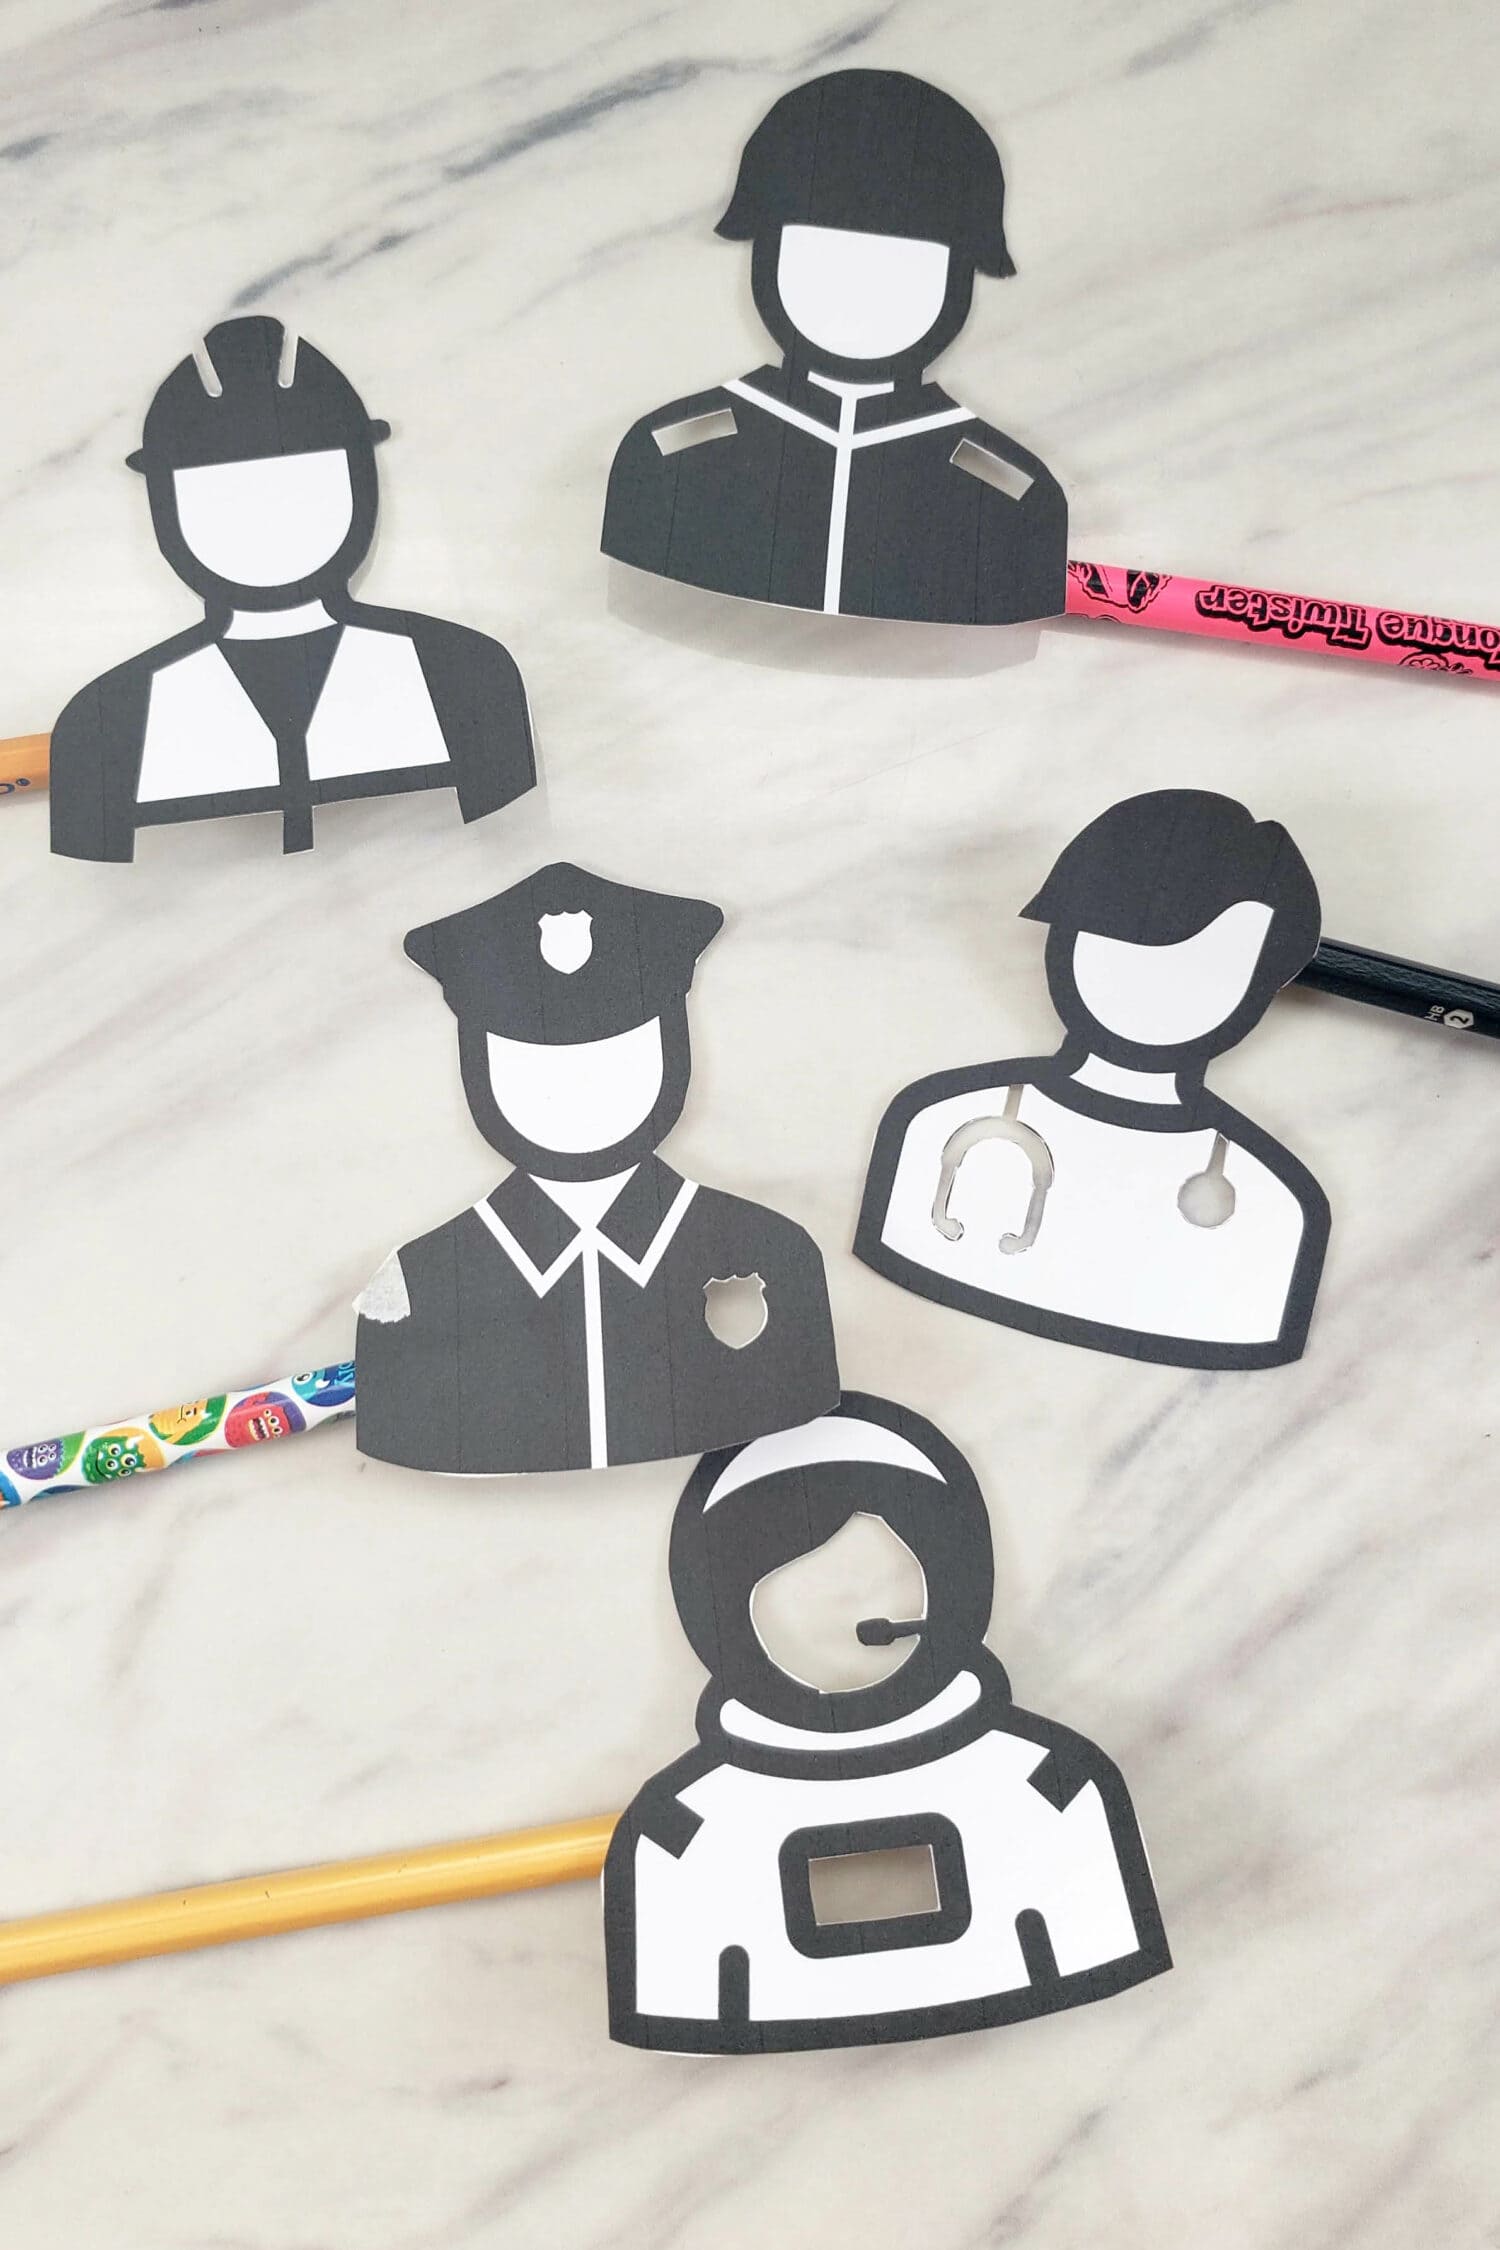
You can easily do this with a craft knife like this one. Just use your extra cardboard scraps as a cutting mat to protect your surface and carve around the white areas, and press gently and they’ll easy pop out, such as the eyes on the smiley face.
Then, attach the puppets to a pencil (or craft sticks, straws, skewers, etc). I buy this big pack of Ticonderoga Pencils a few times a year for back to school and they’re the best! You can reuse them as mini rhythm sticks or for a drumming lesson plan.
How to Use a Shadow Puppet Theater
When you’ve finished assembling your Shadow Puppet Theater DIY project and you have shadow puppets prepared and ready, it’s time to play!
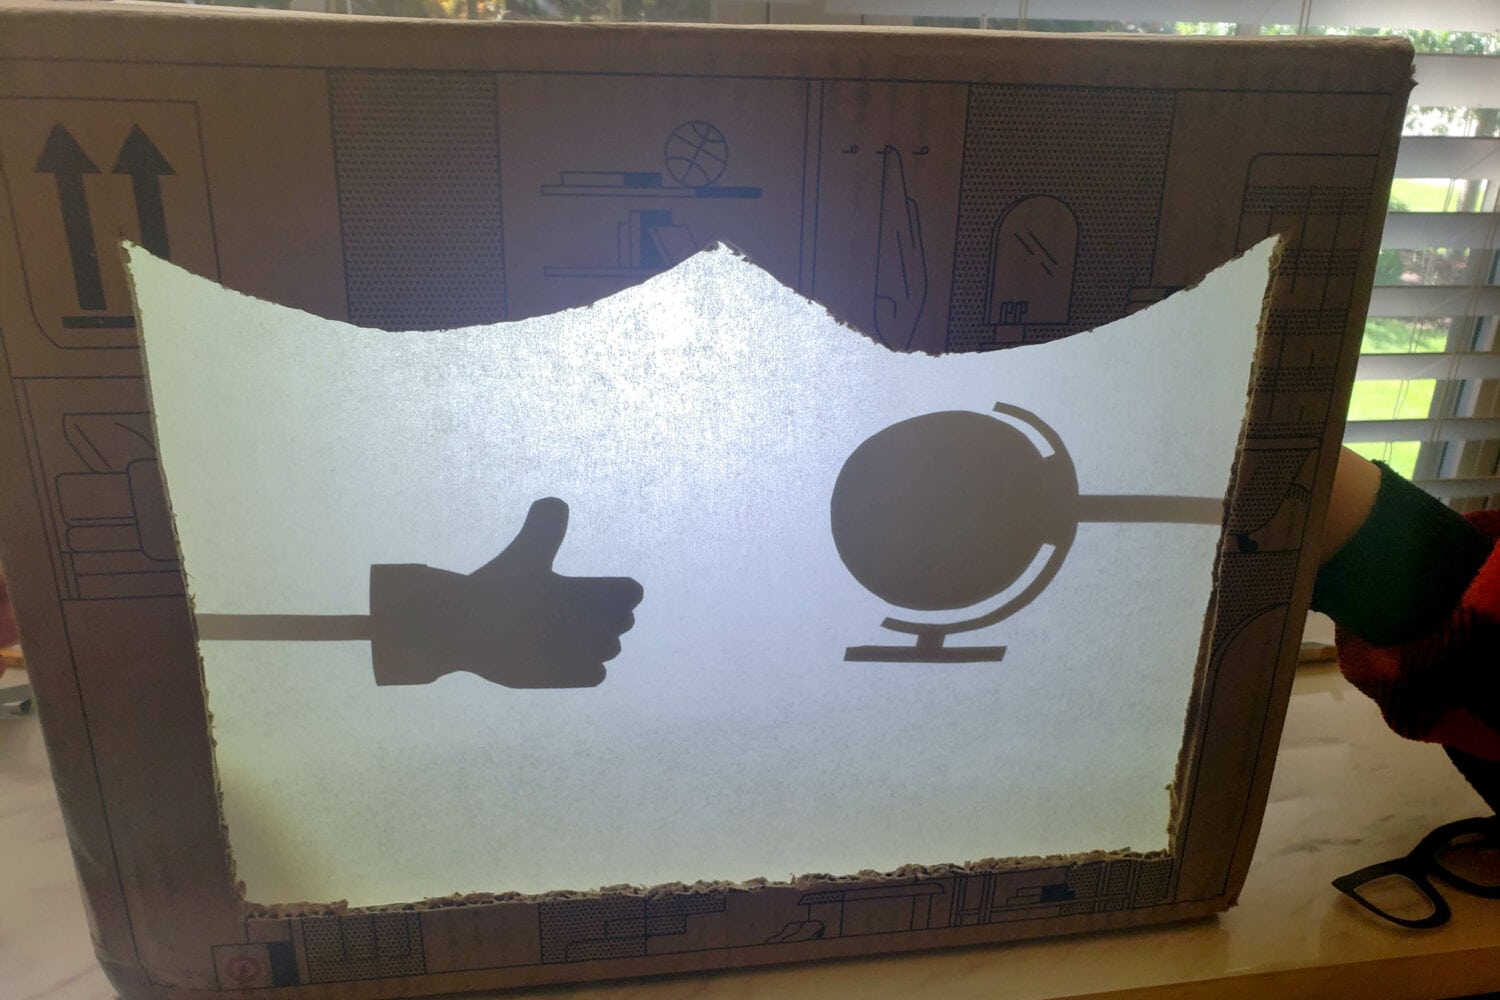
Simply hold a puppet from the pencil (or other handle) and extend the puppet design into the box from one of the two cutout sides. You’ll hold the puppet closer to the screen for a more clear and accurate view of the puppet.
It’s also fun to stretch your puppets far back closer to the light at the back and watch how the shadow gets distorted and makes new and interesting shapes.
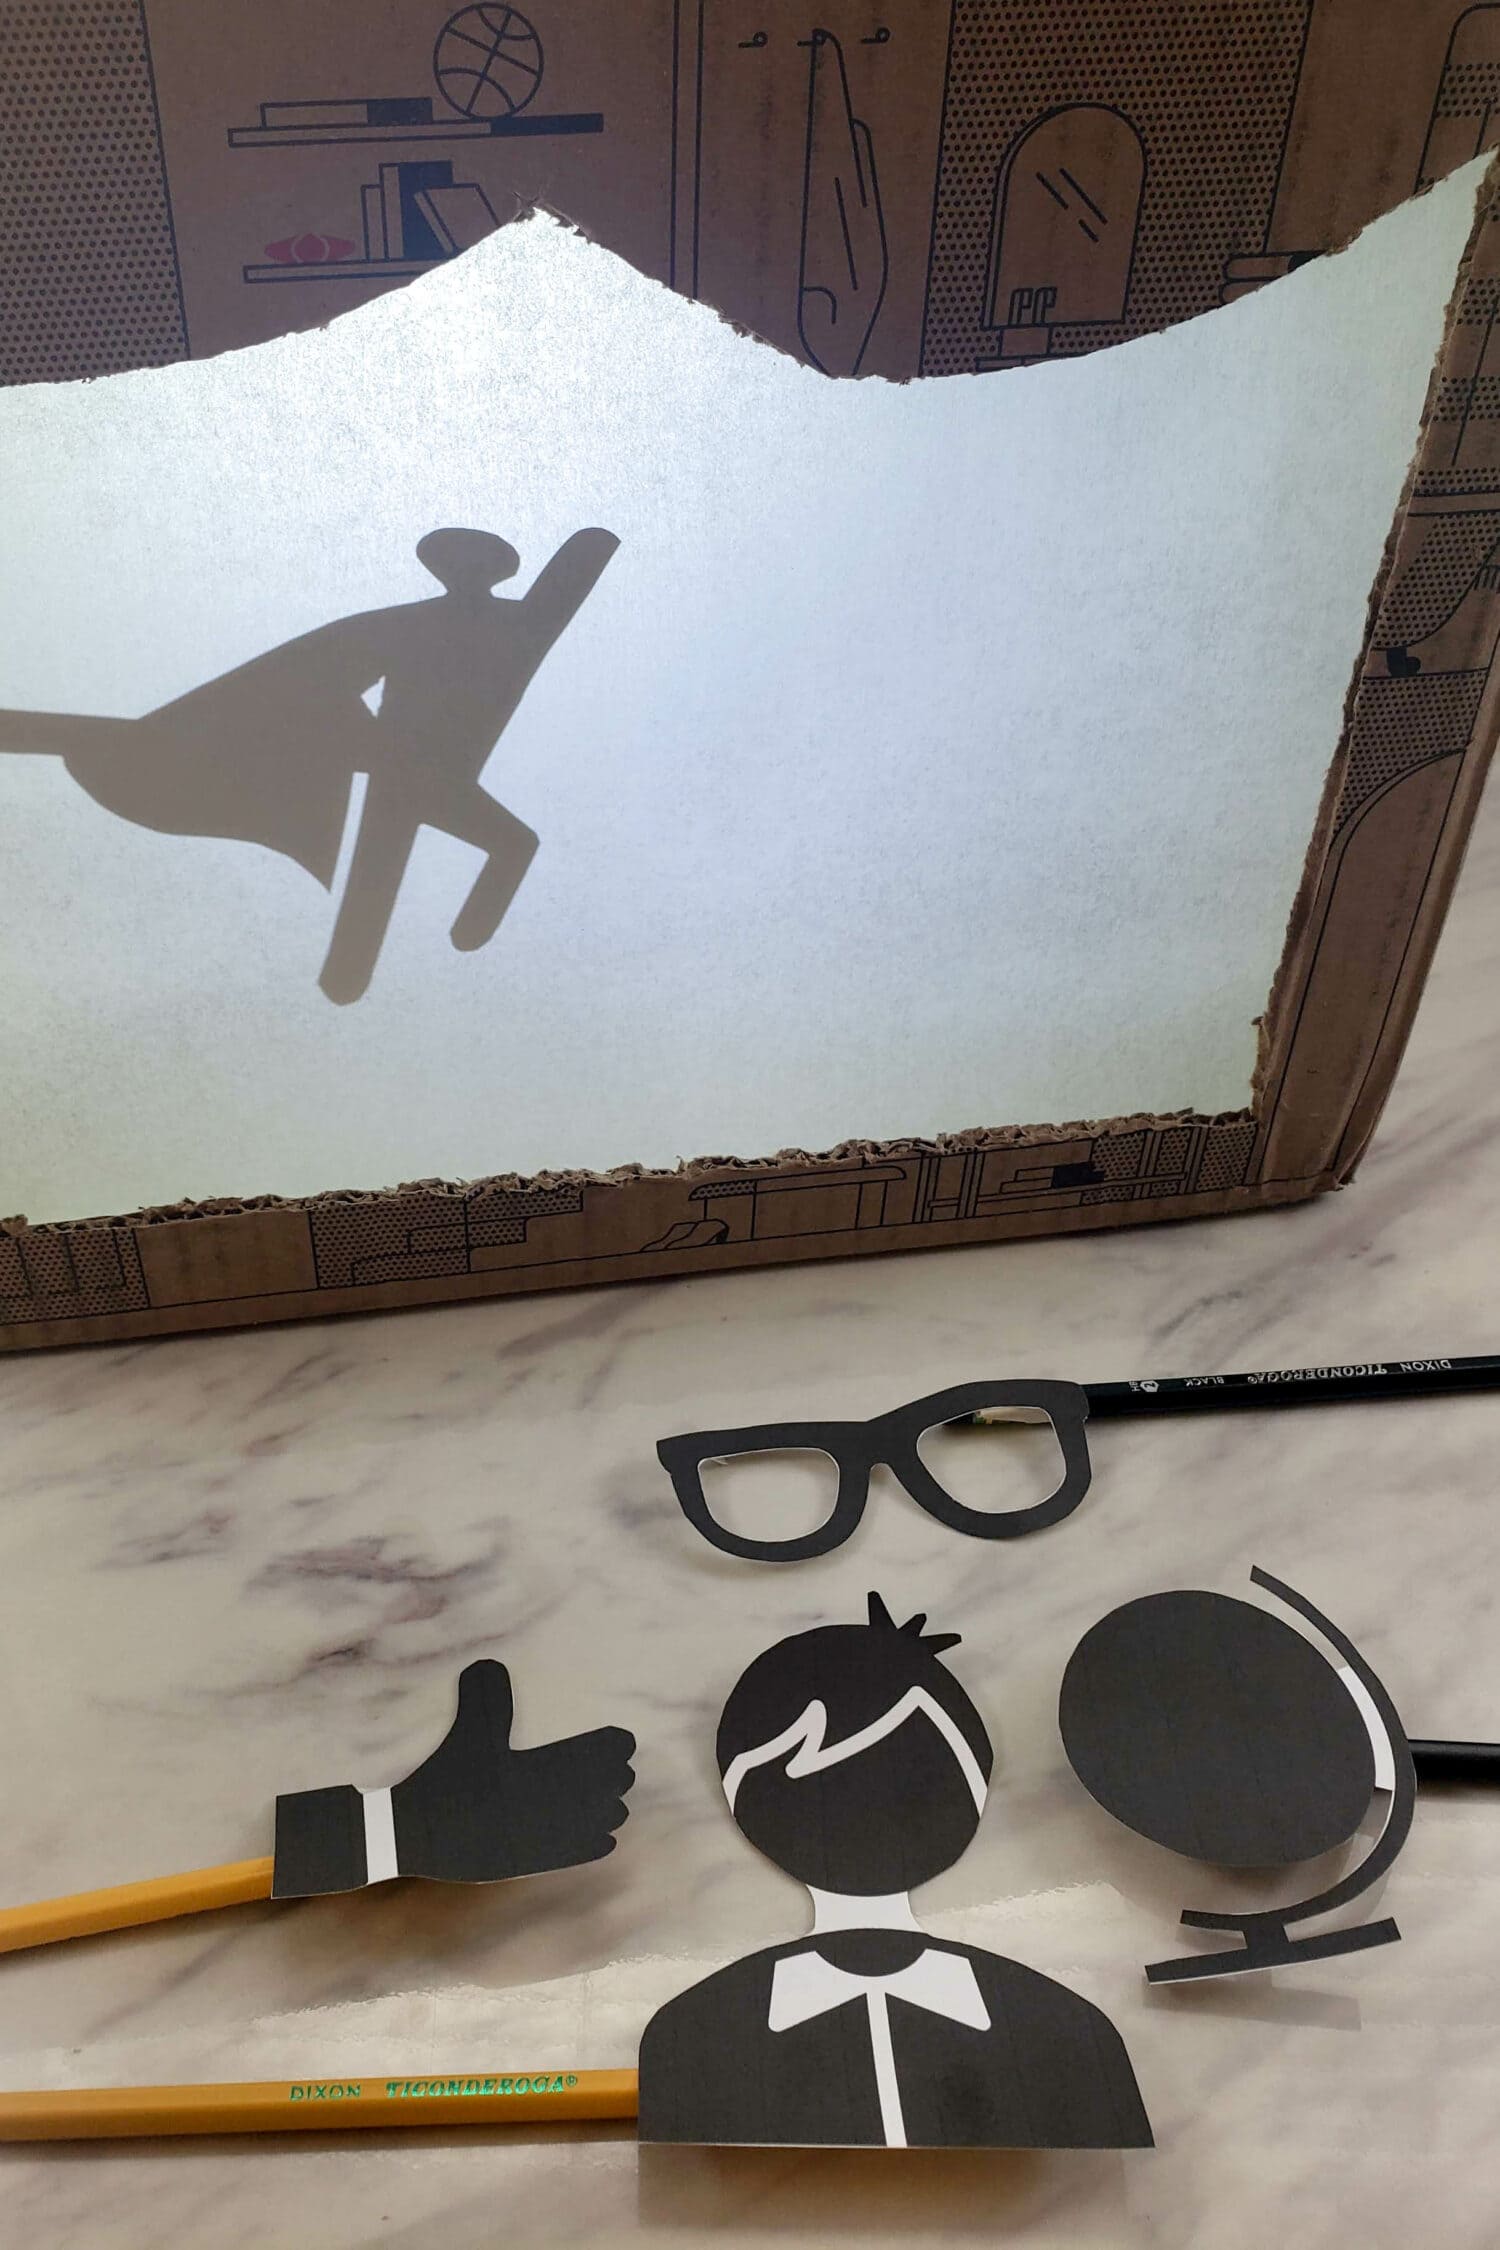
You can make scenery that stands on it’s own that can easily be added and removed such as attaching a tall mountain to a cup and placing the cup inside the box to hold up your landscape!
Let the kids use their imaginations to tell stories, recreate favorite movie scenes, or of course act out the lyrics of a favorite Primary song!
I’ve shared fun ideas for using the Shadow Puppet Theater on the lesson plans that match a particular song, so head over to grab each of those printable puppet sets and lesson plan for fun ideas and ways to use your new shadow puppet theater!
That’s it! Wasn’t that so fun and easy! I’d love to hear how the Shadow Puppet went over with your Primary! Share your experiences or questions in the comments below.

