
Have you ever heard of a Primary lyrics book? The idea behind it is a simple text version of a flip chart that use can use while conducting during the Primary Program presentation. You can also make a flip chart book with fun colorful flip charts to use during Singing Time!
This gives you and the kids a quick glance at the words – just in case you forget the lyrics! I know there have been times I’ve forgotten the lyrics.
I think this is the perfect way to give the kids a resource during the program without being over-the-top with huge posters or other things to hold. This simplifies the process so you can use your hands to lead, make hand gestures (my personal favorite method), and remind the kids to smile, sing louder, or even just to look up!

Affiliate links are used in this post.
Flip Chart Master List
To get started with your Singing Time Lyrics Binder – you don’t want to miss my massive resource with more than 100 flip charts! This flip chart landing page has links to all of my flip charts. They are each in their own post as I have several different options available for each flip chart including lyrics only, colorful option with LDS image library photos, and a slideshow version!

If you’re looking to jump right to my for-purchase illustrated flip charts, those are available in my shop here as well as in my Etsy shop (this year’s songs only).
Getting Started with a Primary Lyrics Book
These are some of my favorite items that are useful to have on hand when making a lyrics book:
Better Binder – I LOVE the Staples Better Binders!! They are seriously the best binders ever. They have a rubber edged spine that makes them virtually indestructible. With the way you will sling your binder over the edge of your music stand, this saves your binder from all the abuse!
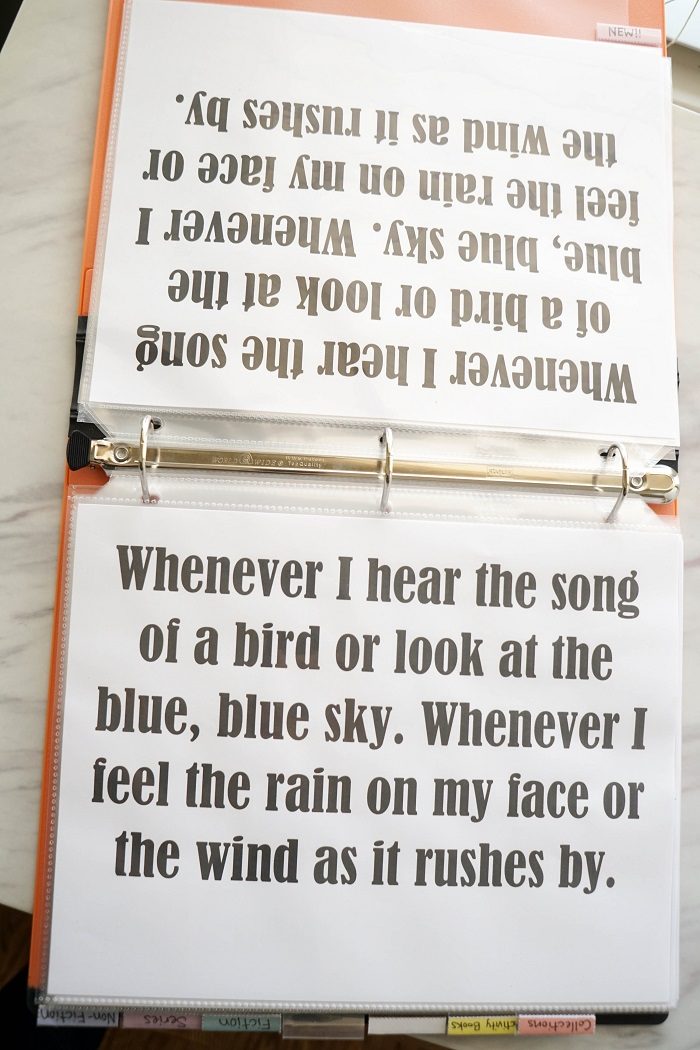
The binder in this picture is a Better Binder. Definitely worth the investment. I recommend a 1″ size Better Binder if you just want to store the songs you’ll teach in any given year.
I’ve also used the Avery Binders as they have a stronger reinforced spine and have held up to endless abuse! They’re another good option and not as pricey as the better binder.

If you want to store all of your binders in one spot to pull from as needed, I would go with a 2″ Avery Binder. It will be perfect for storage and will hold about 30 flip charts with the condensed style (1 page per verse). Depending on how many flip charts you’ve printed, you may need more than one, but going any larger than this size gets heavy and cumbersome.
Sheet Protectors – You’re going to want a big ‘ol box of sheet protectors as a Primary music leader! These things are like gold! I use them for just about everything and they save the printables so they don’t get thrashed by little hands. One tip is to remember that the things you print don’t have to live in the sheet protectors forever!

When you’ve finished the Primary program presentation, for example, pull all these pages out and stash them away in a manila folder until you need them again. Or, put all the pages inside a single sheet protector. This keeps them save and protected but doesn’t use up your resources – since you won’t need most of those pages again for 4 more years! Get a 200-count box of Heavy Duty sheet protectors like these ones.
Another good source for sheet protectors is Sam’s Club! They’re not quite and heavyweight as the Avery ones, but they’ll do great for storing your flip charts.
Sheet Protectors with Tabs – Another thing I love is adding tabs right onto the edge of my sheet protectors. Sheet protectors tend to stick out further than most dividers so they don’t function all that well. But no worries, it’s super cheap and easy to buy a set of repositionable tabs to use! I’ve used a few different styles.
My favorite are the Avery Ultra Tabs. Are you seeing a trend? They just make really good quality products! I’ve used these on my sheet protectors for the songs I plan to teach during a given year. They are super strong and sturdy and I really like the 2.5″ width that makes it easy to spot my songs. I’ll use my flip chart with the tab on it to divide all my teaching activities for the song, too, when using a portrait flip chart in my singing time binder (lots and lots of info on how I use that in that post!)

Another great option I discovered more recently when I was adding a bunch of tabs to a Book of Mormon with different themed topics to flip to for my Young Women were these thinner 1″ tabs. They aren’t as stiff and strong as the Ultra Tabs, but they’re really great for using in a setting where you have lots of flip charts and want to be able to easily see all the song titles!
Colorful Flip Chart Lyrics Book
for Singing Time Tips & Tricks
Load Pages Backward – Start with the last page of your flip chart first, and then make your way to the first page of your flip chart loading it into your binder last. Then, make sure the tab with the song title is on that last page (the first page of the song).
Setting your book up this way lets you flip from the back of the book over the top instead of trying to pull the front page around to the back. This keeps your hands out of the way and is SO much easier!
Song Order – For storage, I like to put my flip charts in alphabetical order. This is the fastest and easiest way to find your songs of choice. After I alphabetized the songs in order, then I added my tabs so they look pretty and sequential. The tabs are easily repositionable so you can move them as needed.

When preparing to use specific songs during Singing Time or for your Primary Program, you’ll want to put your first song LAST in the book. This lets you continue flipping from the first song all the way through the last song by flipping the pages forward over the binder.
Watch my video linked below to see what this looks like!
Write a hint on the back of the page – To help you follow along and know just when the right timing for flipping over to the next page is, you can write a note to remind you on the back of the following page. This page will be facing upward towards you so you can easily see your note, and flip as needed. For example, if the 1st verse is facing the kids, you can write 1st verse on the back of the 2nd verse page that is flipped upside down and oriented towards you, when you’re standing behind the binder.
Chorus Page – I personally choose to include the chorus page only once in my flip chart binder. I have found that the kids generally pick up the chorus really quickly and don’t need the lyrics for the chorus. I’ll include the chorus after the first verse, but then not again. You can still flip the reverse direction to access the chorus again another time if you need to, but this will save you both space and ink by printing the chorus just once.
Flip Chart Lyrics Book Video Demo
Are you a visual learner and want to see how this all comes together, or listen to most of the tips I outline in this post instead of reading it? I’ve got you! I made a quick video to show you how I store my flip charts and flip through them in a lyrics book here.
> Singing Time Flip Charts Lyrics Binder on YouTube <
Shop My Flip Charts!

Old Testament Year Flip Chart Bundle

Book of Mormon Year Flip Chart Bundle

D&C Year Flip Chart Bundle
Double Sided Lyrics Only Book
for the Primary Program/Presentation
Another option you might decide on is a simple version with NO pictures for your primary program. The reason for this is to make the lyrics as large as possible and easy to read.
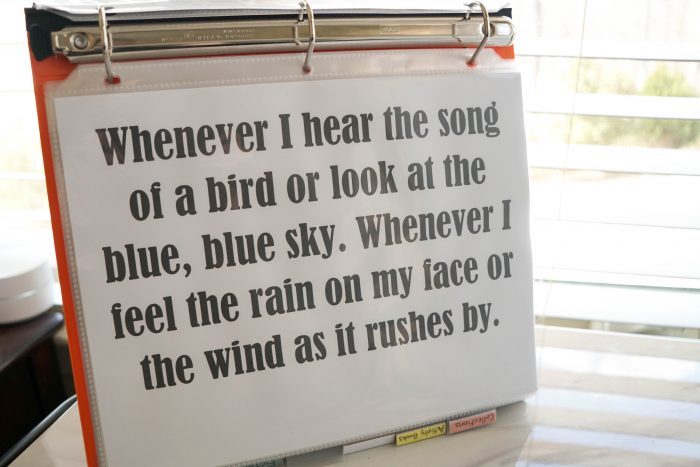
I aim to fit an entire verse on one page, whenever possible, so that it’s easier to flip along during the program while leading the music. You can also simply choose to continue to use your colorful Singing Time lyrics book!
When your lyrics book Primary flip charts are ready to go, you’ll want to print 2 copies of each flip chart!
You’ll load each page into a sheet protector – with one copy of the song facing the kids and the second copy facing you. The easiest way I found to do this was to lay the page on top of the sheet protector on “top” — the side that would be facing the kids.
Then, flip it back as if it were hole punched and on the rings so that it is now facing downward. Place the second page on top – the one that will face you.
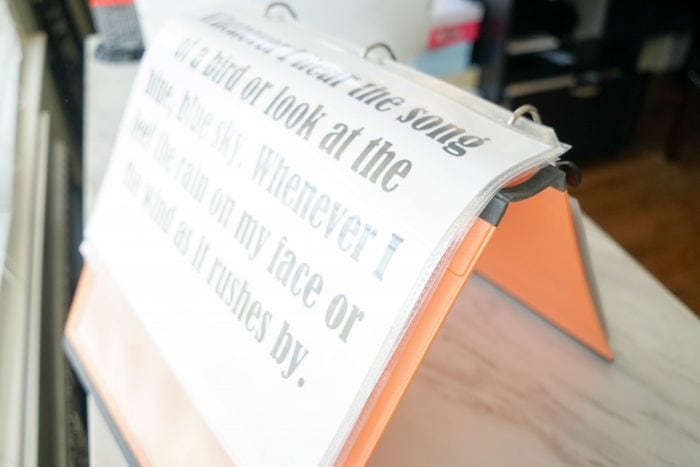
You’ll have the first verse on top facing up and the second verse below with the text facing downward. Now, load those two sheets into the sheet protector.
When you flip the sheet protector over, you’ll now have the 2nd verse facing the kids and a blank sheet protector in your spot.
Repeat by adding the 3rd verse (or 1st verse of the next song) sitting on the top side, flip it over following the rings again, and add the 2nd verse facing you on top.
Again, load this one into the sheet protector. You’ll continue just like that until you’ve made your way through the whole lyrics book.
**If that’s really confusing, just load all the pages facing you, then flip the book around and load the second copy in facing that direction. It’s a little harder to load sheet protectors when there is already a piece of paper inside, but this will work just fine, too!
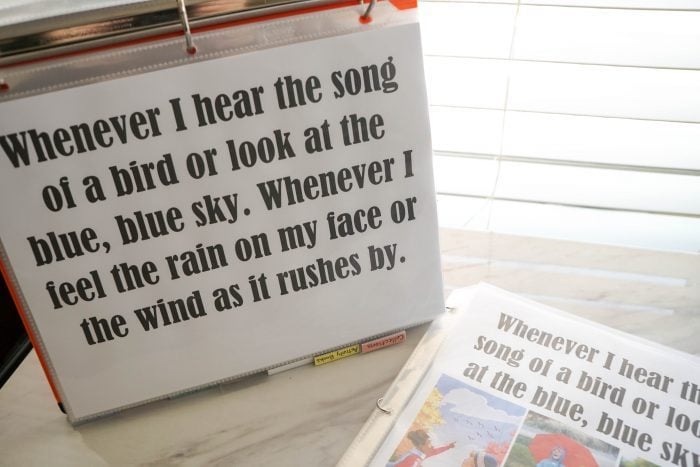
Now, you’ll have a great resource on hand and available for you to use while your conducting, reviewing songs, and for use during the Primary program!
If you want help making a lyrics page flip chart – pull up our landing page of all the flip charts we’ve created to get an idea or download and use the ones we have available!
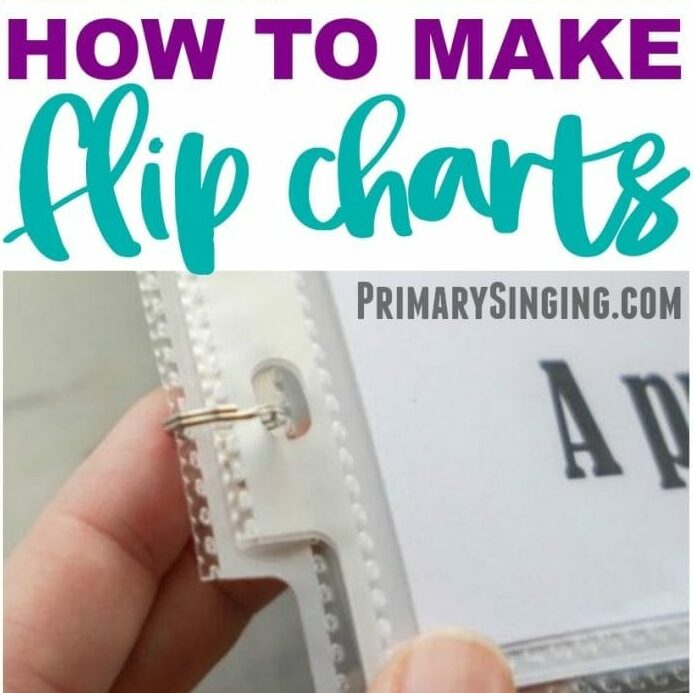
Next, head over to see how I make & use flip charts – including a special flip chart “booklet”!