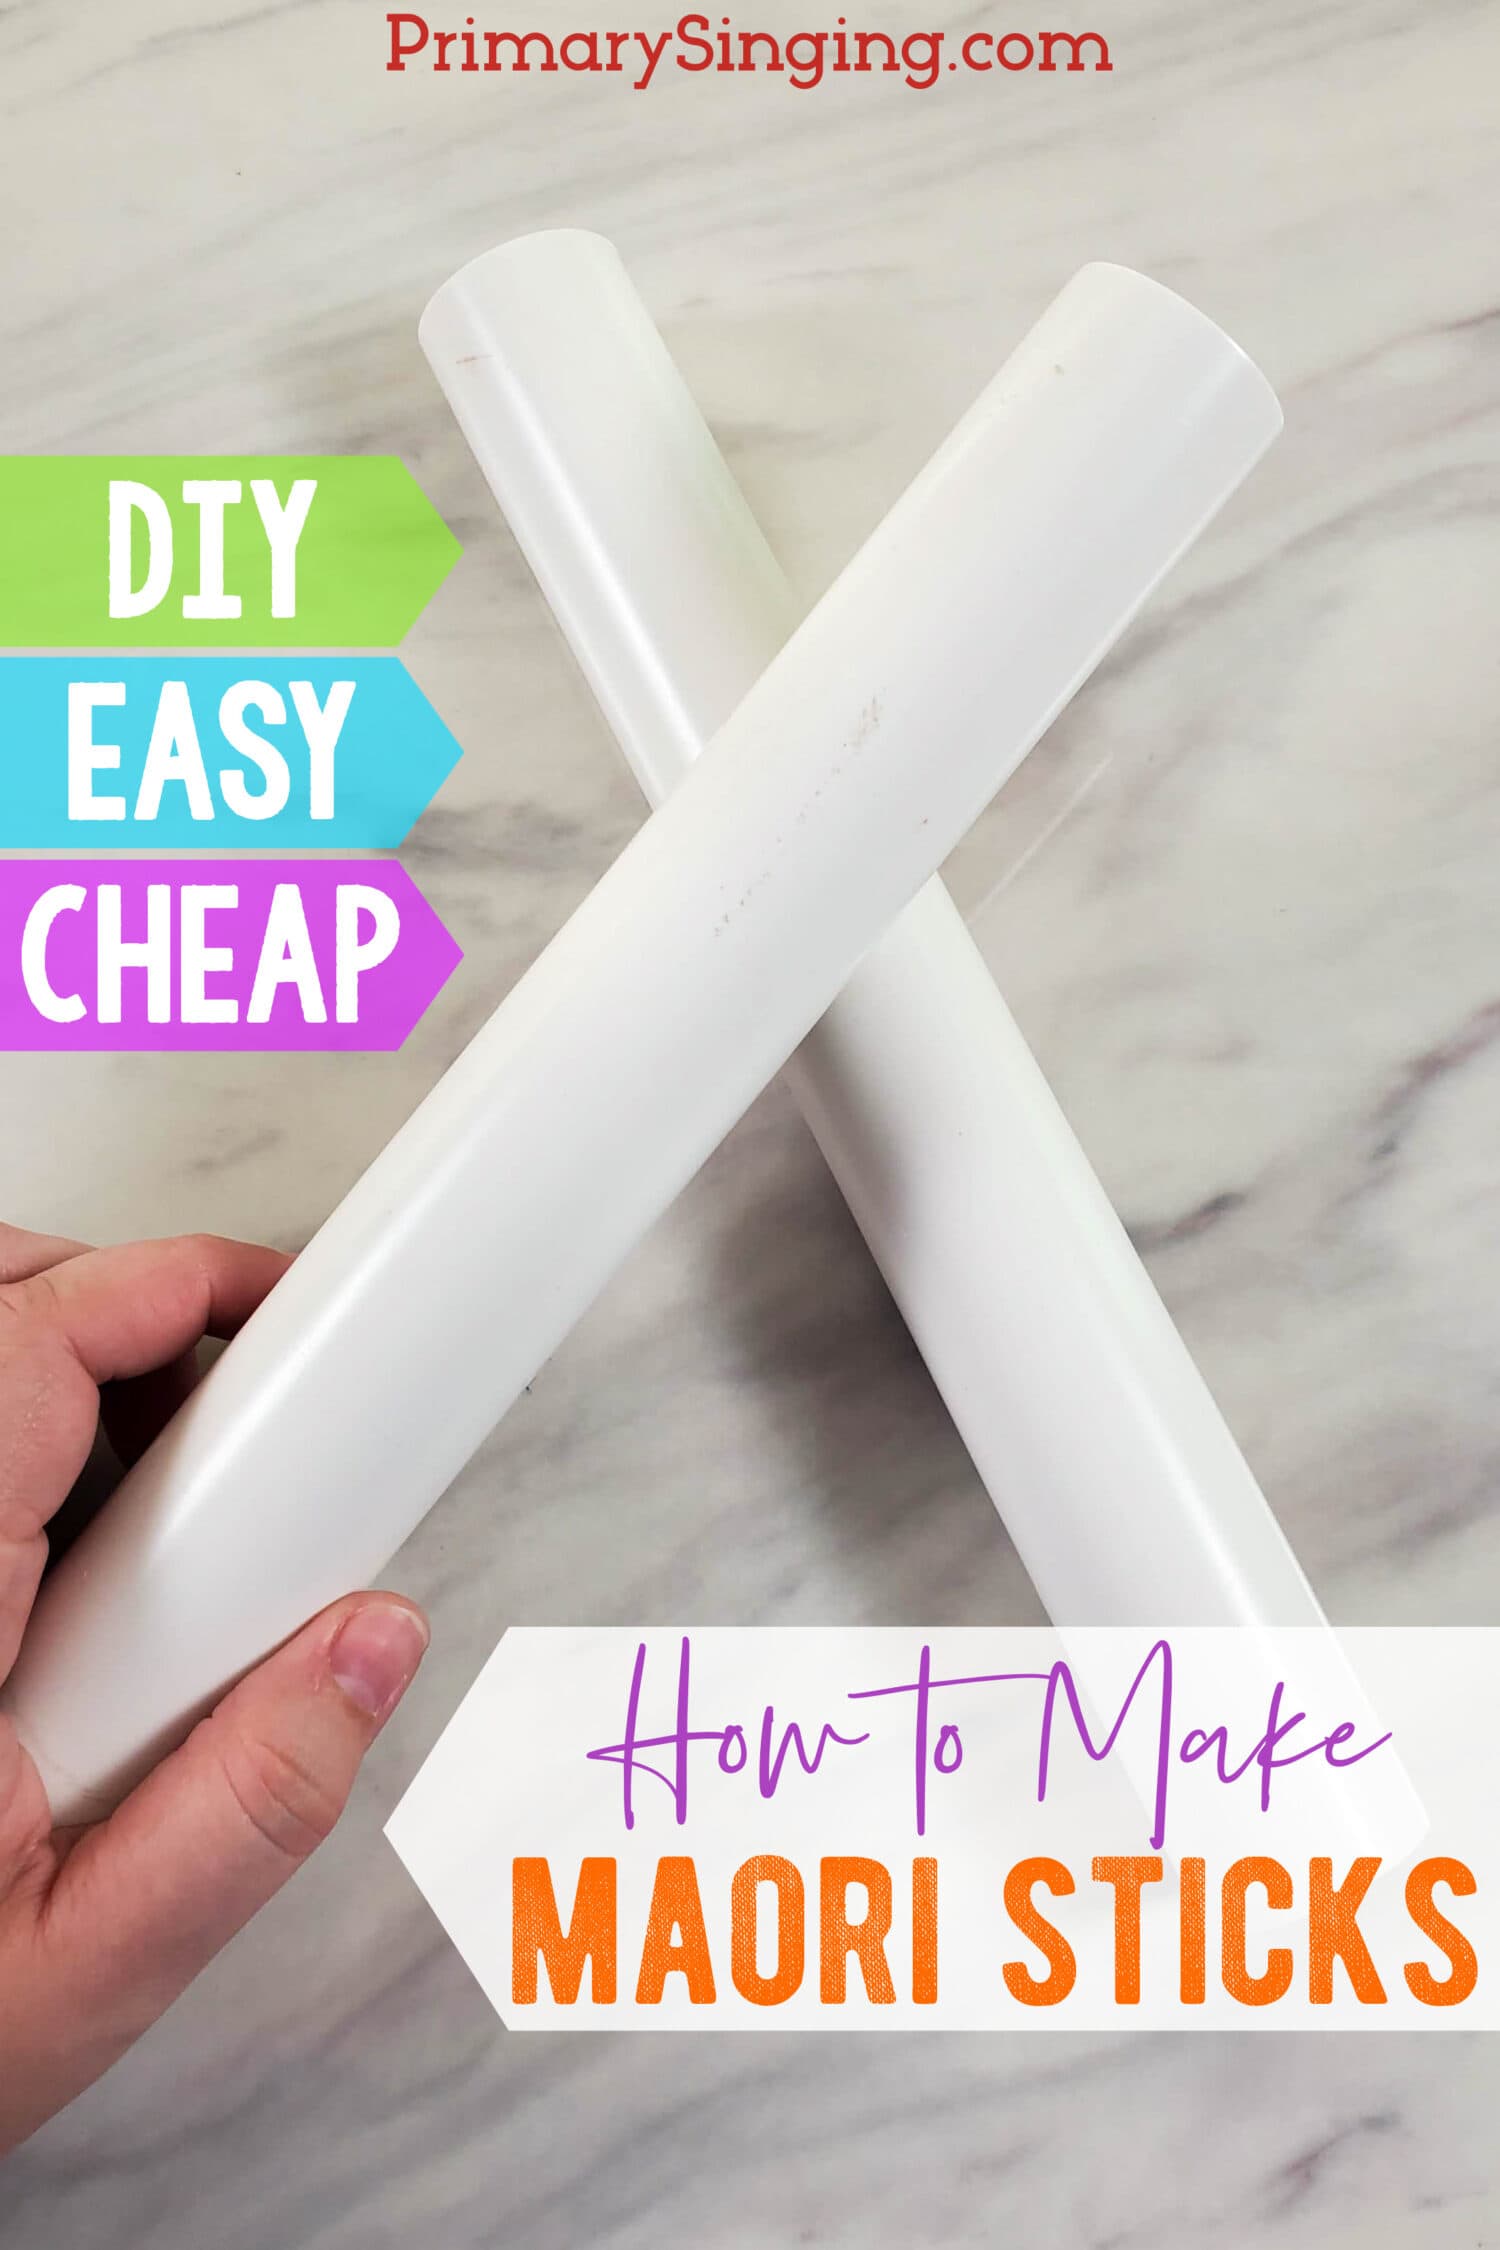
Have you had a chance to use Maori sticks in Primary yet? They can be so much fun for adding a steady beat, movement, people interaction, or just plain fun! It’s super easy to make your own homemade instruments, and in this post I’ll take you step-by-step with How to Make Maori Sticks!
Should I Buy or Make DIY Maori Sticks?
Maori Sticks are a really fun instrument to make from home! They’re super quick and easy to make and you can pick up all the supplies at your local home improvement store.
Homemade PVC pipe Lummi Sticks are a great option, but you can also just pick up a set easily for Maori or Lummi Sticks on Amazon. They’re not very much more and come in pretty colors!


Maori Stick Game Actions
The 5 main Maori Actions to try include:
Clap – Bring the two sticks in front of you and tap them together with the sticks parallel to each other.
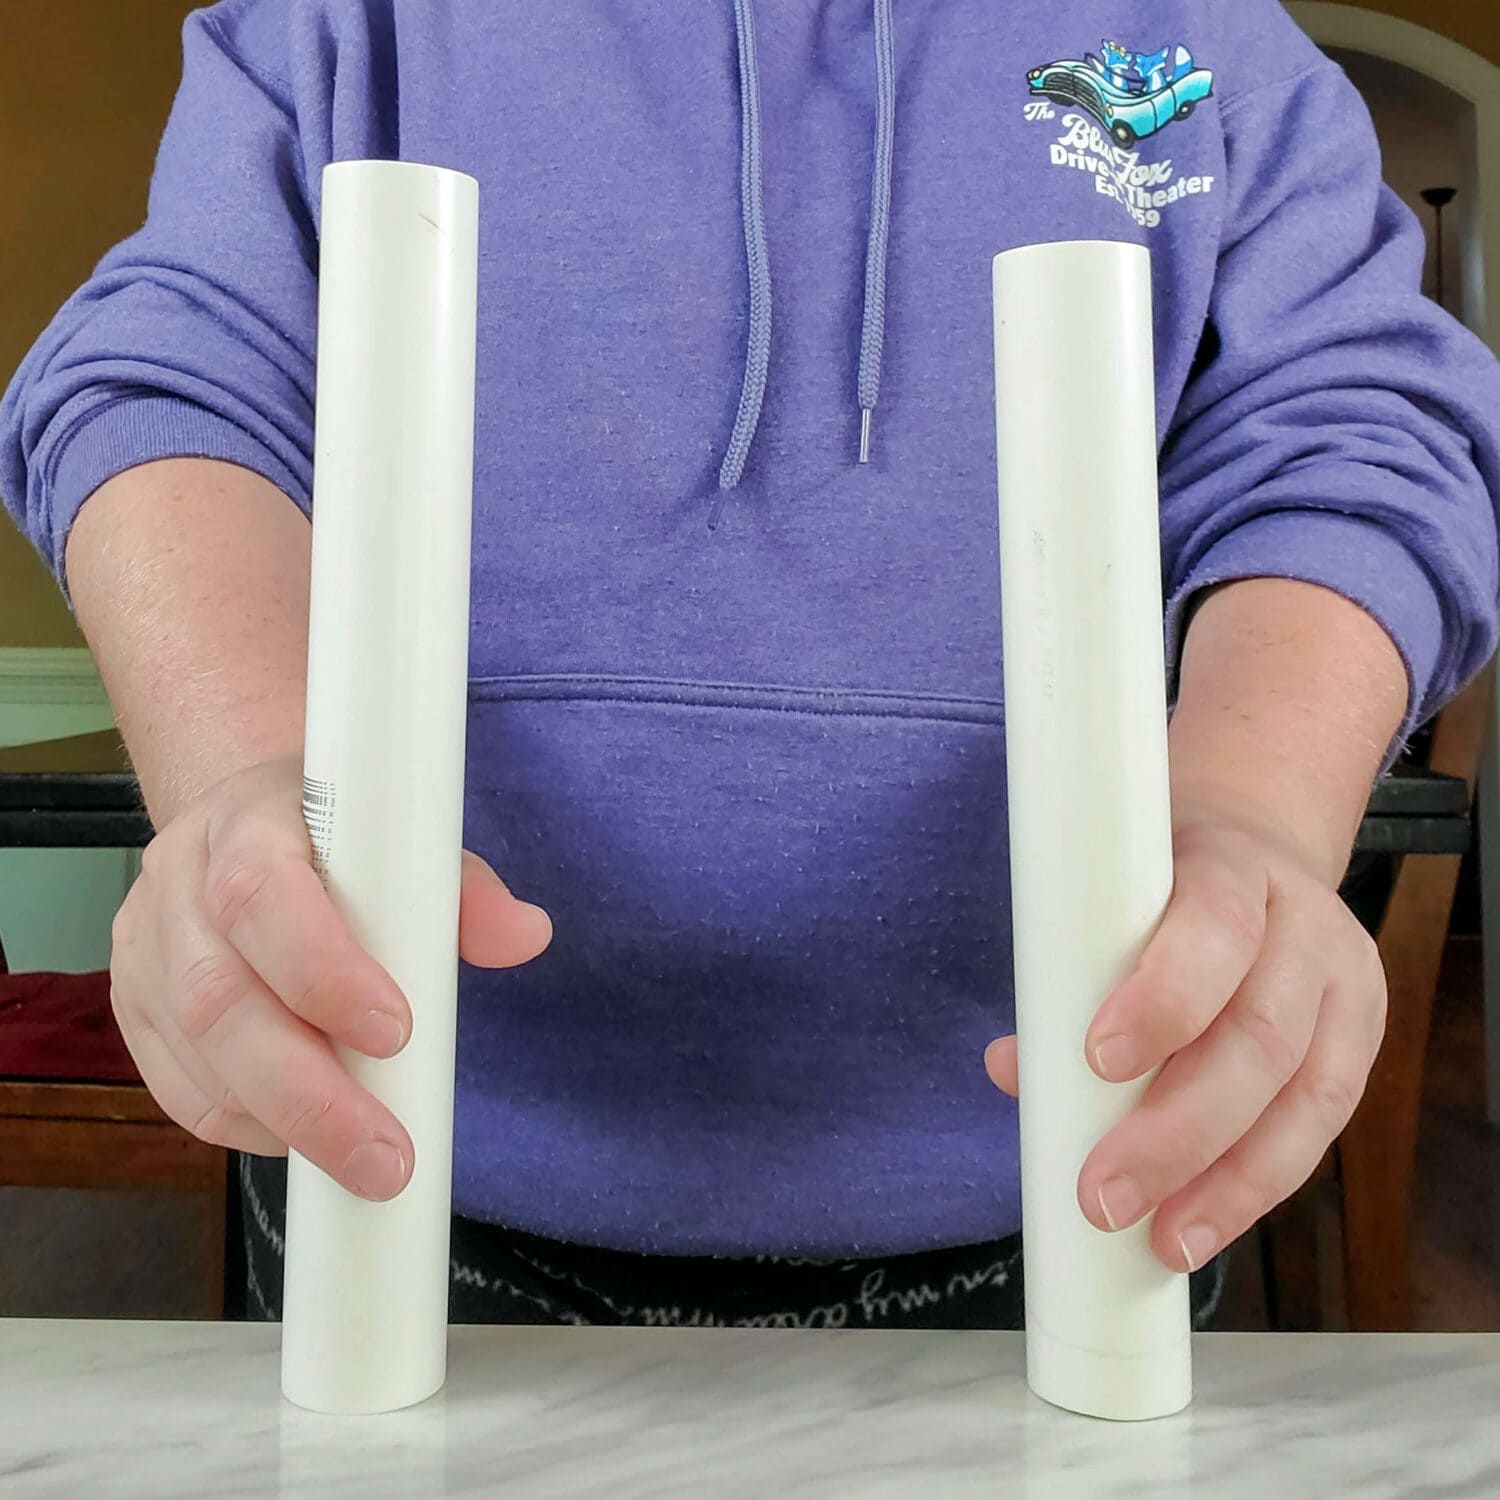
Tap – Bring both sticks down and tap the bottom circular edge straight down on the ground.
Drum – Hold both Maori sticks out in front of you, like drumming on a drum, tapping the ground in front of you.
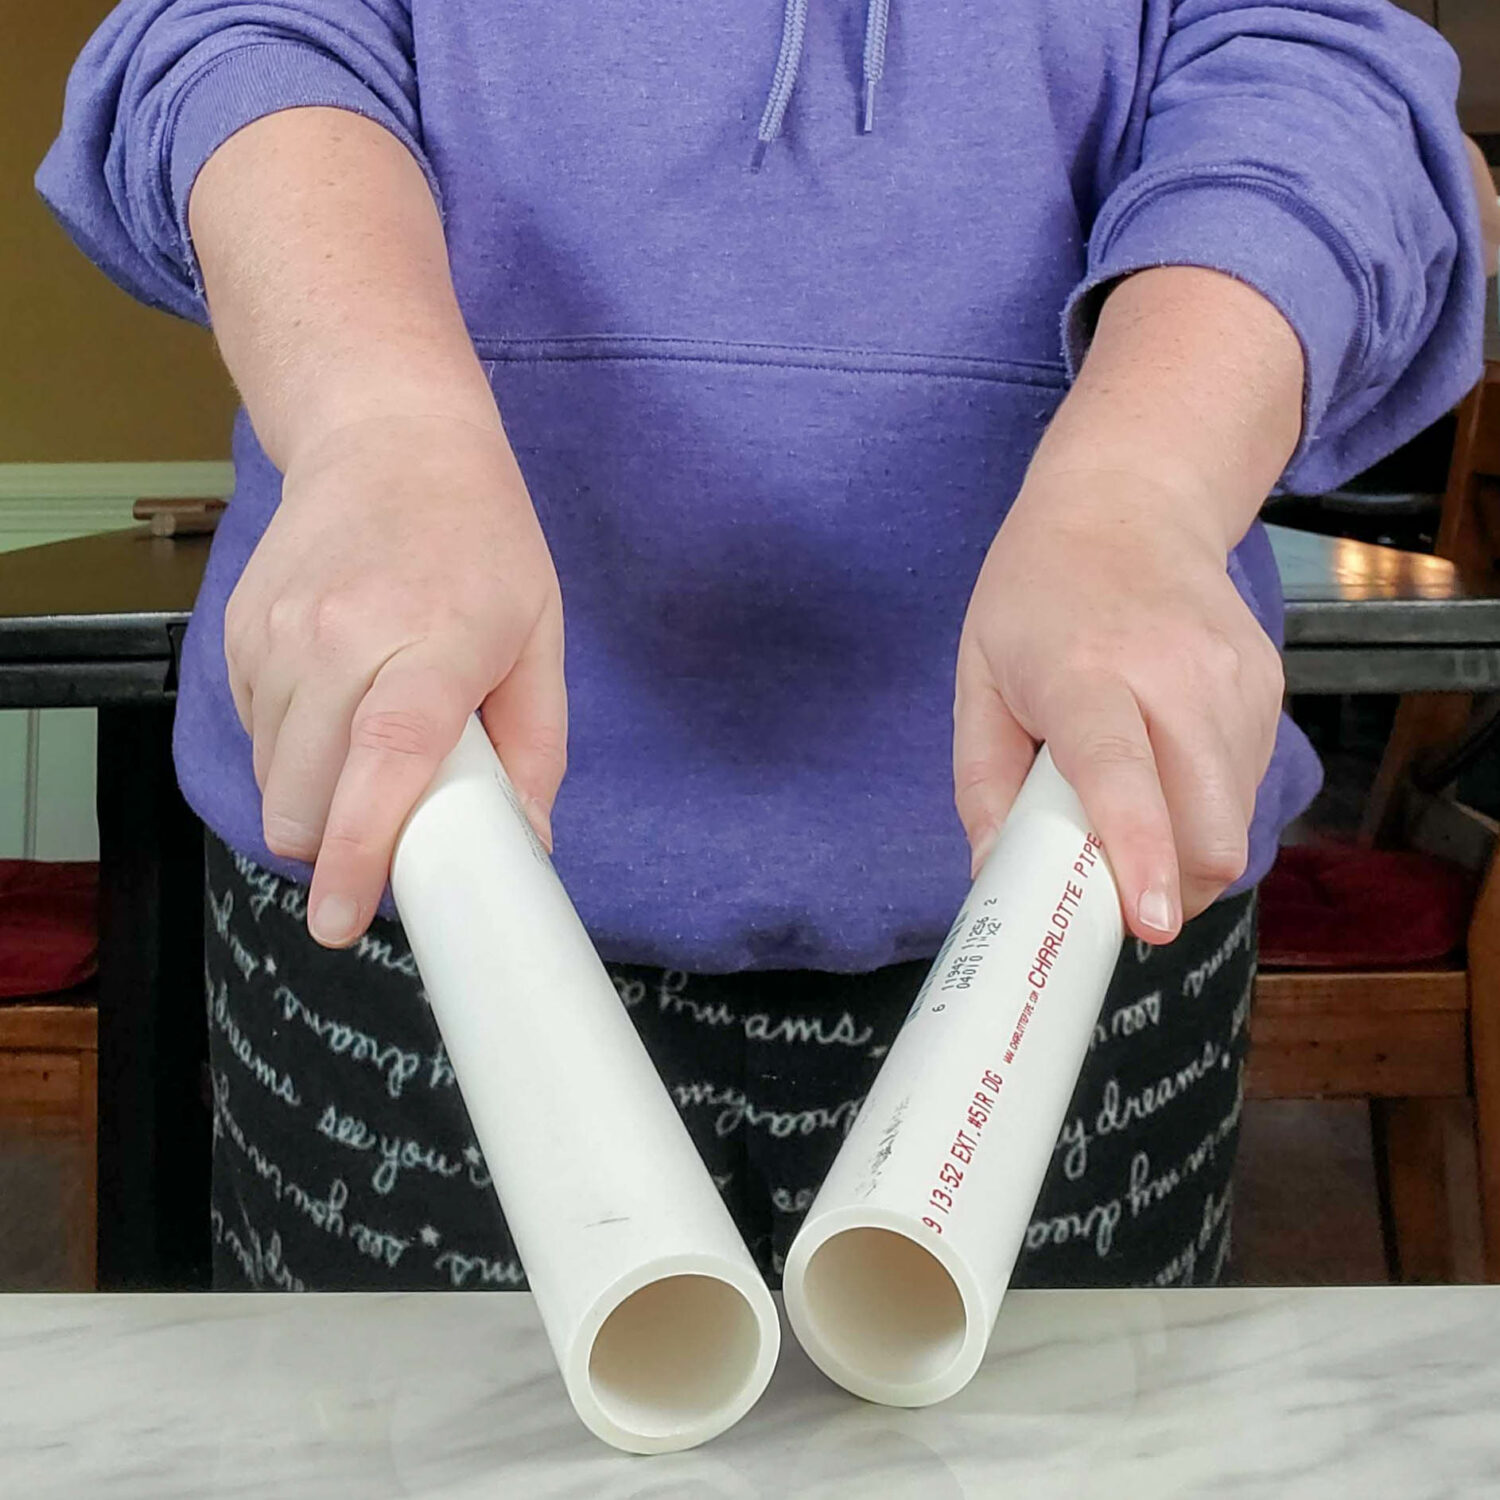
Flip – Toss one stick in the area in a small controlled toss, and catch.
Throw – Throw one, or both, maori sticks straight across to a partner, then catch theirs.
Head over to see a fun pattern and example of using Maori sticks to teach I Want to Live the Gospel singing time plus printable cards to help you make your own sequences!
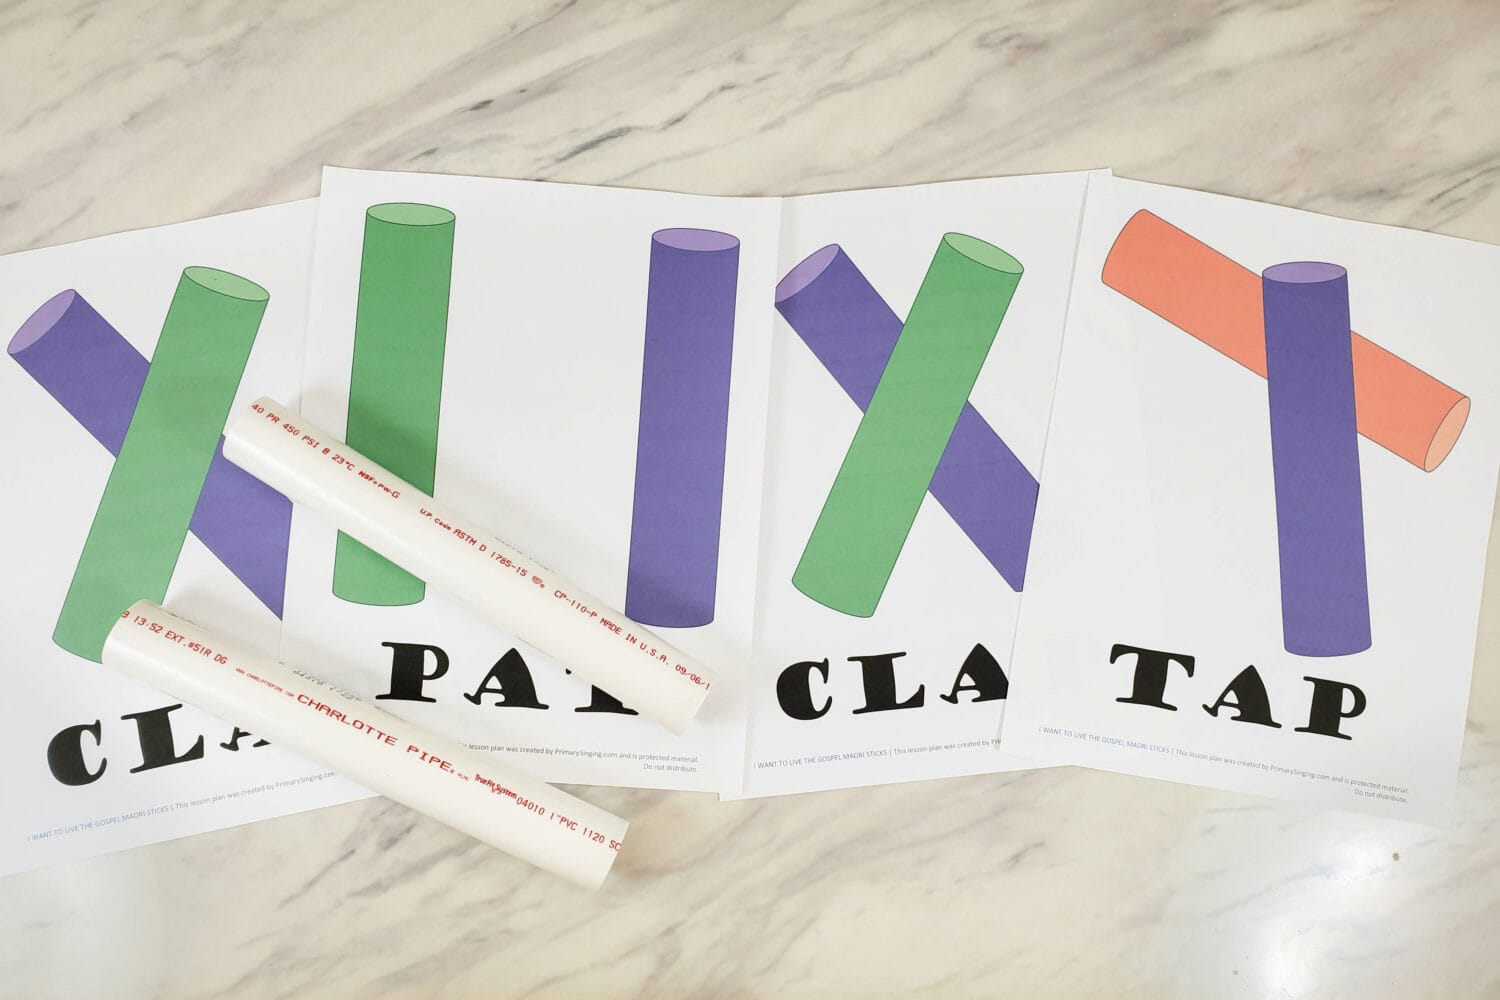
I also have some great alternate suggestions in that post to help adapt the actions to fit your Primary and a no toss alternative!
For more ideas, head to the church website to see their post on The Maori Stick Game!
DIY How to Make Maori Sticks
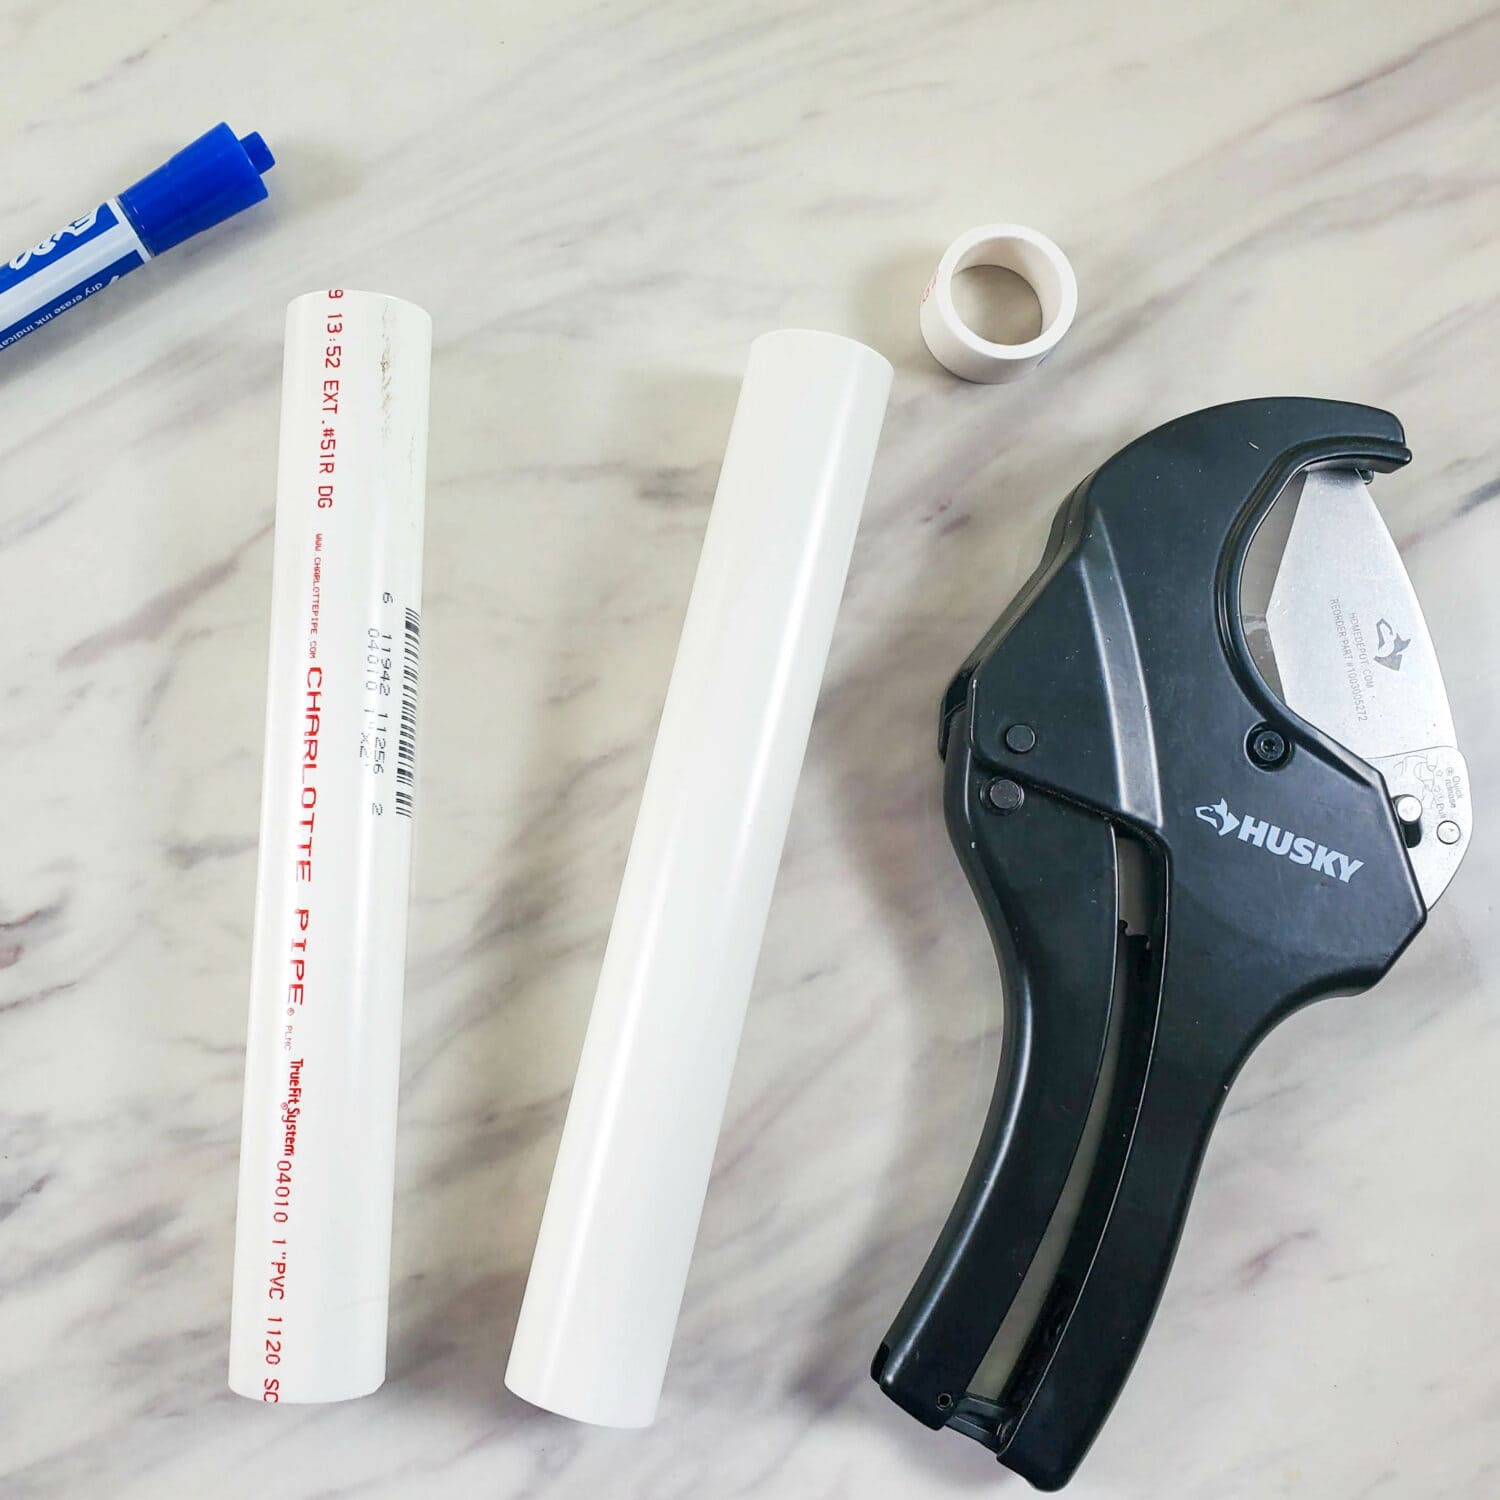
Supplies:
- 3/4″ to 1-1/4″ PVC piping
- PVC Pipe Cutter
- Ruler or Tape measure
- Dry erase marker (optional)
Step-by-Step Directions for Making Maori Sticks:
Pick-up a PVC pipe at your local home improvement store or scrap parts store. Make sure it is clean and safe to use. I recommend purchasing in 10′ lengths as you’ll be able to get 12-15 instruments from each!
Now, you’ll need a PVC Pipe Cutter and a little bit of muscle! If you don’t have one, they aren’t too expensive to pickup and super handy to have on hand. Or, check if anyone in your ward or neighborhood has one you can borrow.

Measure your PVC pipe and cut just your first Maori stick set (2 sticks). You’ll want to test out the size and make sure you’re happy with the size before cutting the rest of your pipe. I think anywhere between 8-10″ is ideal.
You want them long enough to have substance and for doing the toss and catch actions. But short enough that they aren’t too difficult to store or super big for the kids hands.
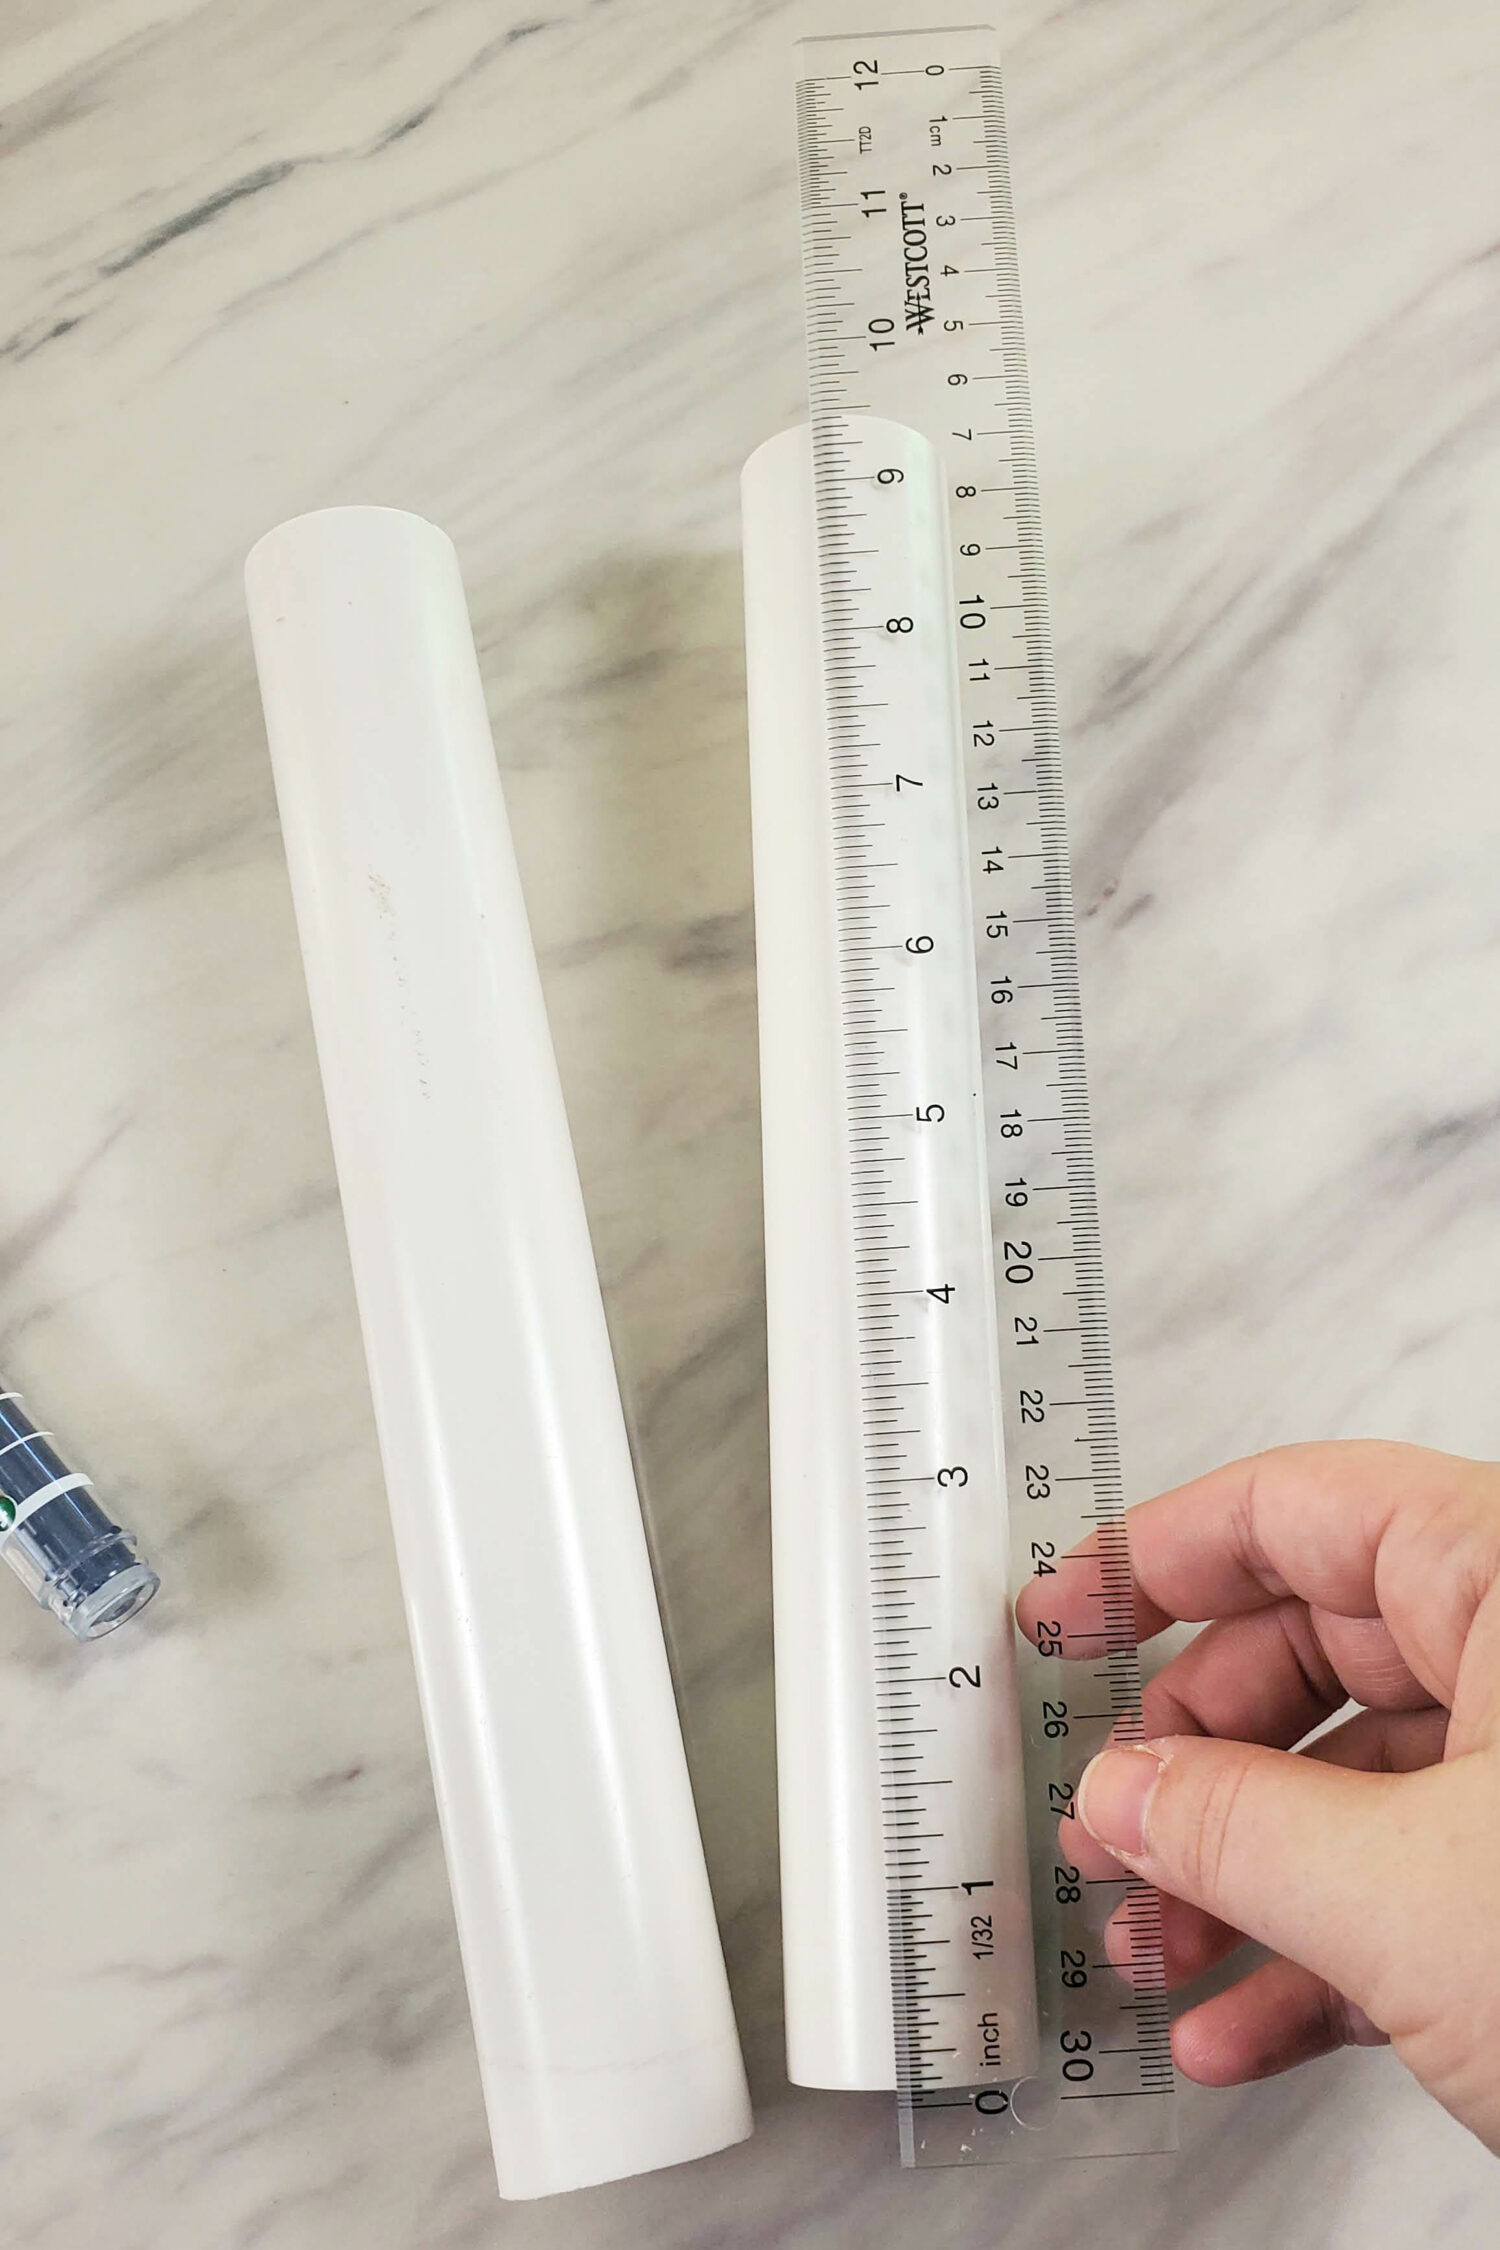
I cut mine to 9.5″ (I just cut a scrap piece I had leftover in half). They are a great length, but could also be a little shorter.]
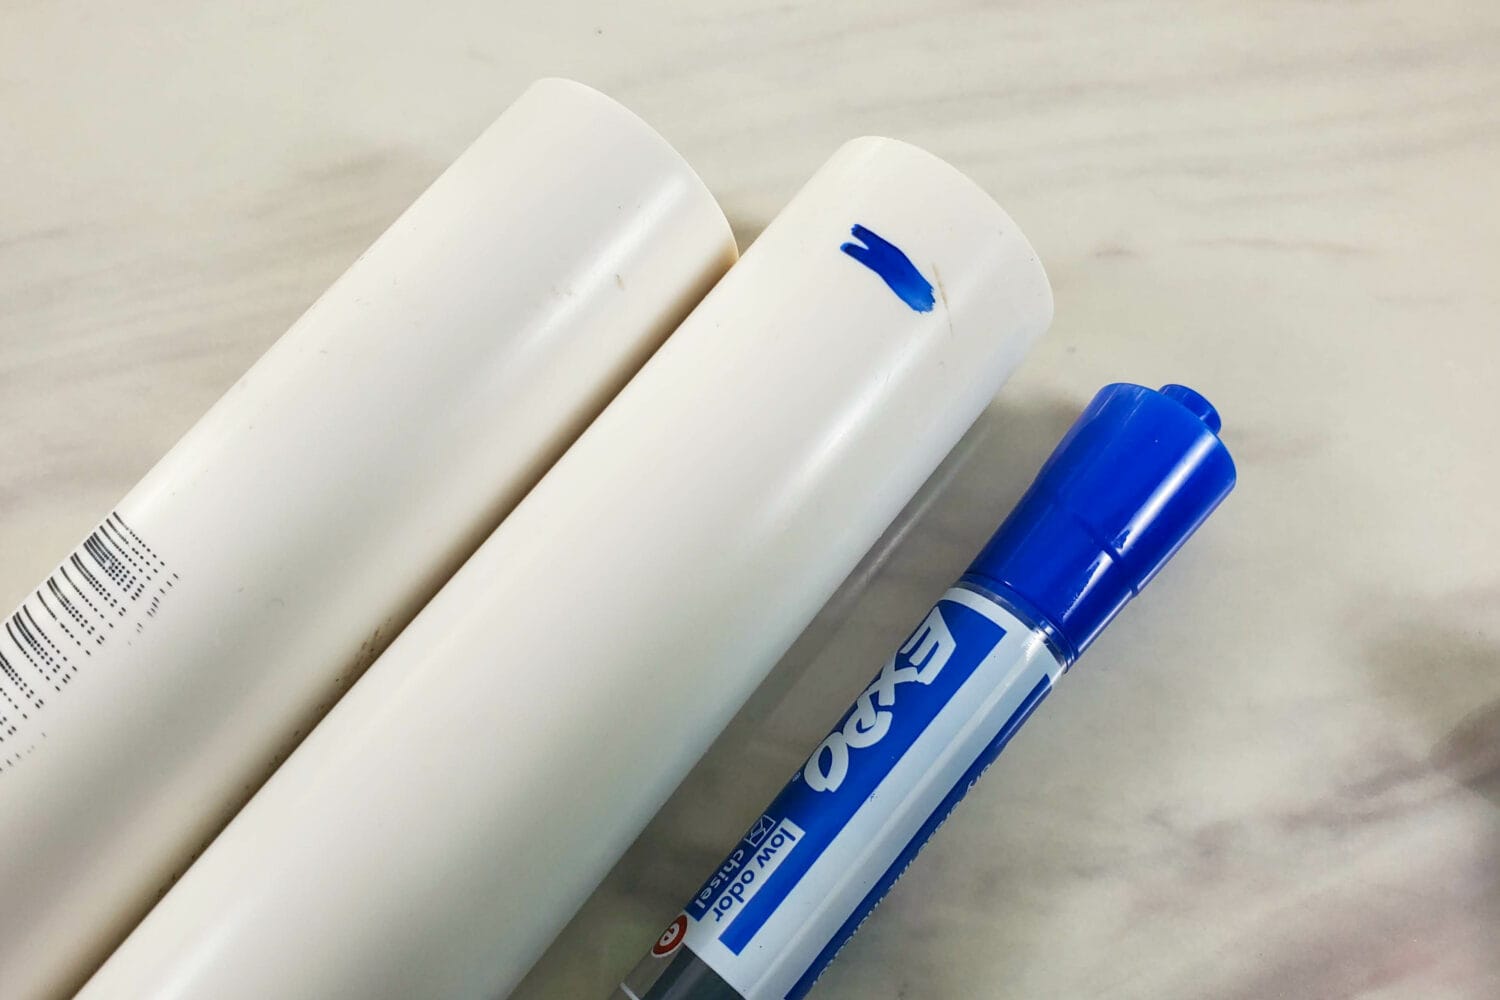
One super easy way to mark your PVC pipes is with a dry erase marker. Be careful not to smudge it and just mark your next cut or two. Then, after you’ve cut the pipe you can wipe it off and there’s no mark left behind!
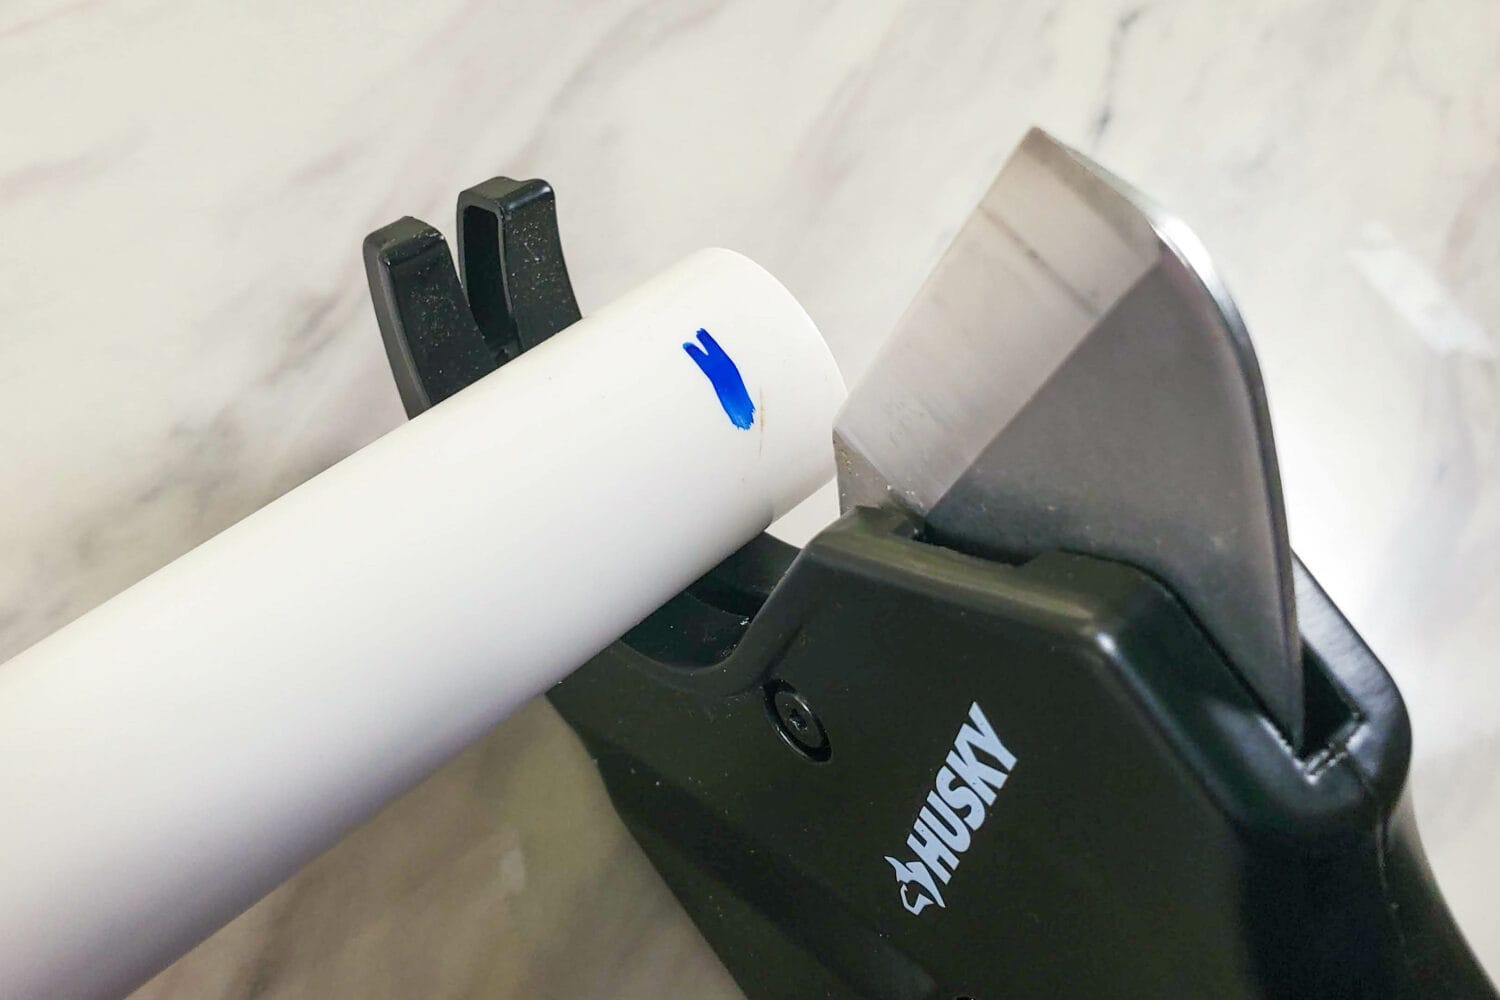
When you’ve picked your length and marked it, place your pipe inside the mouth of the pipe cutters. Now, just squeeze and squeeze and it will slowly inch downward with each squeeze until you’ve cut all the way through the pipe!
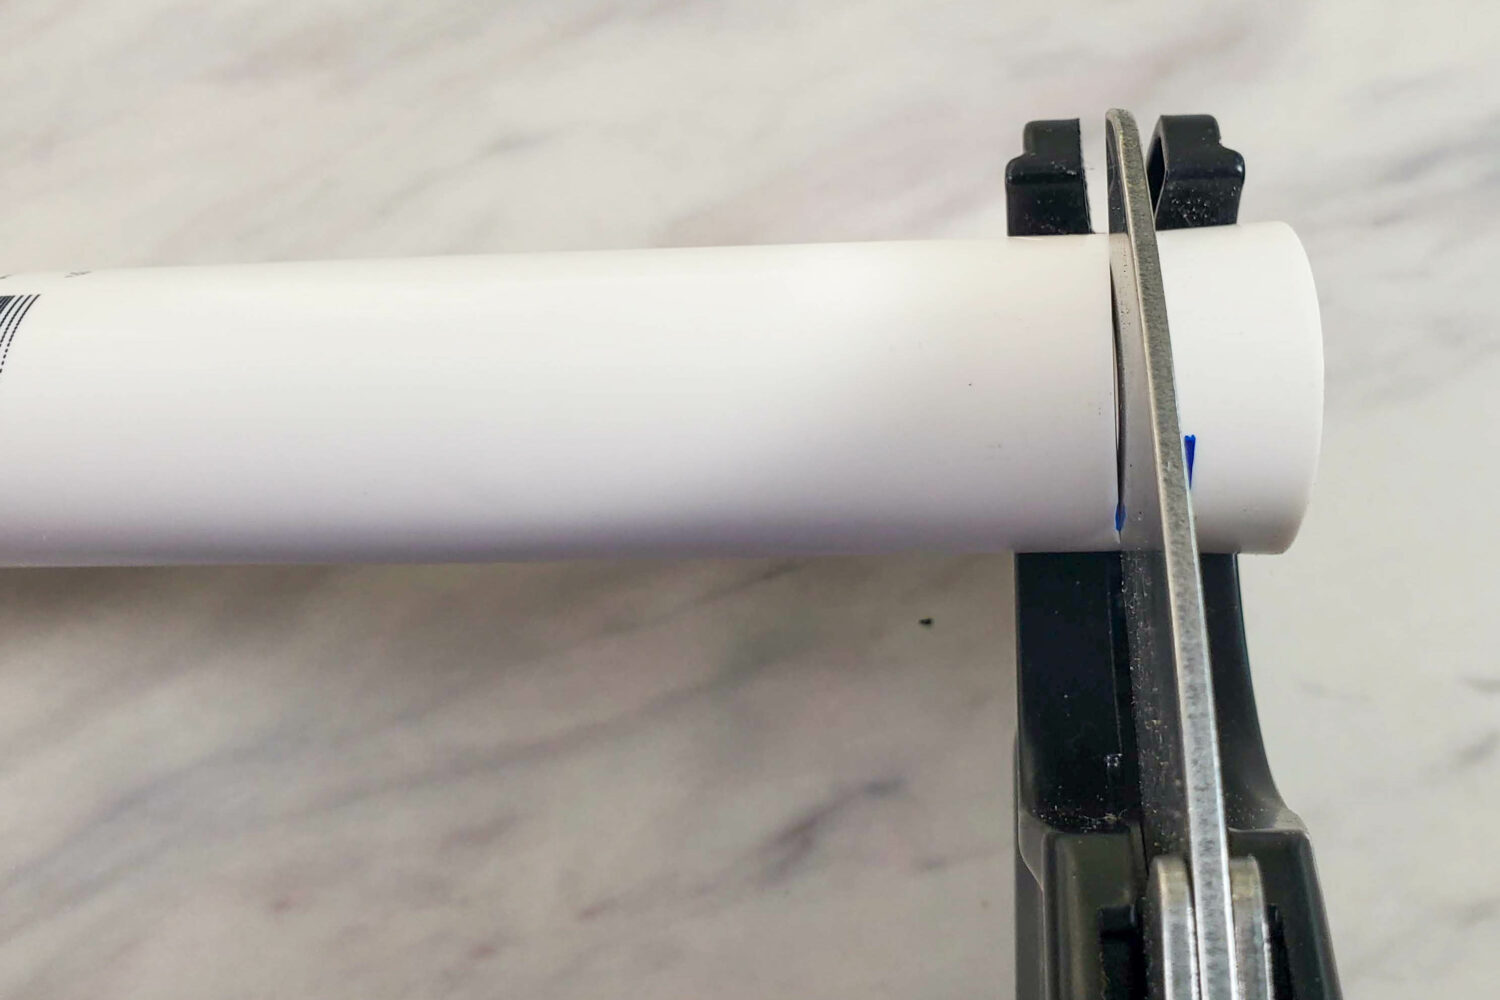
Continue your way through the rest of the length of PVC pipe using your first cut as a guide for more consistent and evenly sized Maori sticks that will all match each other. If you choose 8″ you should be able to get roughly 15 Maori sticks and 10″ will get you approximately 12 Maori Sticks from a 10-foot PVC pipe.
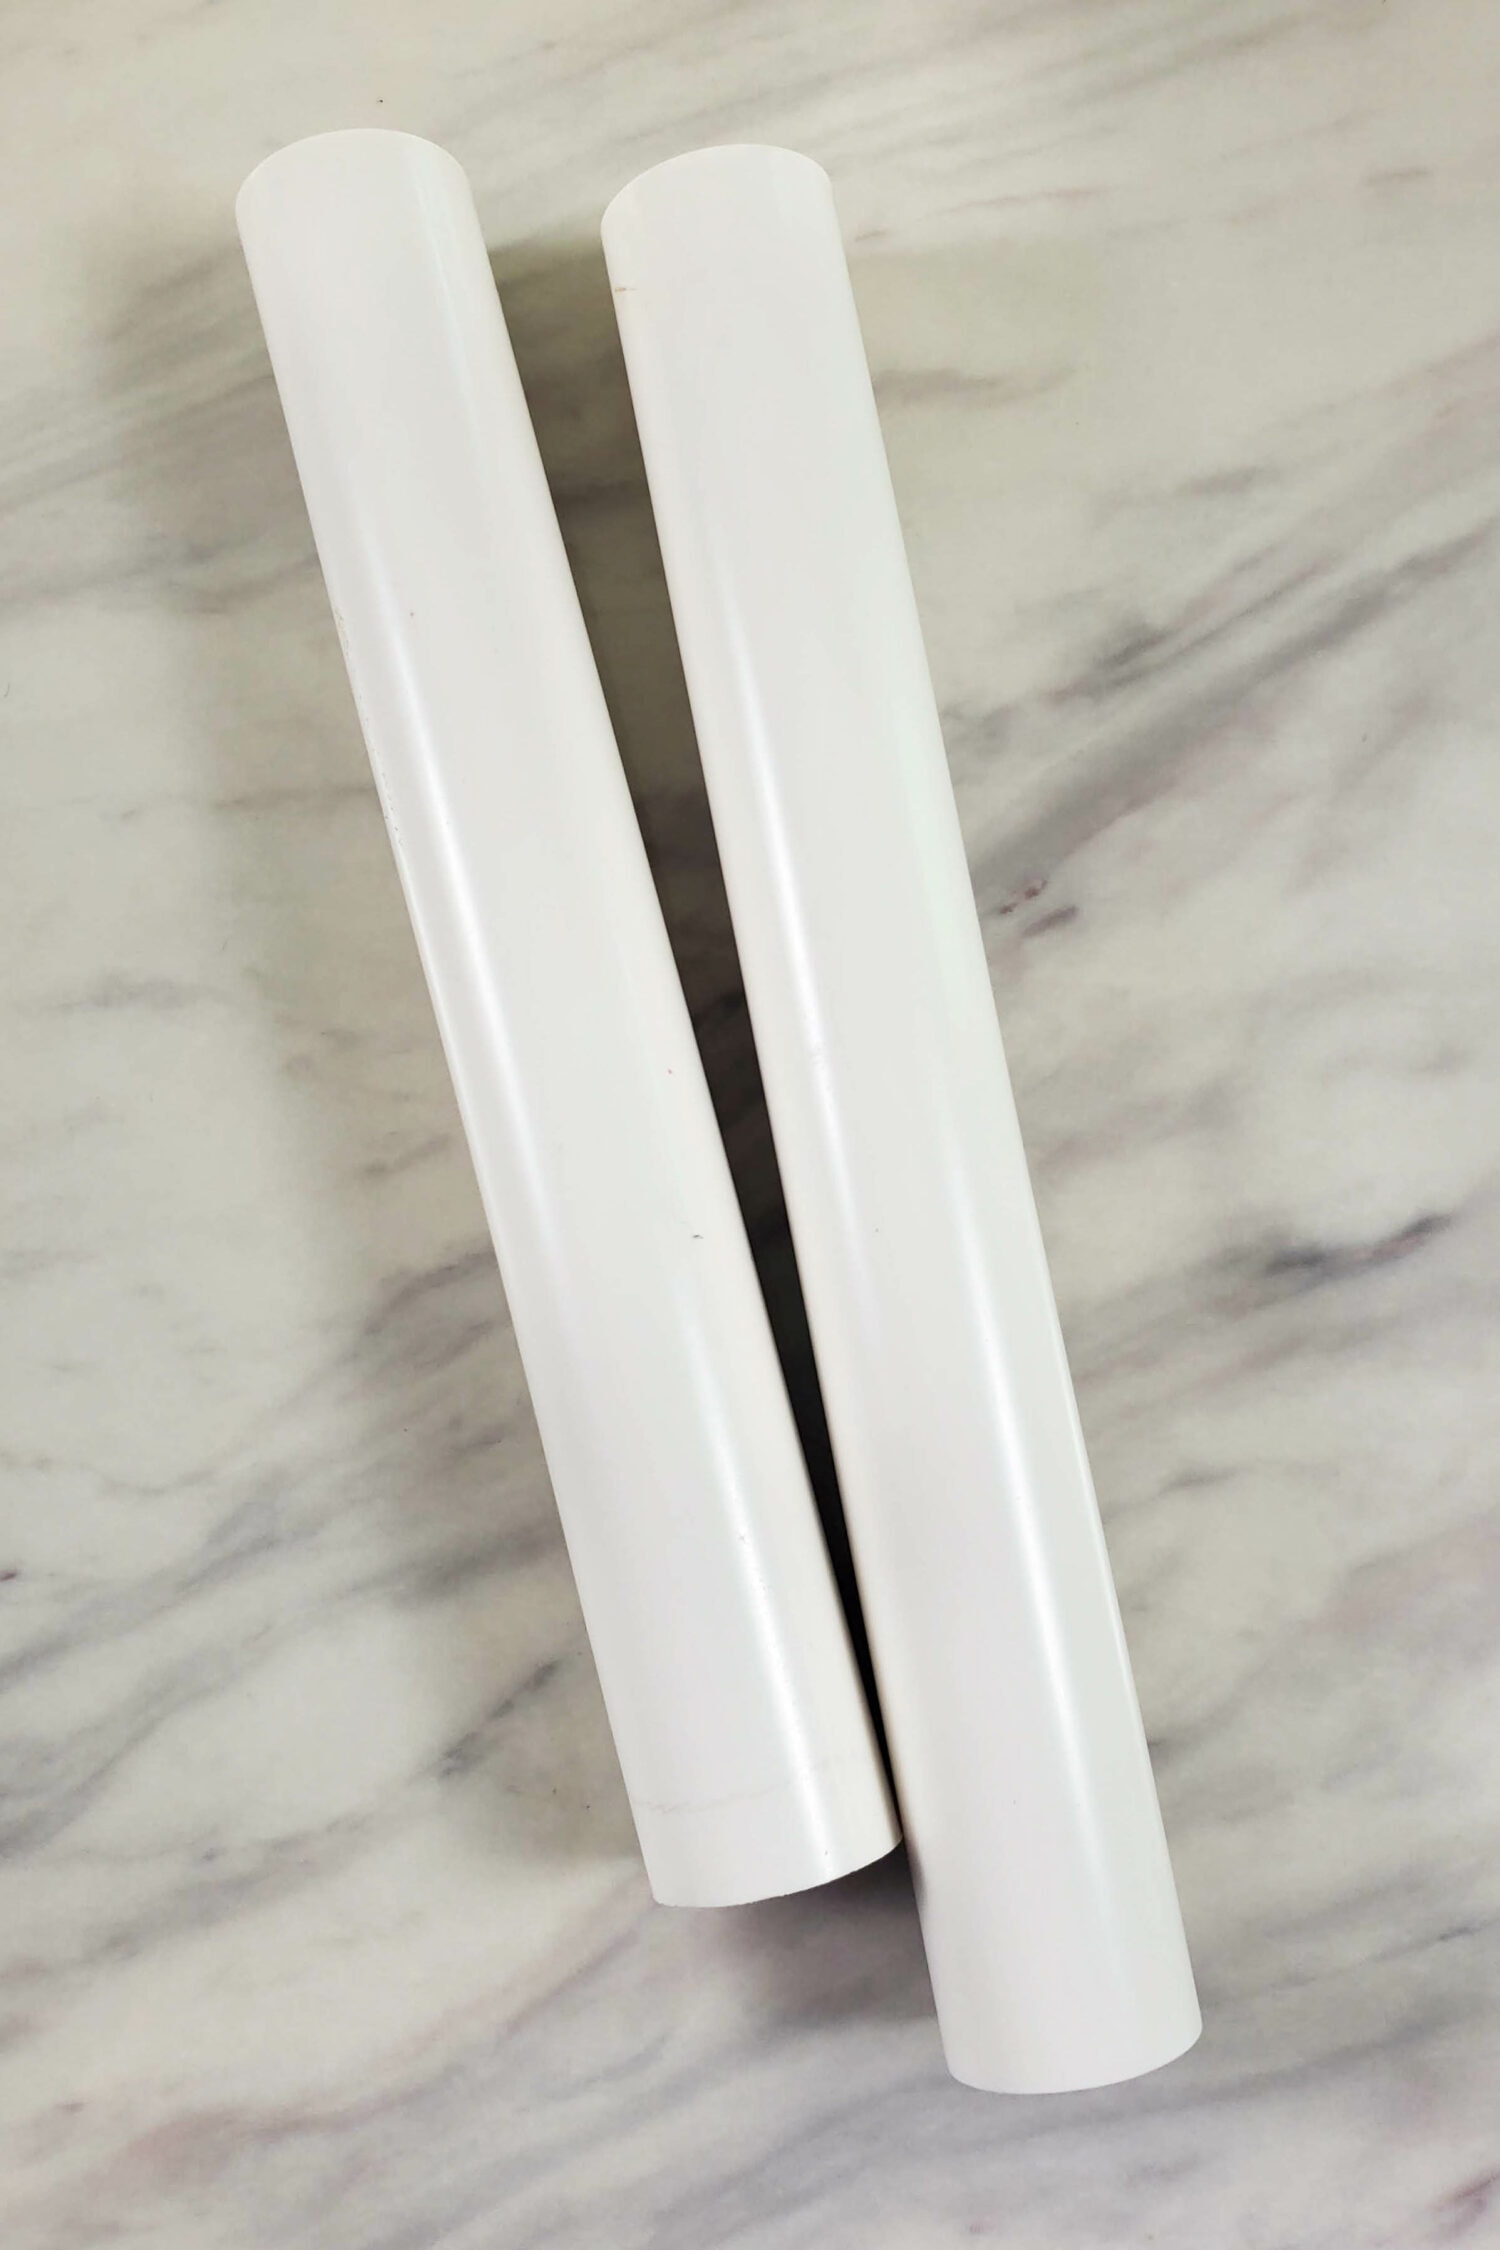
Finally, double check the ends that there are not any jagged or rough edges, and sand them if necessary so they are safe to use. There shouldn’t be, but just give them a look and feel before passing them out to your Junior & Senior Primary children.
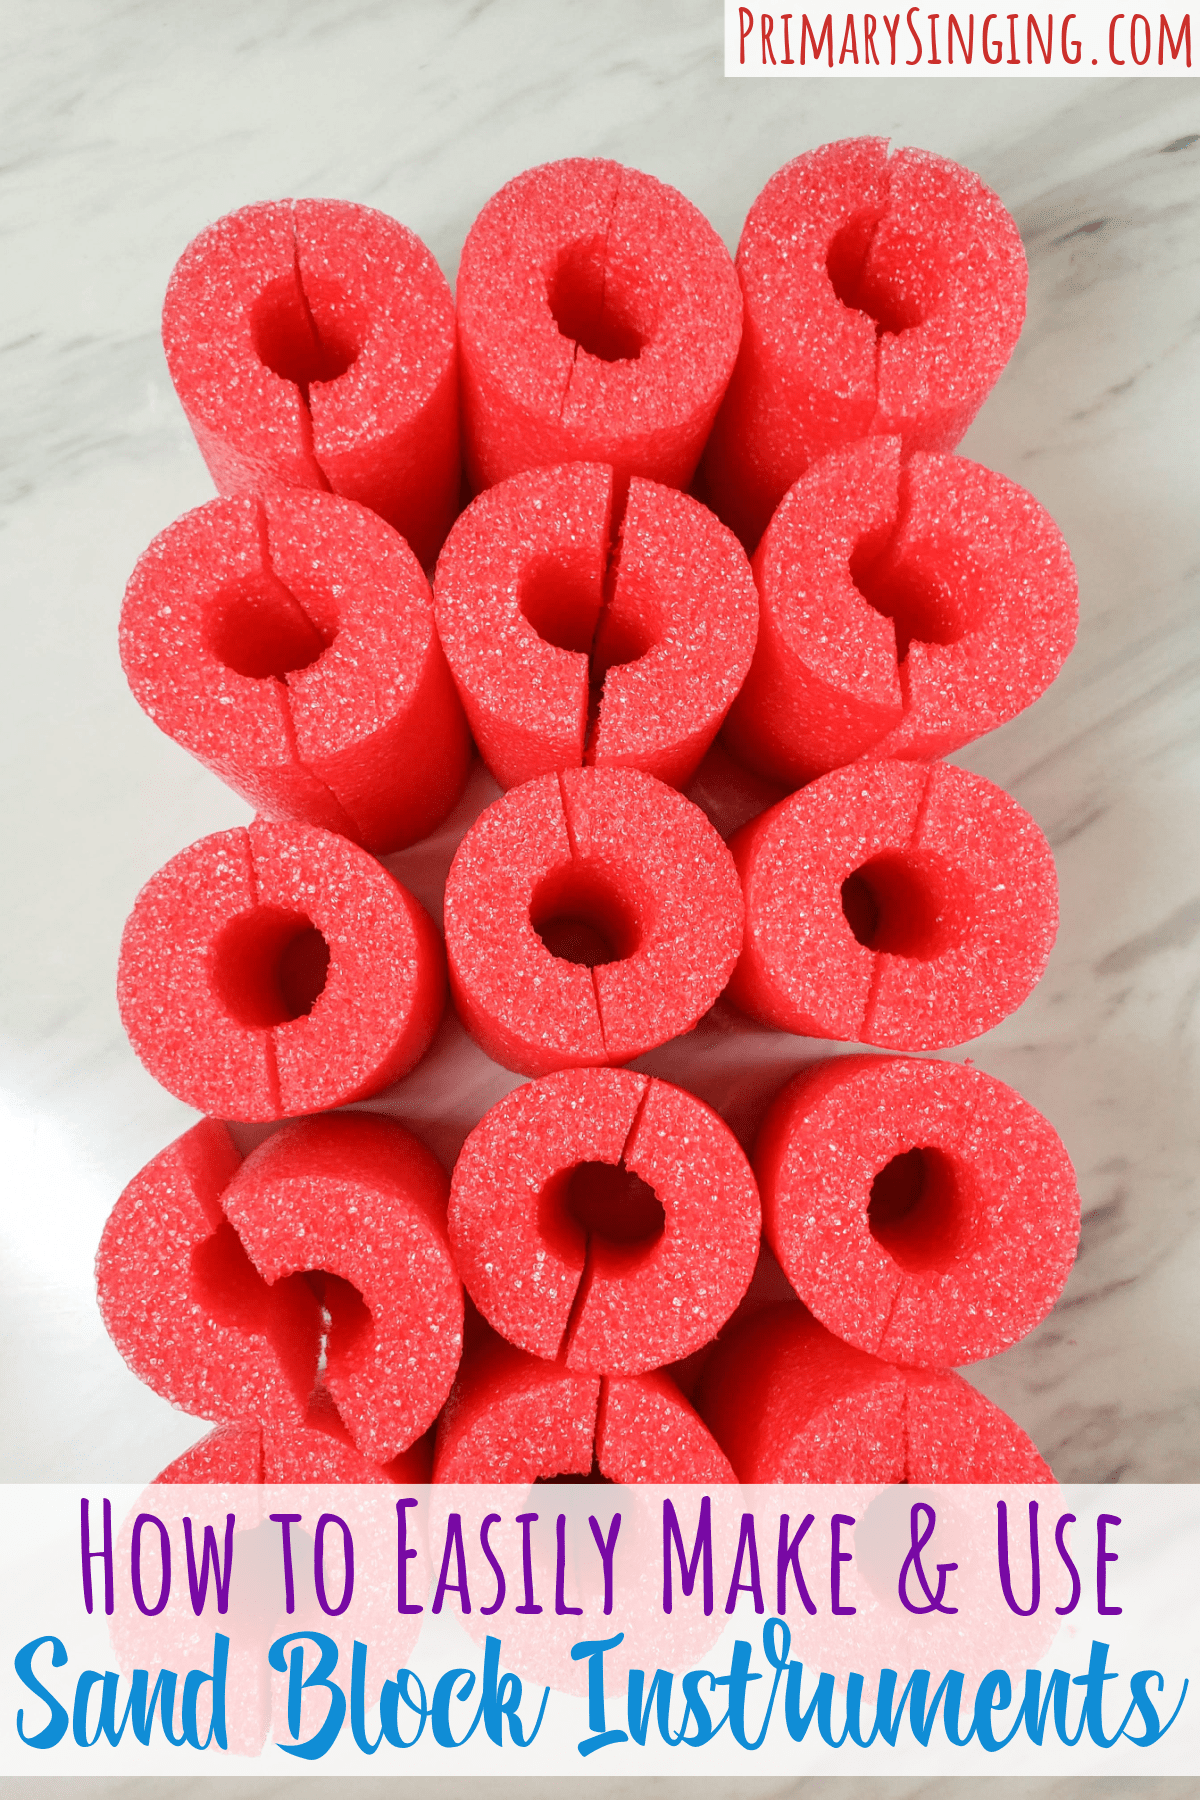
If you loved this post, head over to see How to make Sand Block Instruments next! Plus, a packed full post with 20 fun ways to use sand blocks and singing time lesson plans ready to go!
Have you used Maori Sticks in Primary before? Did your Primary kiddos love them?
