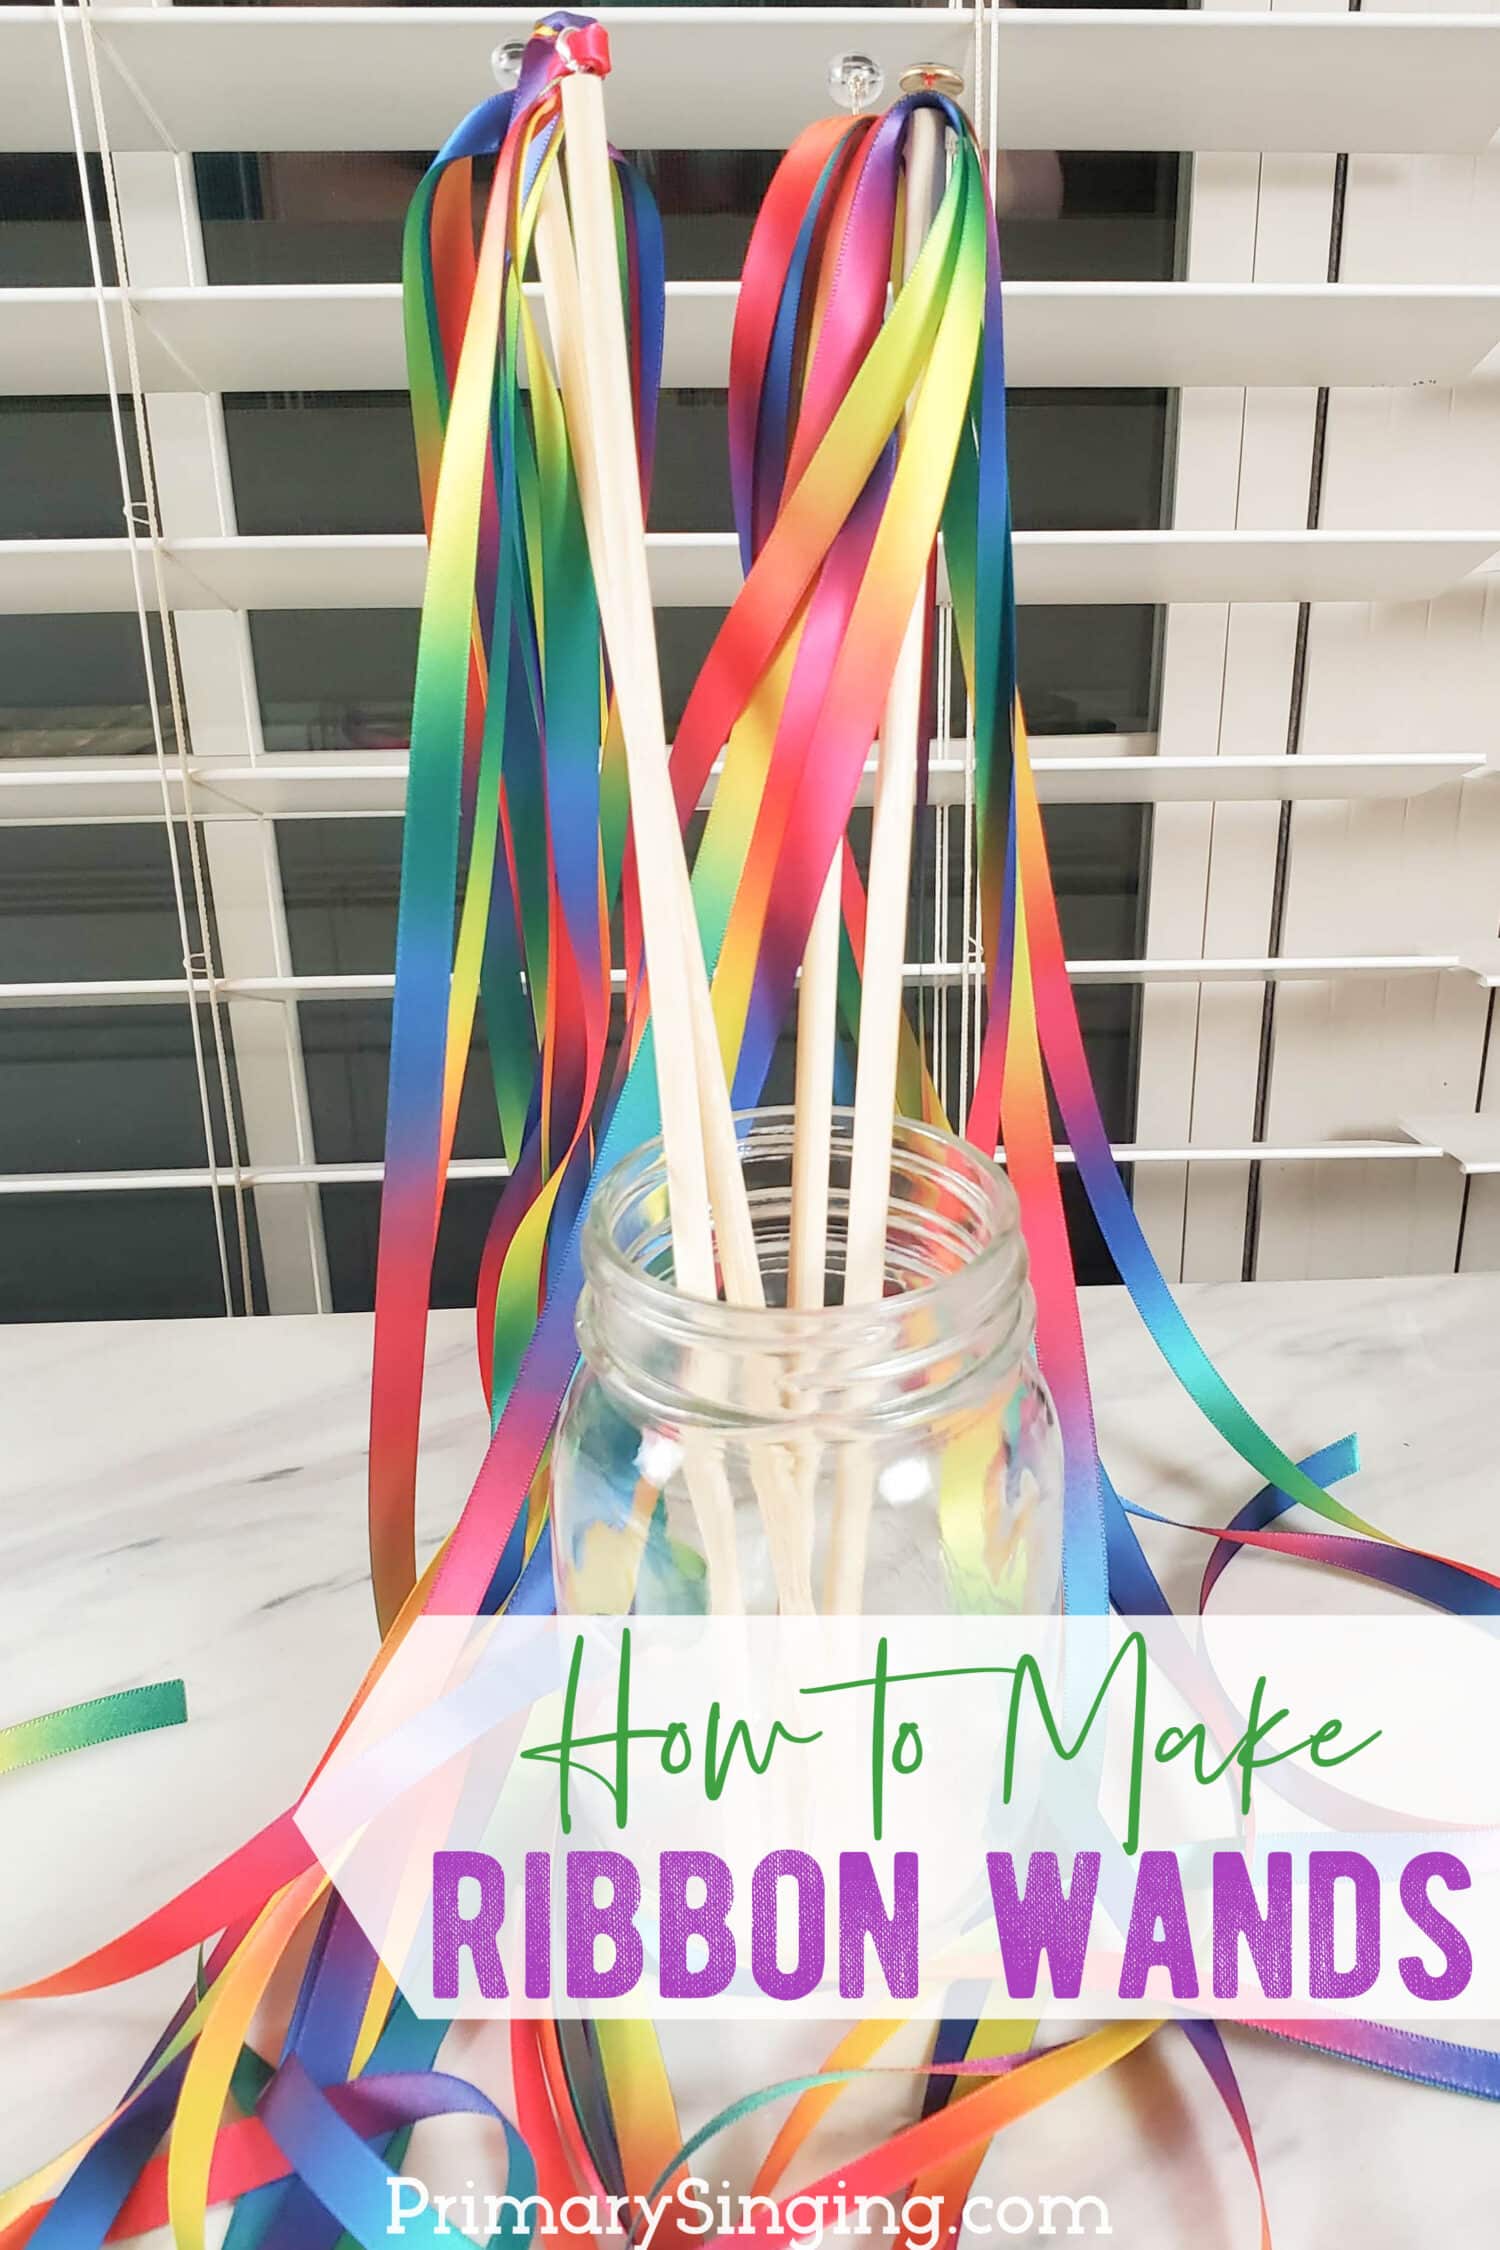
Ribbon Wands are SO much fun to bring into Primary! Your Primary children will absolutely love them and with this easy tutorial that walks you step-by-step through How to make Ribbon Wands, you can make a set on a budget.
Affiliate links are included below.
Should I Buy or Make DIY Ribbon Wands?
There are a couple benefits for making your own Ribbon Wands at home, but it isn’t a huge cost savings. Even if you choose to purchase ribbon wands, you’ll likely want to fix them up a little bit with some hot glue to make them more secure.
I got my Ribbon Wands from Oriental Trading Co. I purchased 2 different colors, popped off the plastic cap and swapped the ribbons so all my wands had 2 different colors and all matched!
I really liked that each wand has more ribbons, they’re a great length, and they’ve held up super well. I prefer that they don’t include the mini bells. But they are a little pricier than ones on Amazon.

Pick-up a set of 40 Ribbon Wands on Amazon here the set is a great price! But there are a couple of things to consider. They have only two ribbons that loops around the wooden dowel, giving you two strands of colored ribbons. I prefer a few more ribbons per wand.
They have a little jingle bell on top. I think this is fine, but just keep this in mind. I wouldn’t purposefully add a bell when making my own, that’s really used more for weddings, but it won’t affect use. And, you may still want to pull out your hot glue gun to secure the ribbon and/or bells!
One more option on Amazon is the long dance ribbons! They are the most expensive per ribbon wand, but they’re super long ribbons and you wear them right on your wrist which makes them easy to use for younger kids. They’re a wide but thin ribbon and include a variety of colors on each dance ribbon!
Make Your Own Ribbon Sticks Supplies
- Rainbow Satin Ribbon
- Wooden Dowel
- Eye Screw Hooks OR Push pins
- Scissors
- A small drill bit (3/32 size)
- Hot glue gun and glue
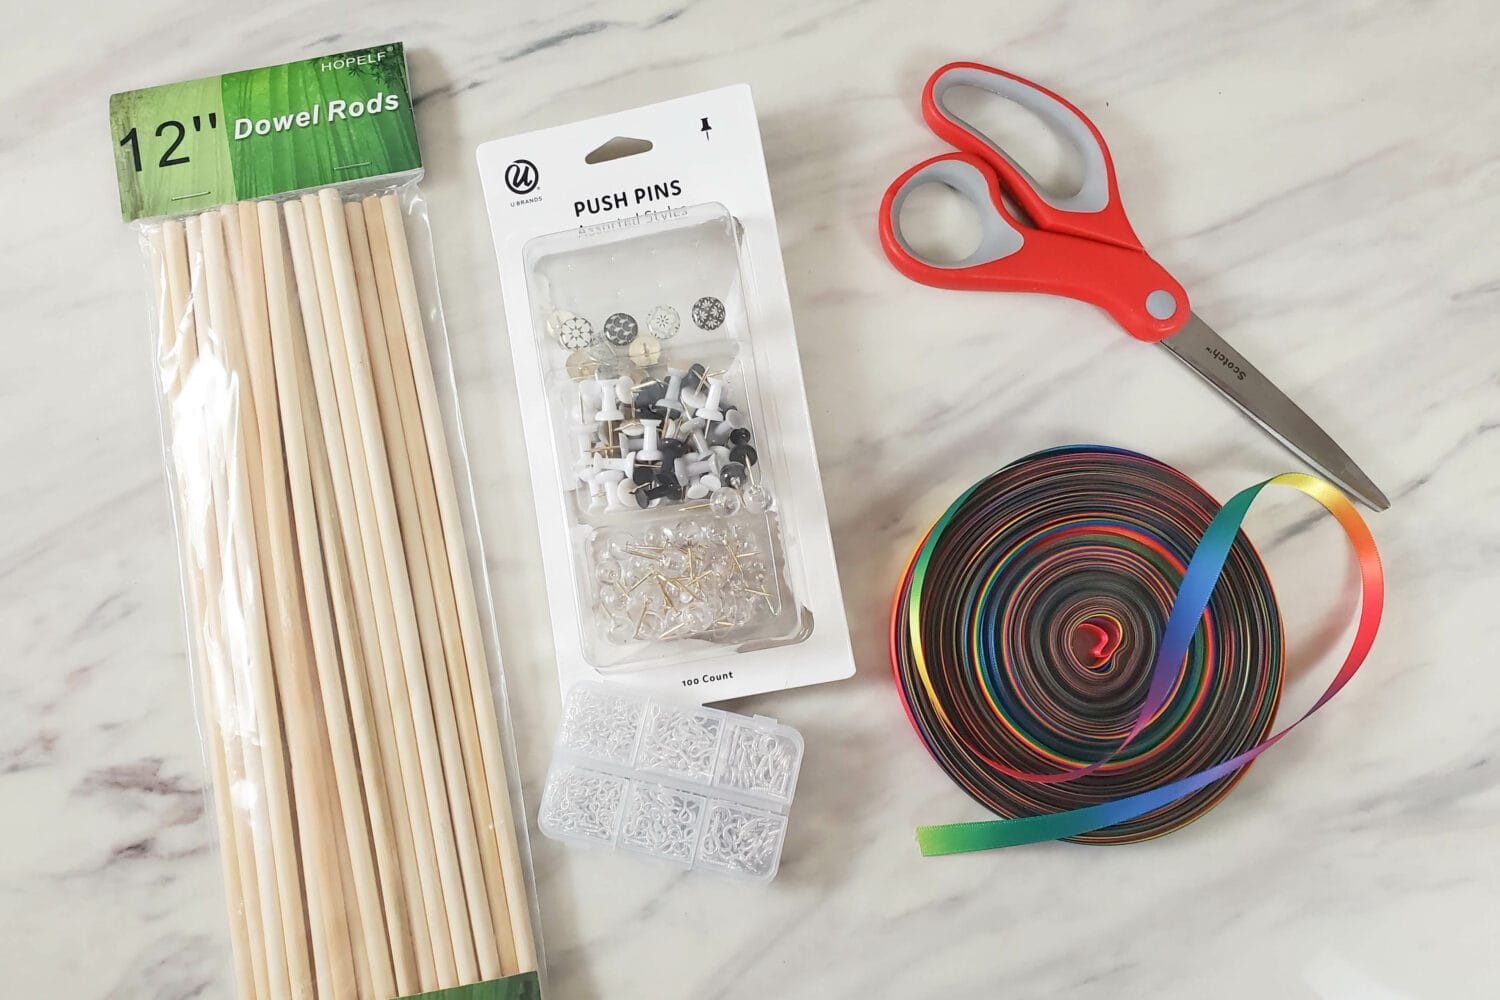
Satin Ribbon: Aim for 2-3 strands of ribbon 1 yard long. You’ll use the middle point of the ribbon strands giving you 18″ length on either side. You can use this super pretty rainbow ribbons, or pick a couple of colors and mix-and-match across your ribbon wands.
Wooden Dowels: 12″ length is perfect. At minimum choose 1/4″ thickness, 3/8″ is ideal, you can also use 1/2″ thick dowels.
Eye Hook Screws: These are used to make jewelry and can be TEENY tiny, so be careful with the sizing. I recommend 17mm which is just over half an inch. They can be a great option, or you can use a thumbtack!
You can handmake them for a little less than $1/per ribbon wand. Cost will highly depend on the supplies purchased and the amount of ribbon used (see below). That’s a similar price to the Oriental Trading, but you’ll end up with unique ribbon wands that are super colorful and high quality for the bit of time invested.
Step-by-Step DIY Ribbon Wand Tutorial
Determine how many ribbon wands you’ll need. Ideally, one per child with a few extras. But with a very large Primary you can make enough for half the Primary aged children and let the kids take turns.
Purchase and gather all your supplies with enough to make as many ribbon wands as needed.
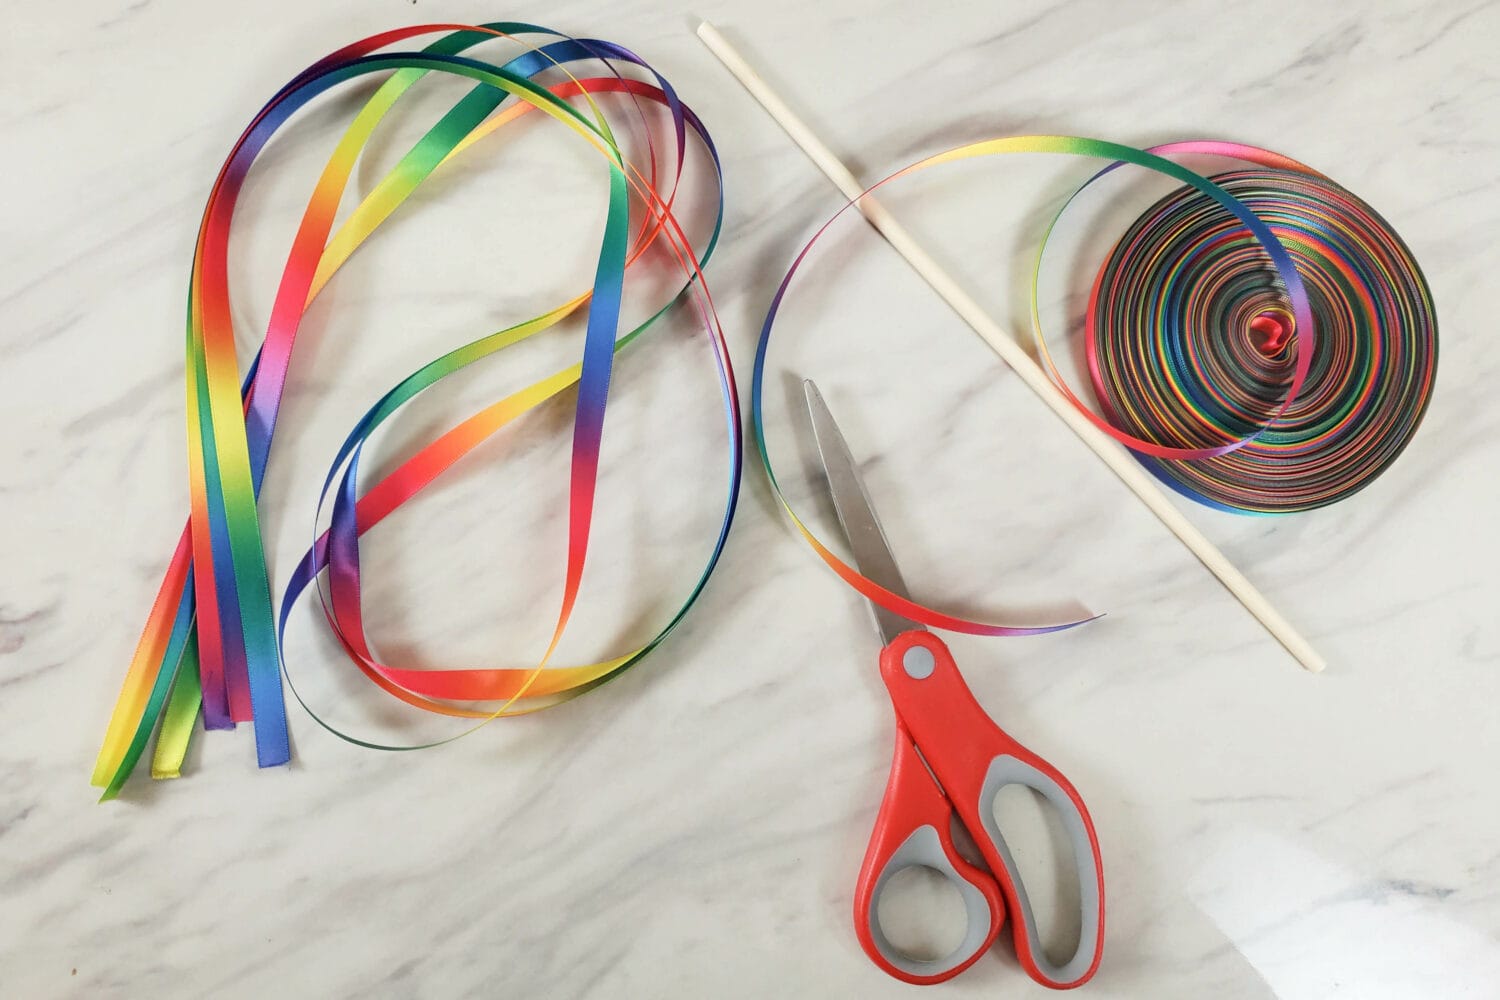
Layout your first piece of ribbon, and decide which length you like best. Cut the ribbon to twice that preferred length. You’ll attach the ribbon right at the middle point so each cut will give you two ribbon strands. Plan on 1-3 ribbons (2, 4, or 6 strands) per wand. You can play around with the look and feel to determine how many you prefer.
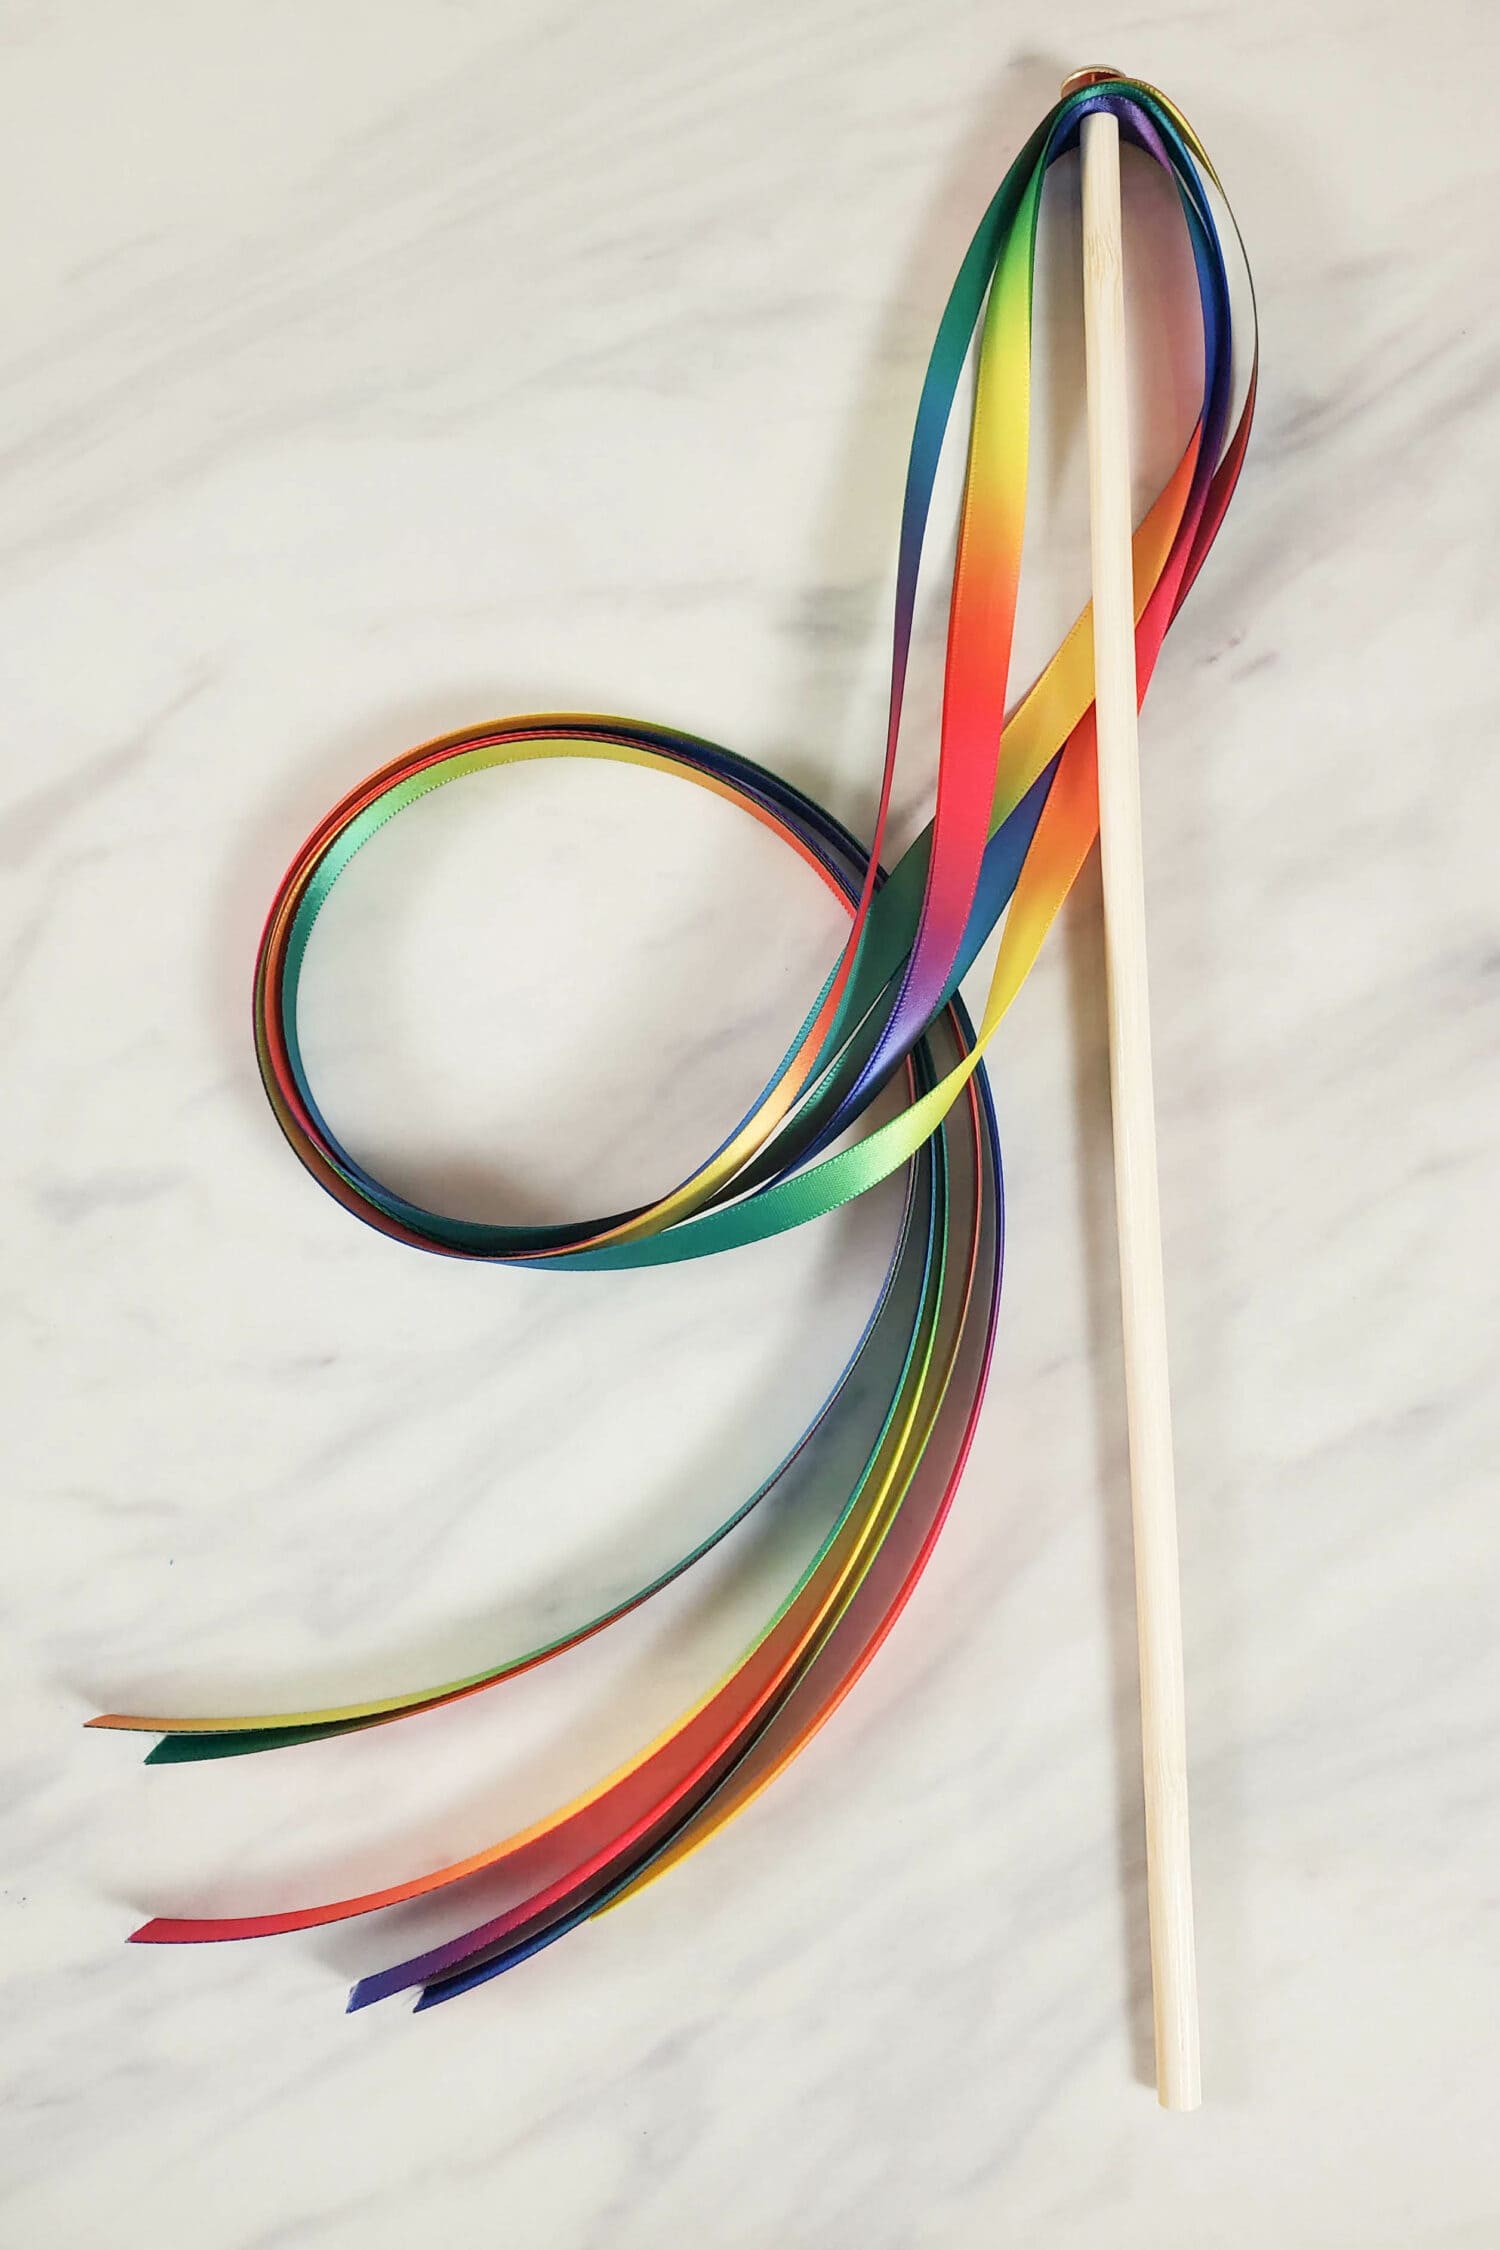
My preference was to use 3 x 36″ pieces of ribbons which gave me 6 strands 18″ long. Using less ribbons will significantly reduce the costs, as that is the most expensive supply. But it’s ultimately up to you to decide based on your preferences!
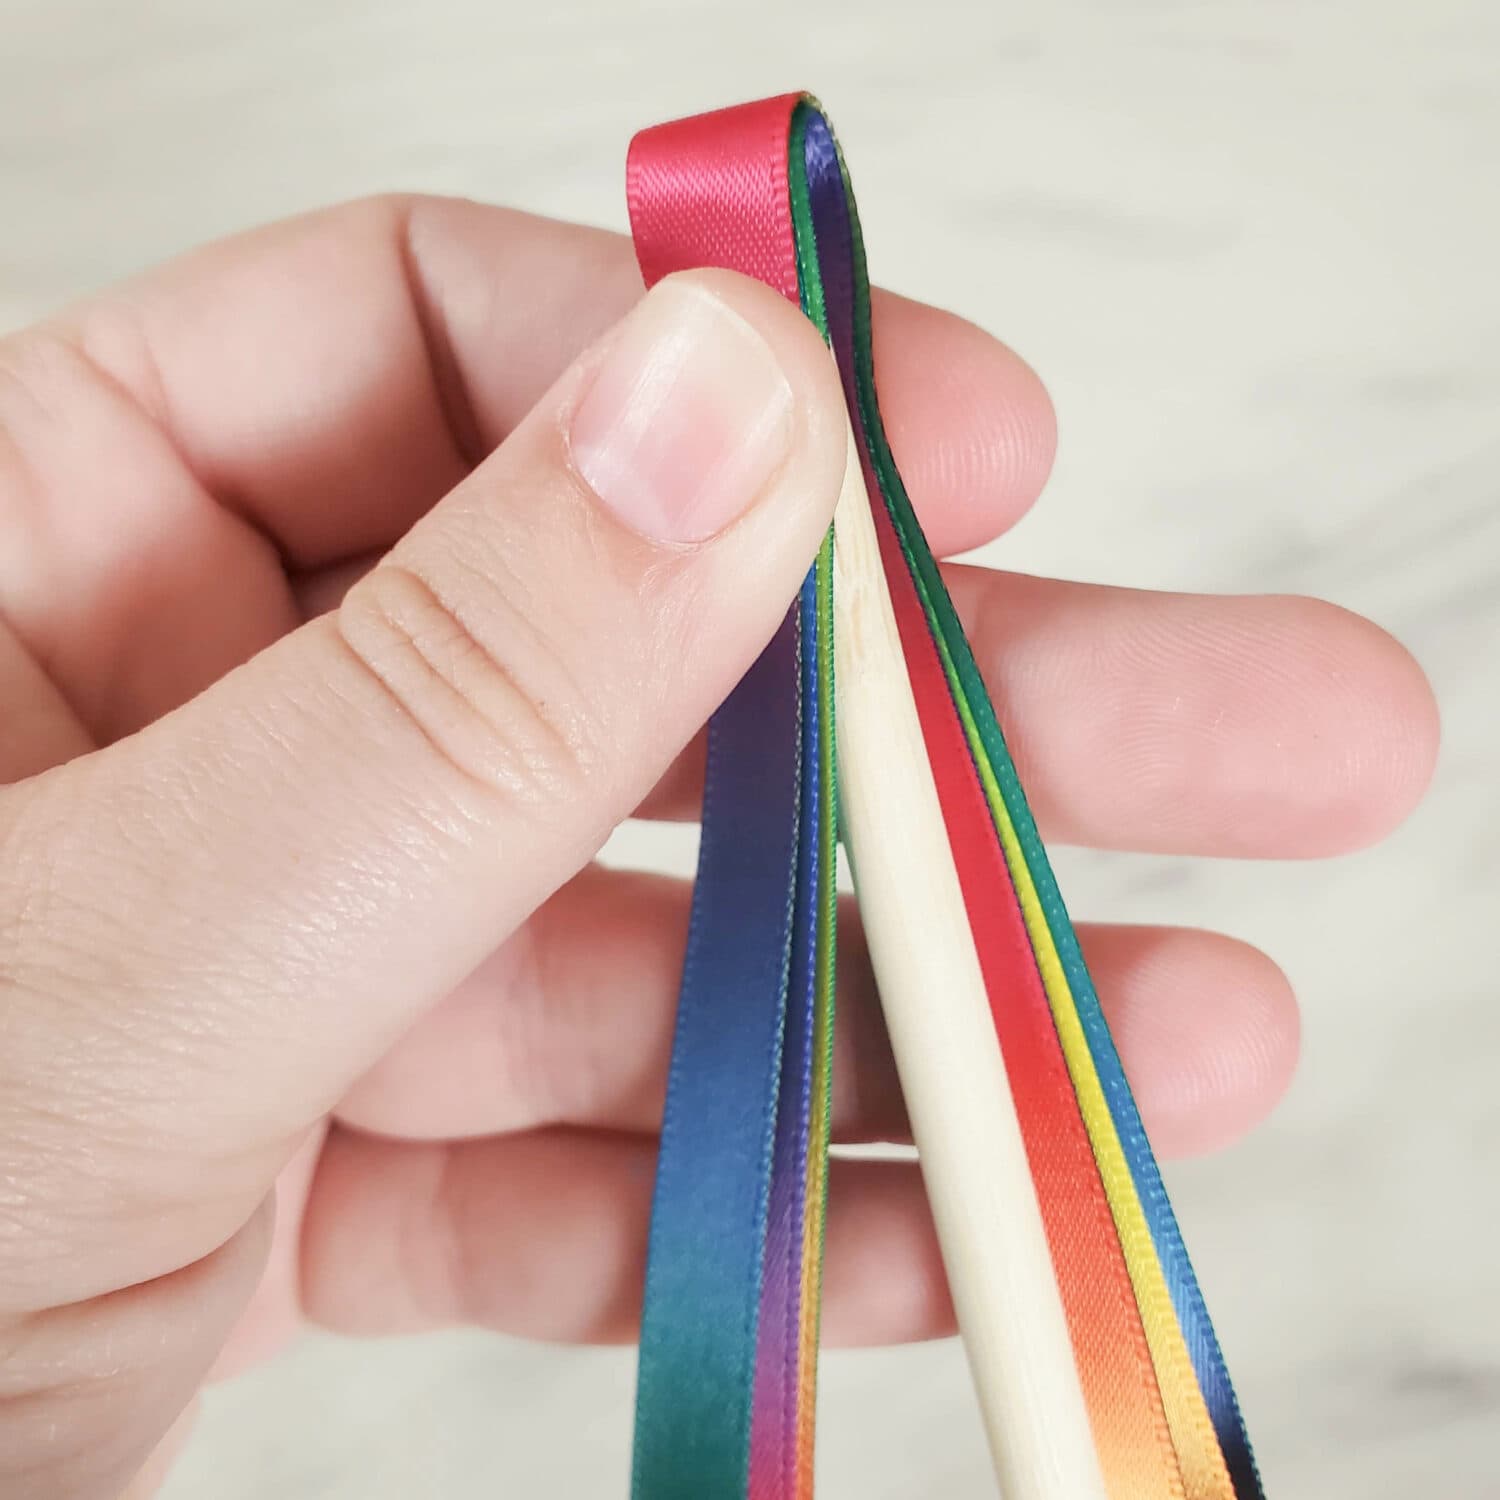
Now, you’ll fold the ribbons right to the center. Line up all the ends to help you find the middle point. Fold and press firmly to create a temporary crease you can use to help you place your ribbons at the top of the dowel.
To attach the ribbons, you can use one of two methods. I tried both and liked both methods! They have some slight variances, which I’ll share.
Method #1 – Eye Hook Screws: Use a small drill bit, preferably 3/32mm size to drill a hole straight down into the small circular end of the wooden dowel. The wooden dowels have a pretty thick core that is hard to manually screw into, pre-drilling a hole will make them hold really strong and secure!
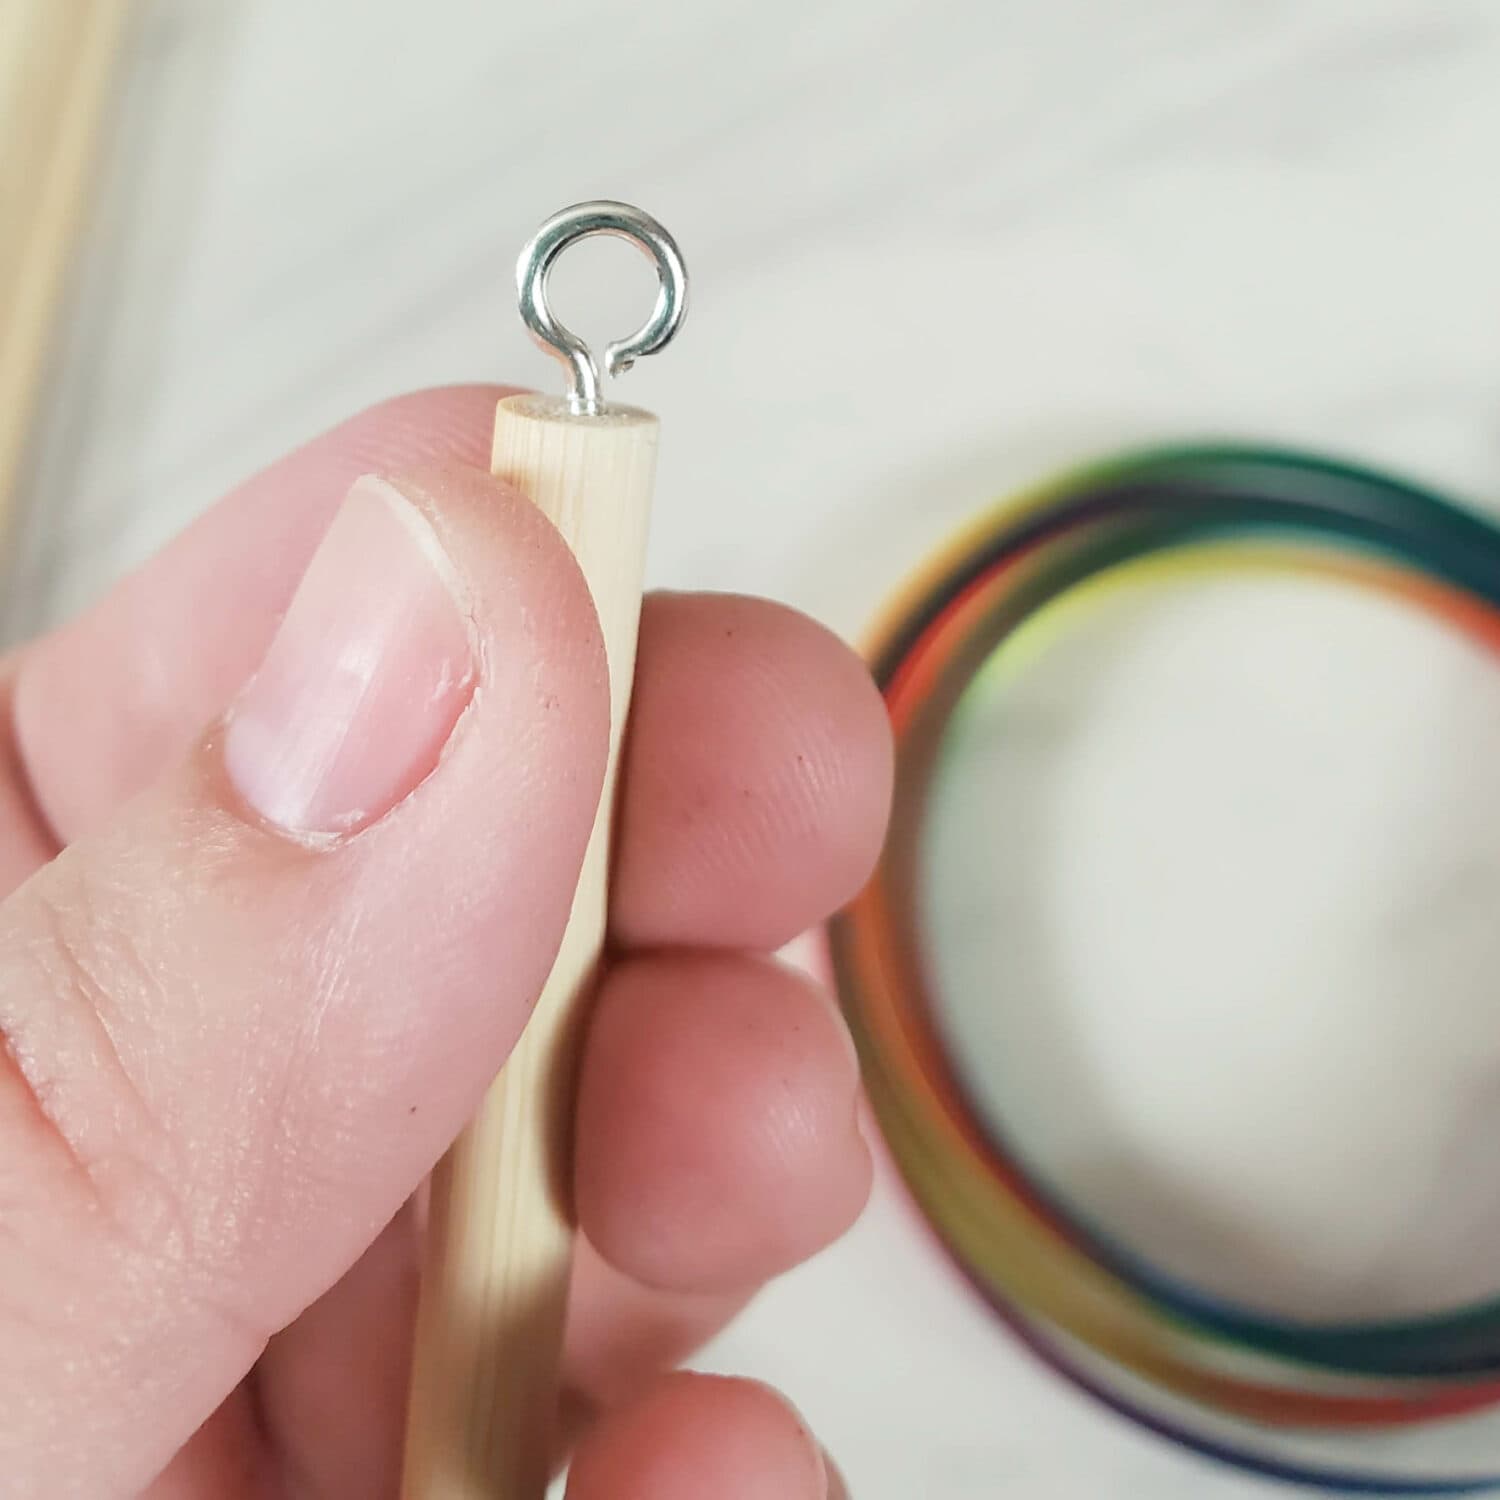
Screw the eye hook screws into the pre-drilled holes.
Slip the ribbons through the eye of the screw or under the curl where there is a small slit. Once all 3 ribbons are through, re-center and then tie to secure.
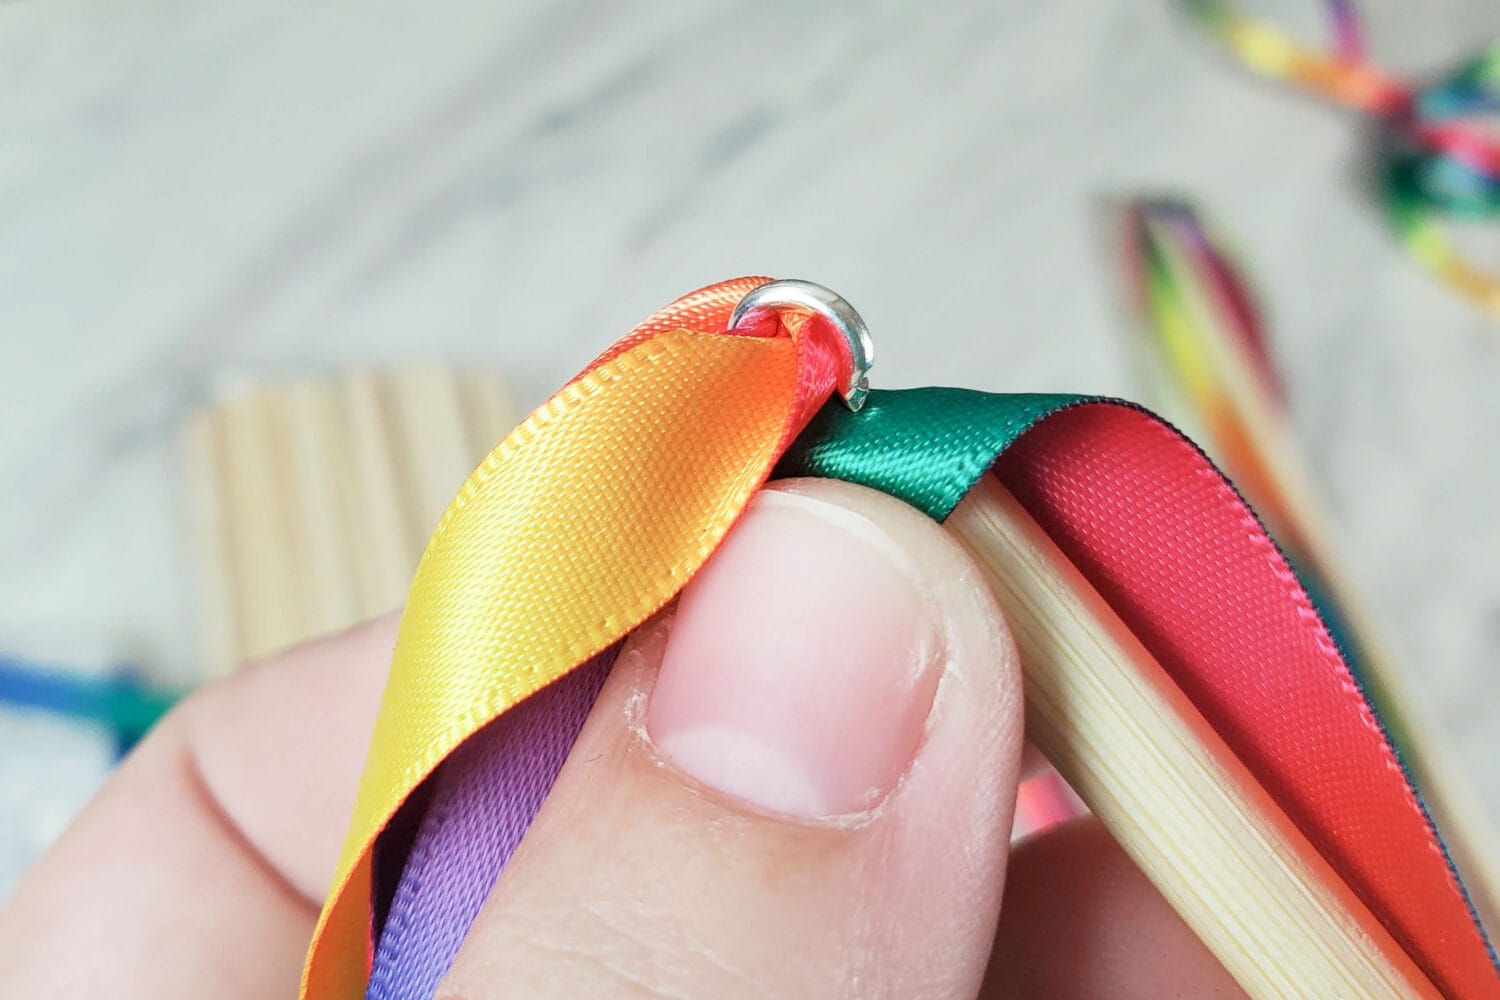
Consider adding a dab of hot glue to secure the ribbons if needed. Though glue on the ribbons will reduce their ability to move along the eye hook for additional motion. Add a small dot of glue to the bottom where the screw is mounted, if it needs any reinforcing.
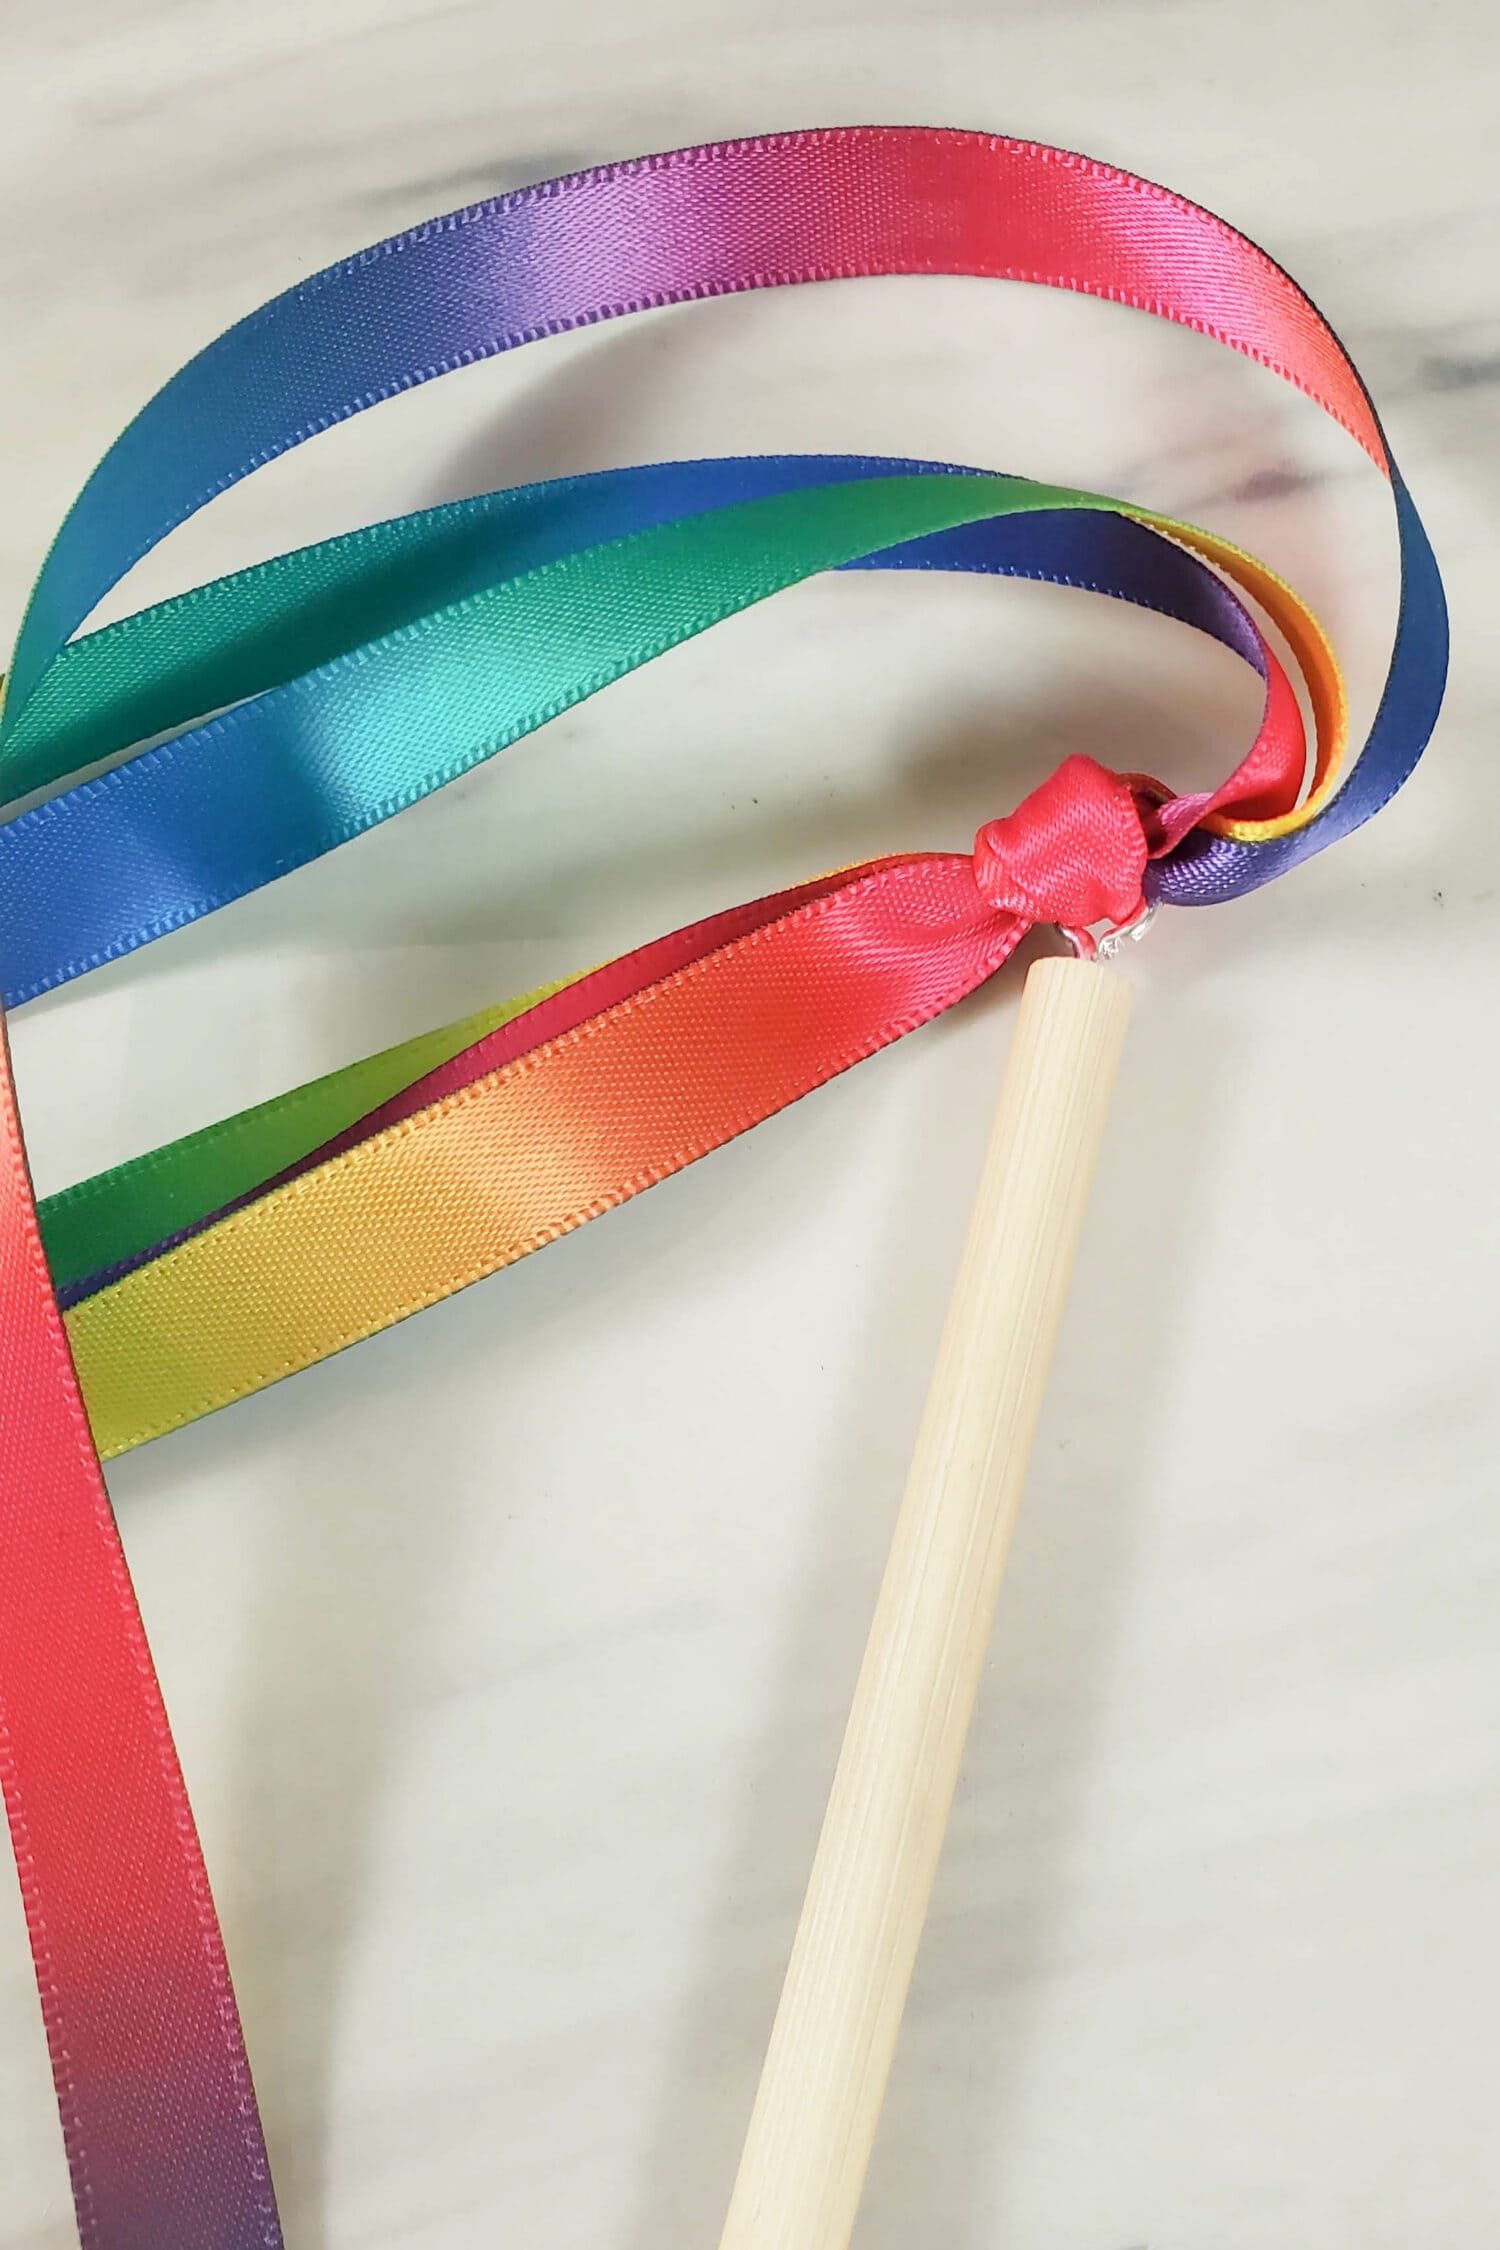
Method #2 – Push Pins: A push pin adds a really cute finished look, but you’ll want to make sure it’s secured firmly as you won’t want those to pop off in Primary.
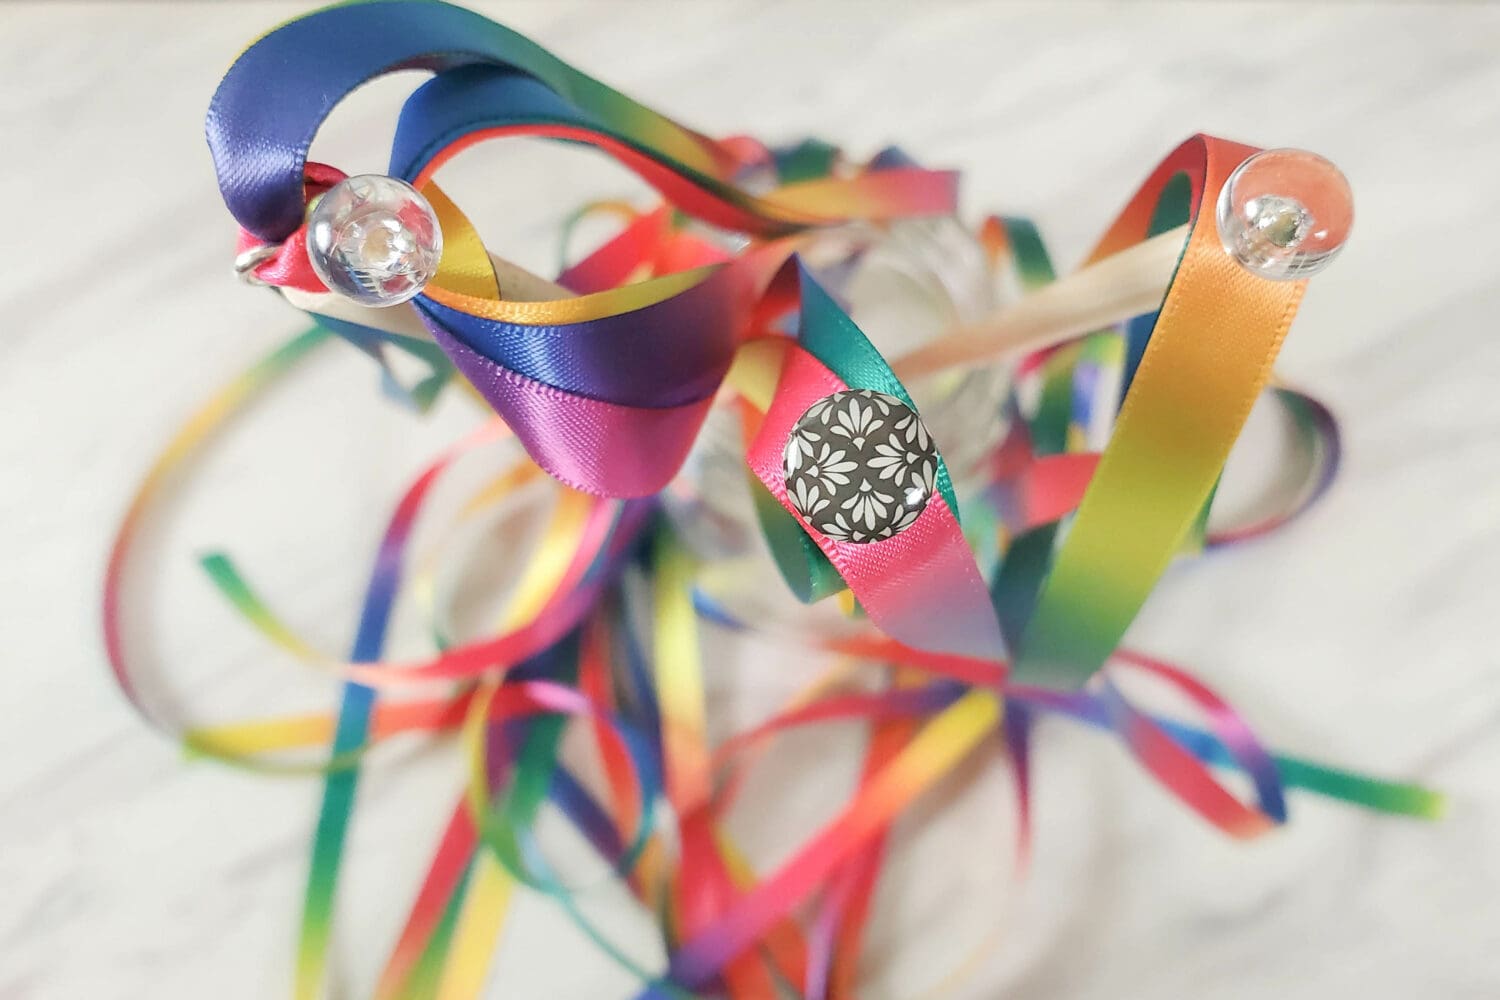
You can try with your push pins and dowels to see if you’re able to push them in firmly. For me it was too tough. In that case, predrill holes with a 3/32 drill bit.
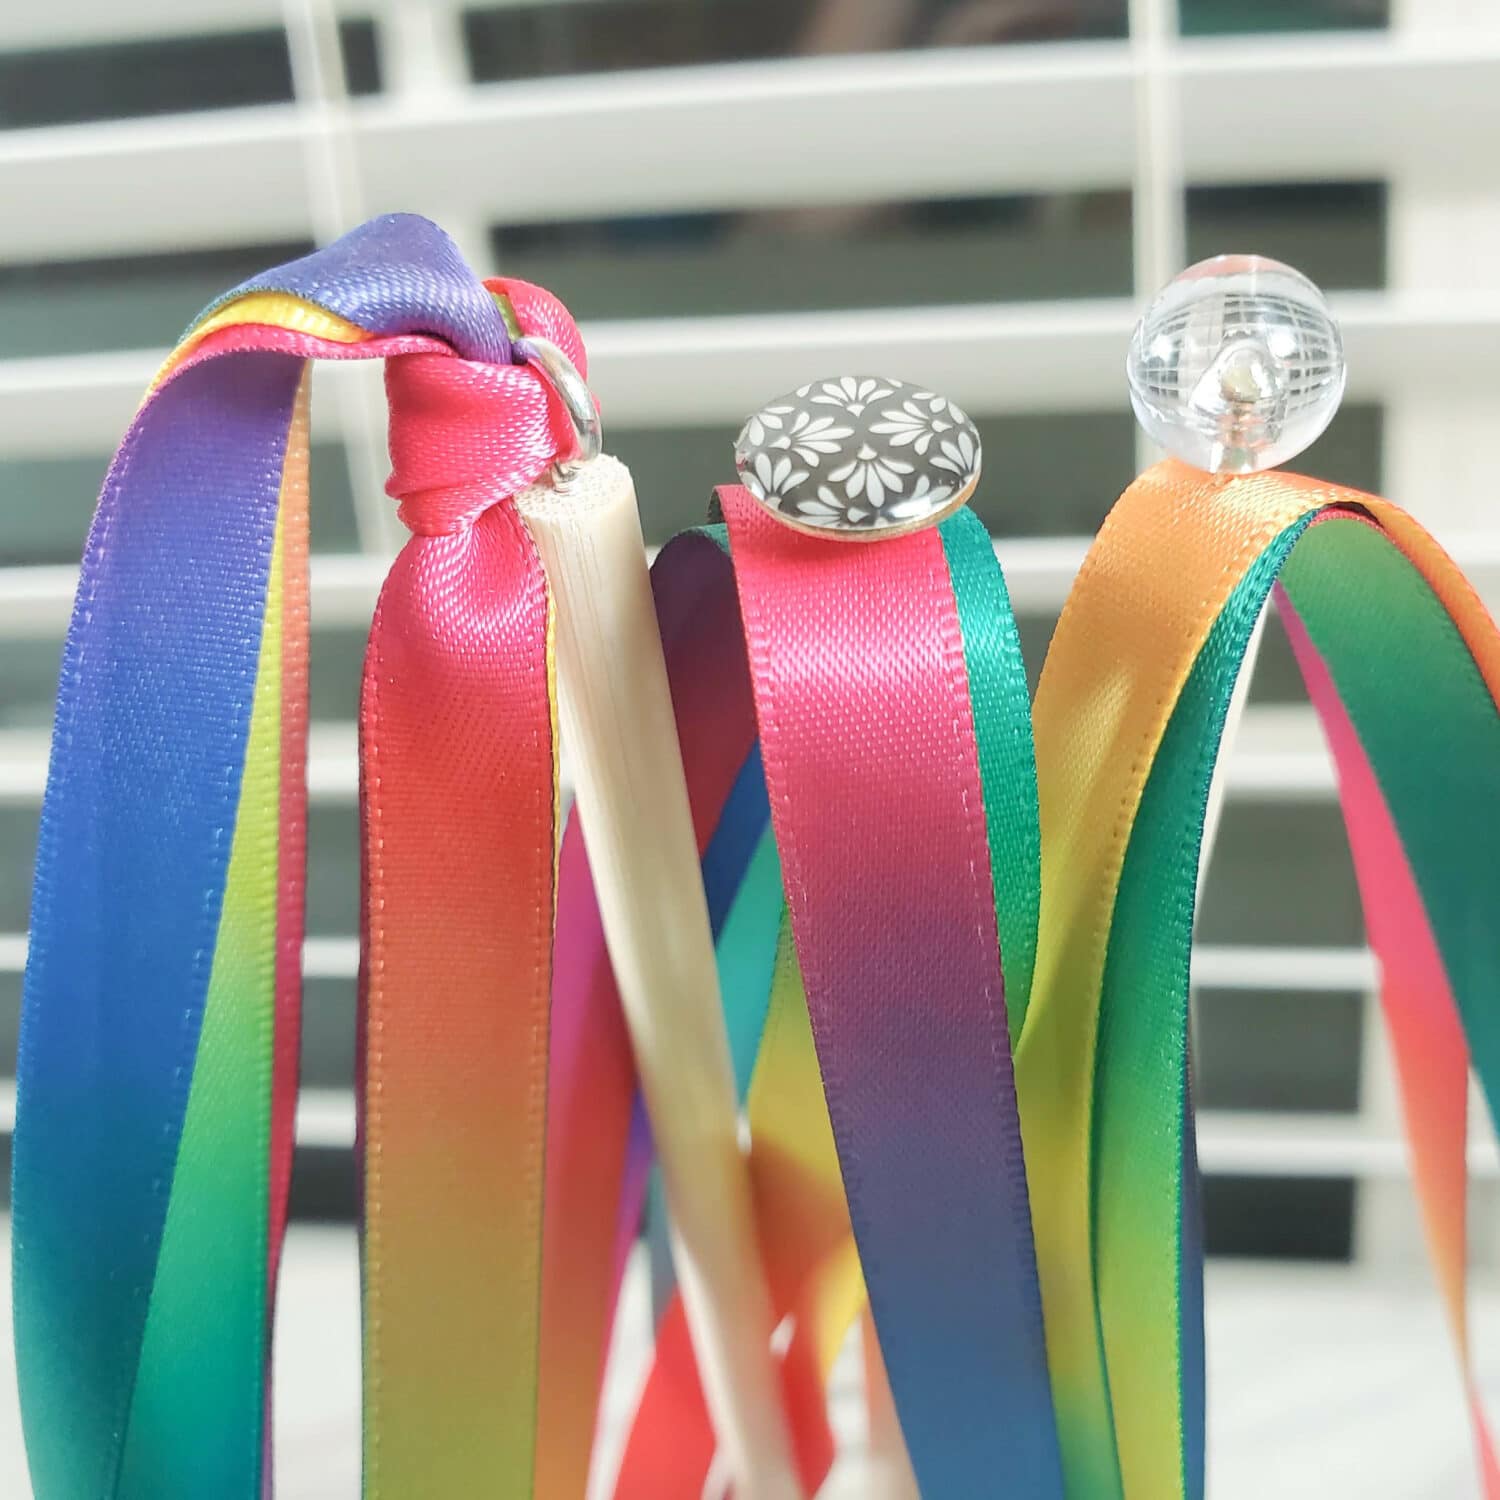
Press in the push pin through the center of the length of all 3 ribbons. Begin to press the thumbtack into the top of the wooden dowel, leaving a little space. Add a dot of hot glue, then press down firmly, being careful to avoid touching the hot glue.
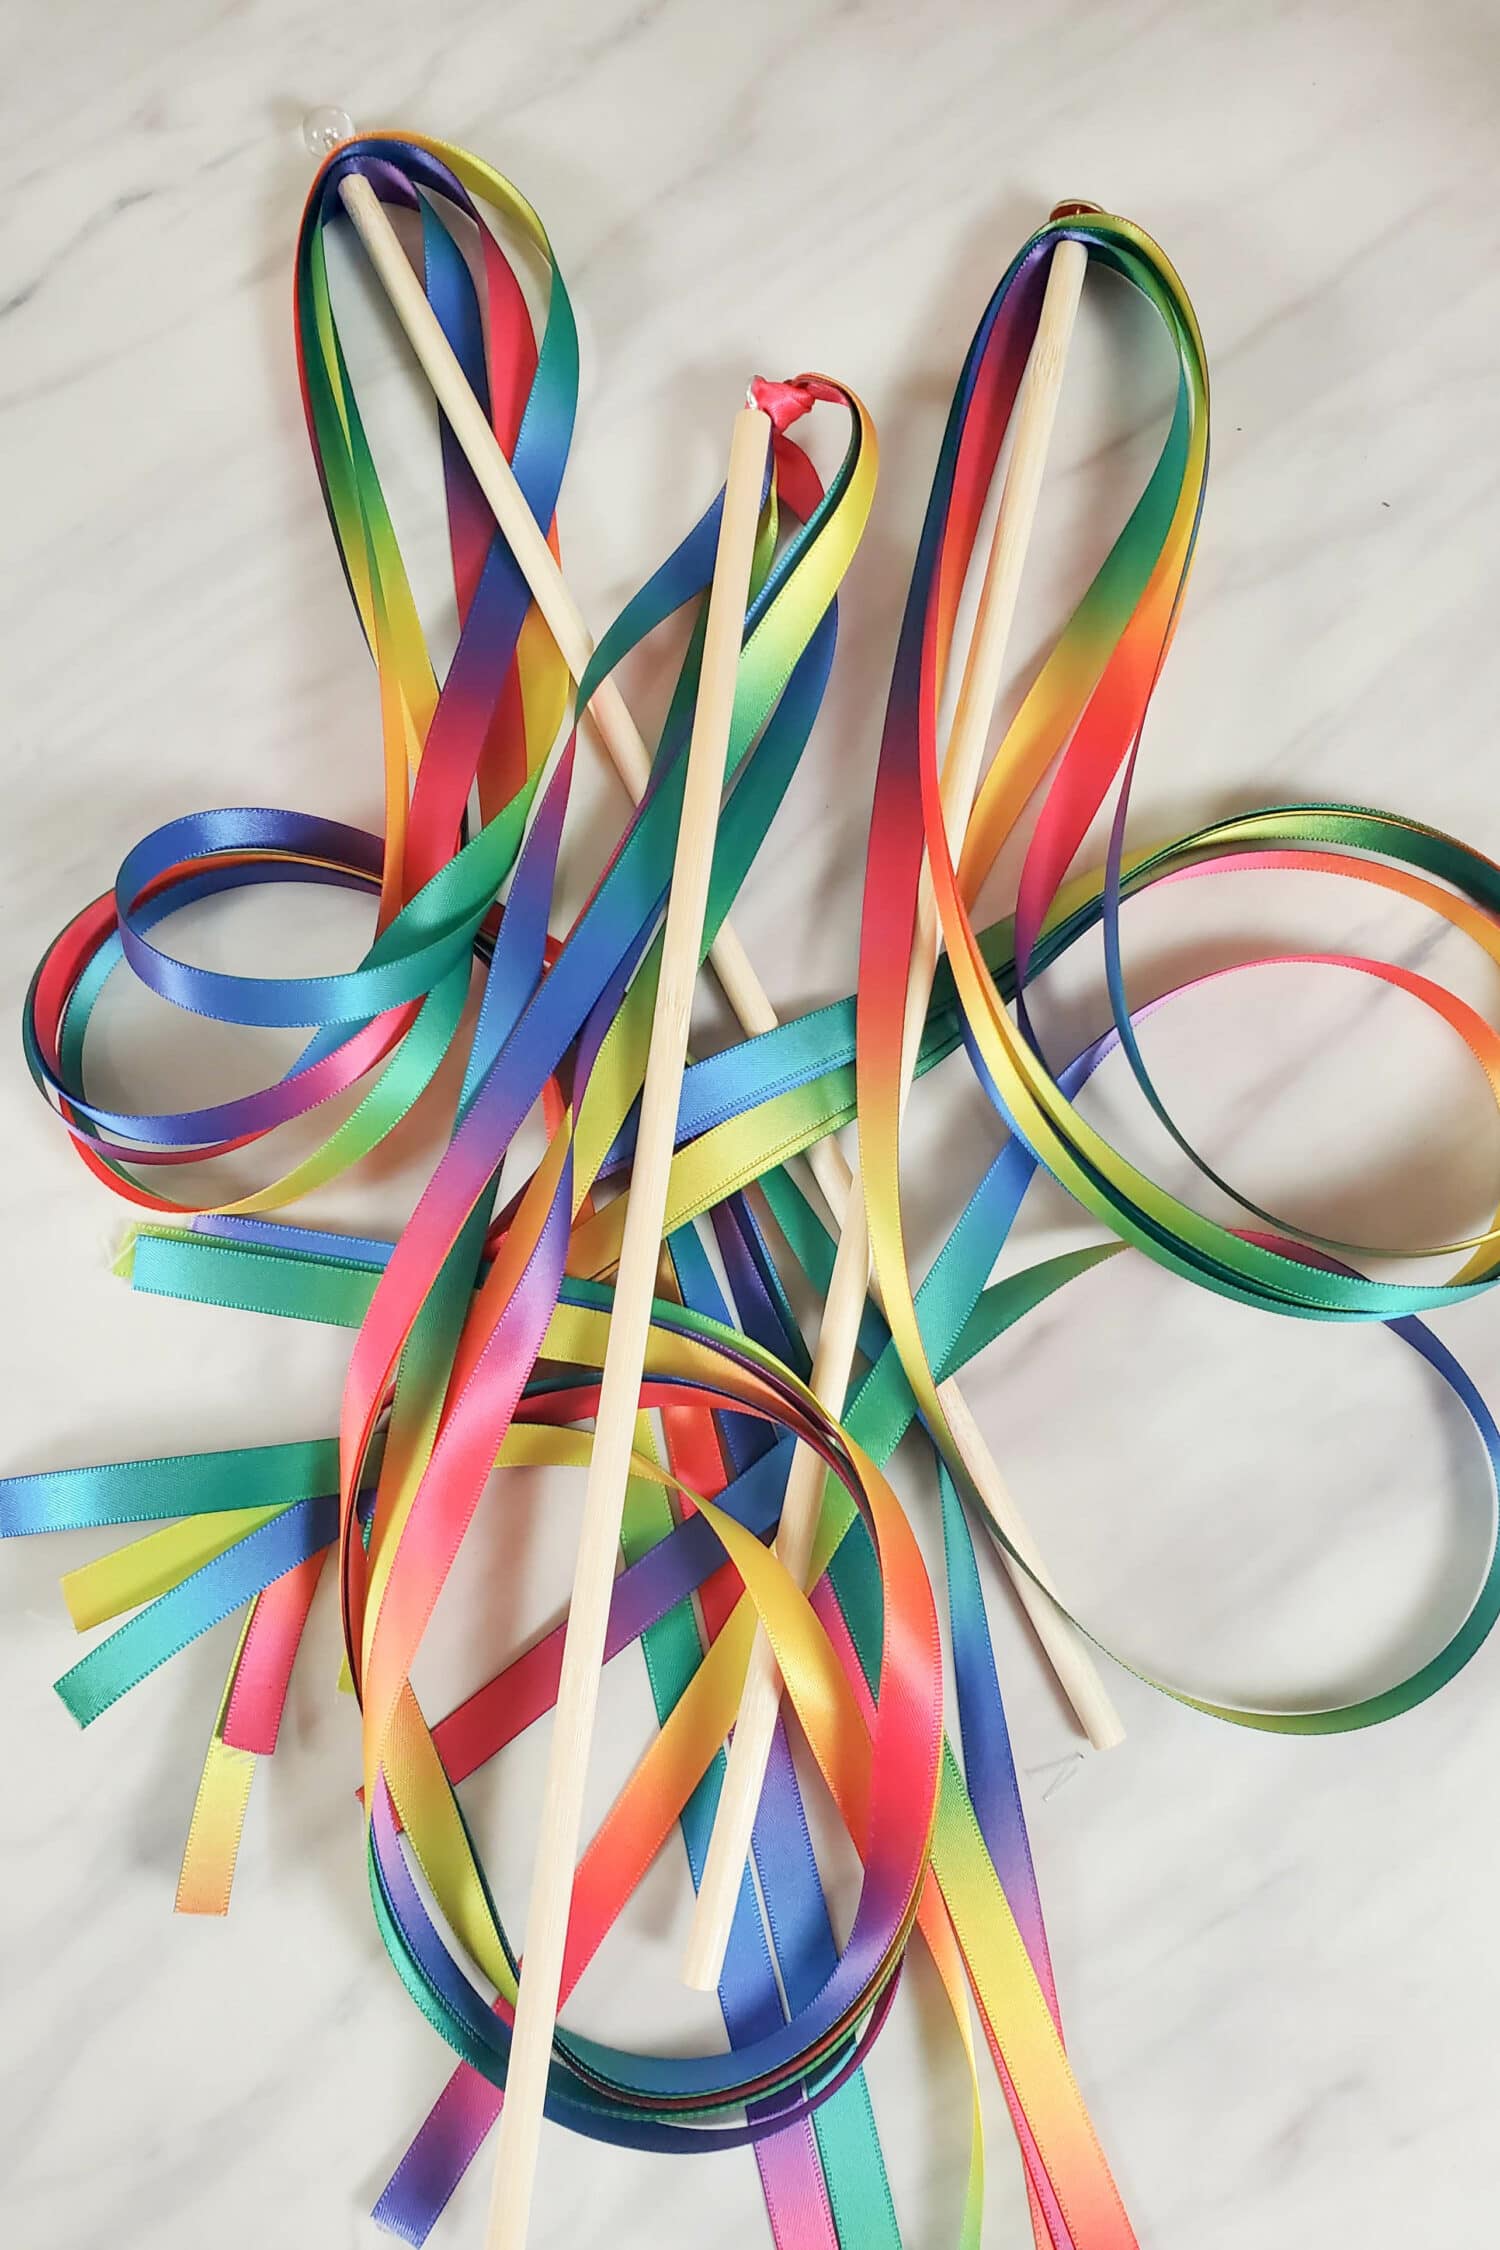
For a decorative touch, you can add a bit of washi tape to the handles, if desired!
Ribbon Wand Actions
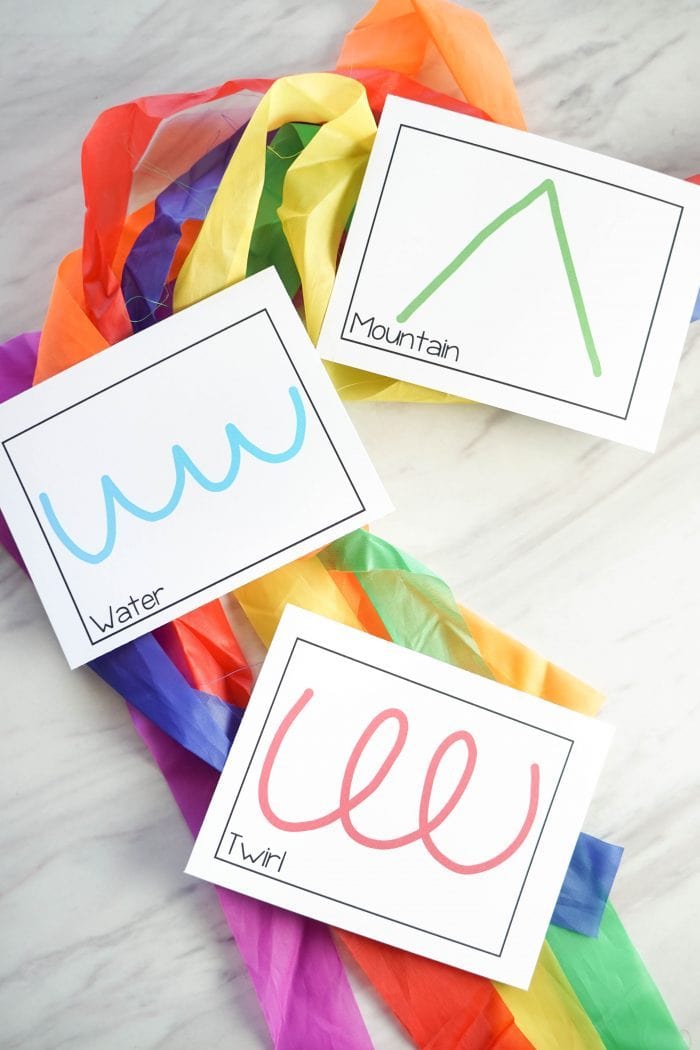
Want to easily make your own ribbon action patterns? You’ll love our printable action cards!! They include 32 colorful and fun printable cards in 1/4 page and full page printables plus a 1-page overview with all the actions to easily refer and as a planning helper!
Find these Ribbon Wand Cards in our digital shop or through this Etsy checkout.
Want more information on these ribbon wand action cards? Head over to this post with lots of info on using the Ribbon Wand Card printables!
Singing Time Ideas Using Ribbon Wands!
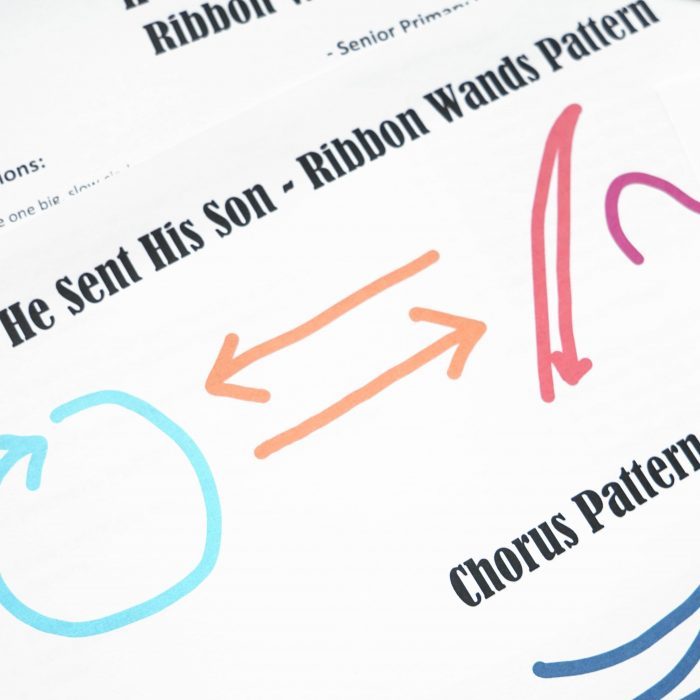
I’ve shared a variety of different lesson plans and easy activities for using ribbon wands in Singing Time. To get started, I’ll share this He Sent His Son Ribbon Wands activity. It’s fun and easy introduction for using dance ribbons in Primary for the first time.
And 6 more posts with ideas!
- Come Follow Me Ribbon Wands Lesson Plan
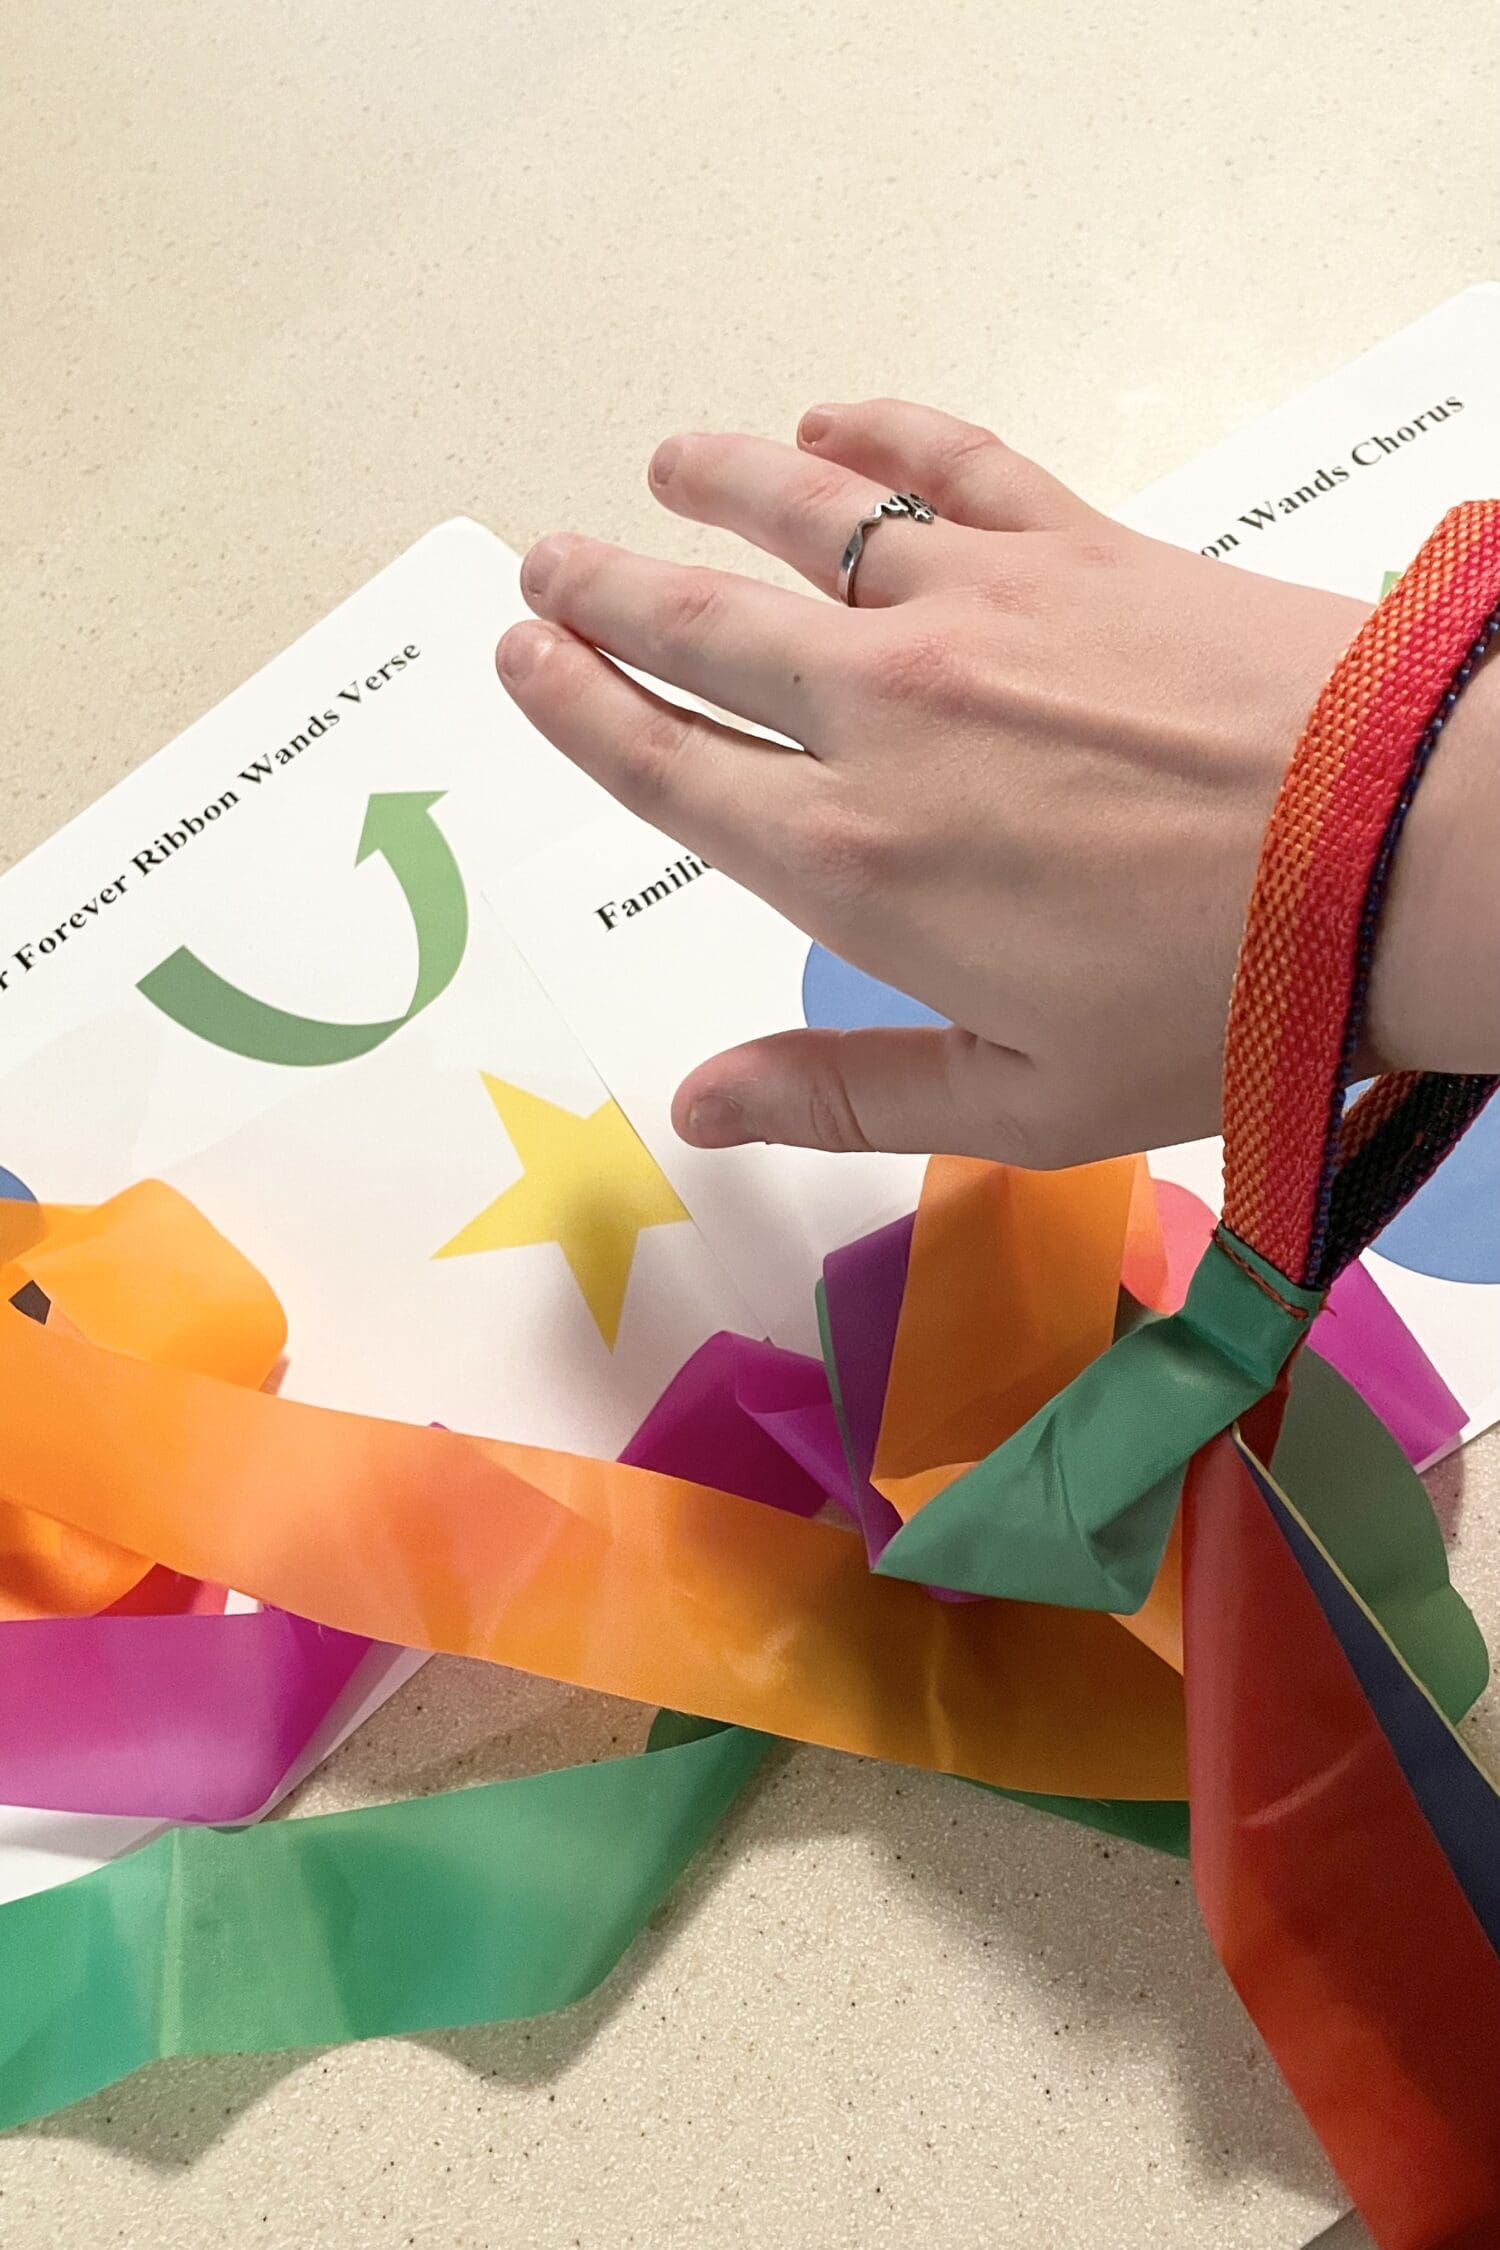
- Families Can Be Together Forever Ribbon Wands
- Choose the Right Ribbon Wands
- Love One Another Ribbon Wands
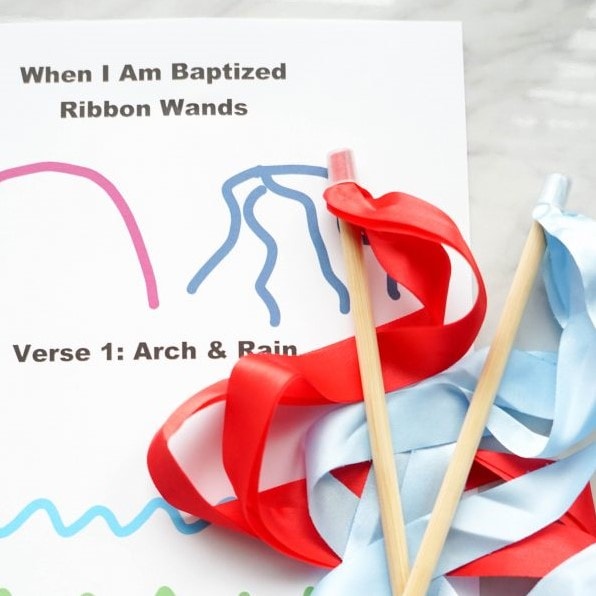
- When I Am Baptized Ribbon Wands
- I Will Be Valiant Team Patterns
Head over next to see our post with directions on How to Make Egg Shakers Instruments Homemade Tutorial!
What are your favorite ways to use Ribbon wands in singing time?
